 I don’t know if you’ve ever seen the play set that Elsie and Collin made for her first Nashville home, but it is amazing! As our daughter Lola got a little older and we moved to our Pittsburgh home last fall, I started thinking that we had a great backyard spot for a play set with a flat little backyard area (right by our back door that you can see clearly from our big kitchen windows). I was looking at Elsie’s DIY and I so badly wanted to build it, but we are in the middle of a whole home renovation, and honestly, the thought of building a play set from scratch was just more than I wanted to take on with everything else on our plate.
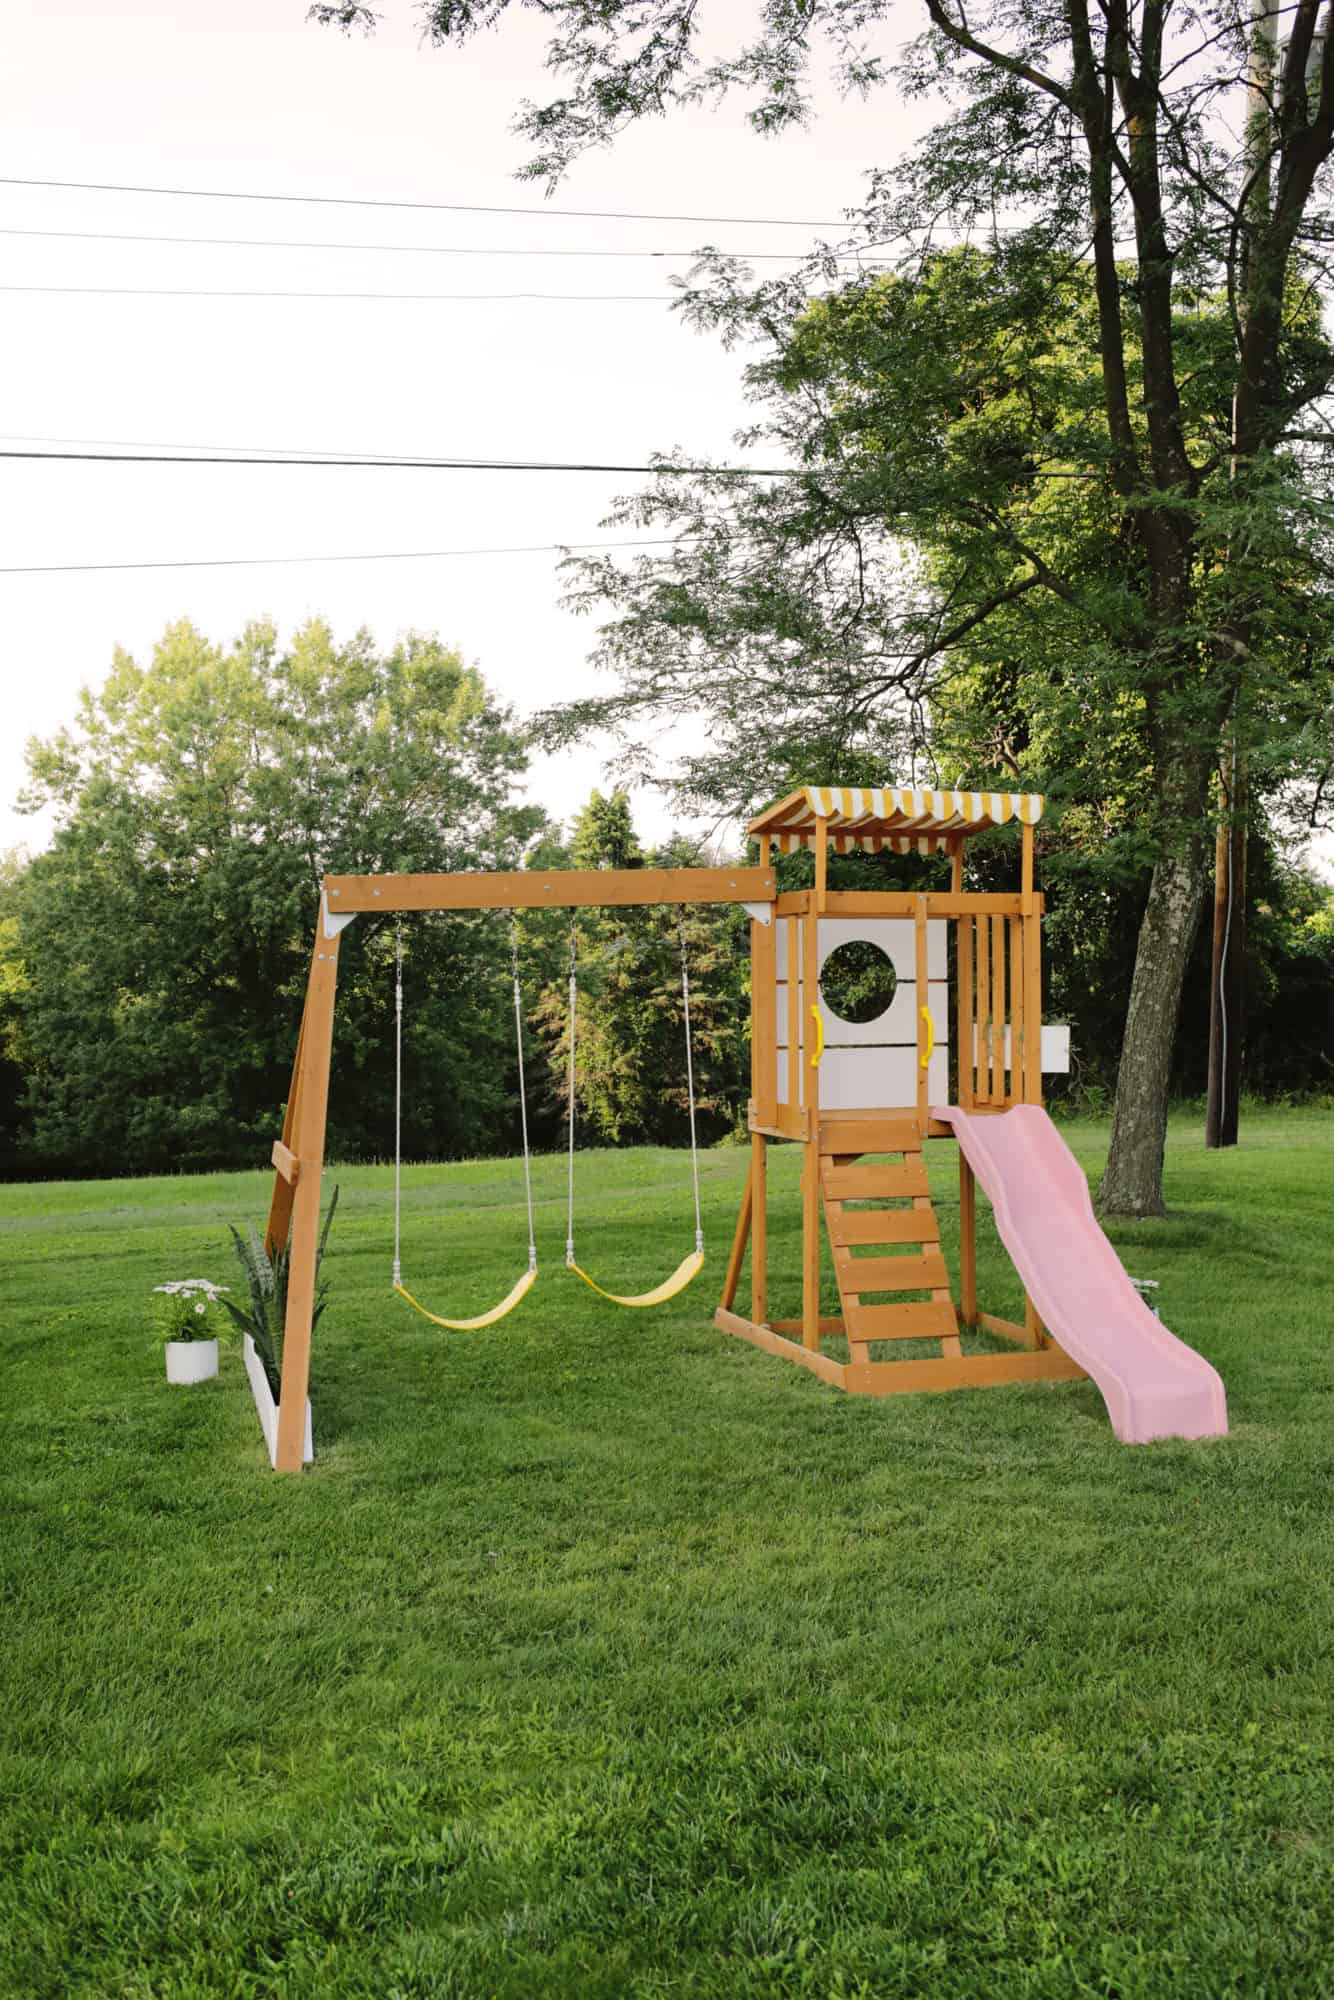
I was shopping around to buy a play set instead, but as you may already know, it’s almost impossible to find a cute one in a modern/trendy color scheme unless you are really going to pay big bucks for a more specialty set (which I didn’t want to spend with all our other house projects we need to do). So I started thinking that maybe the best thing to do would be to buy an inexpensive set and use it as a starting shell that I could tweak a bit with a few additions to make it feel more custom, but without having to DIY the whole thing. I found this budget-friendly set, left off a few of their pieces, and added some new elements to make it match the vibes and colors of our ’60s mid-century modern slanted roof home. Honestly, it turned out so cute—I’ll show you what I did!
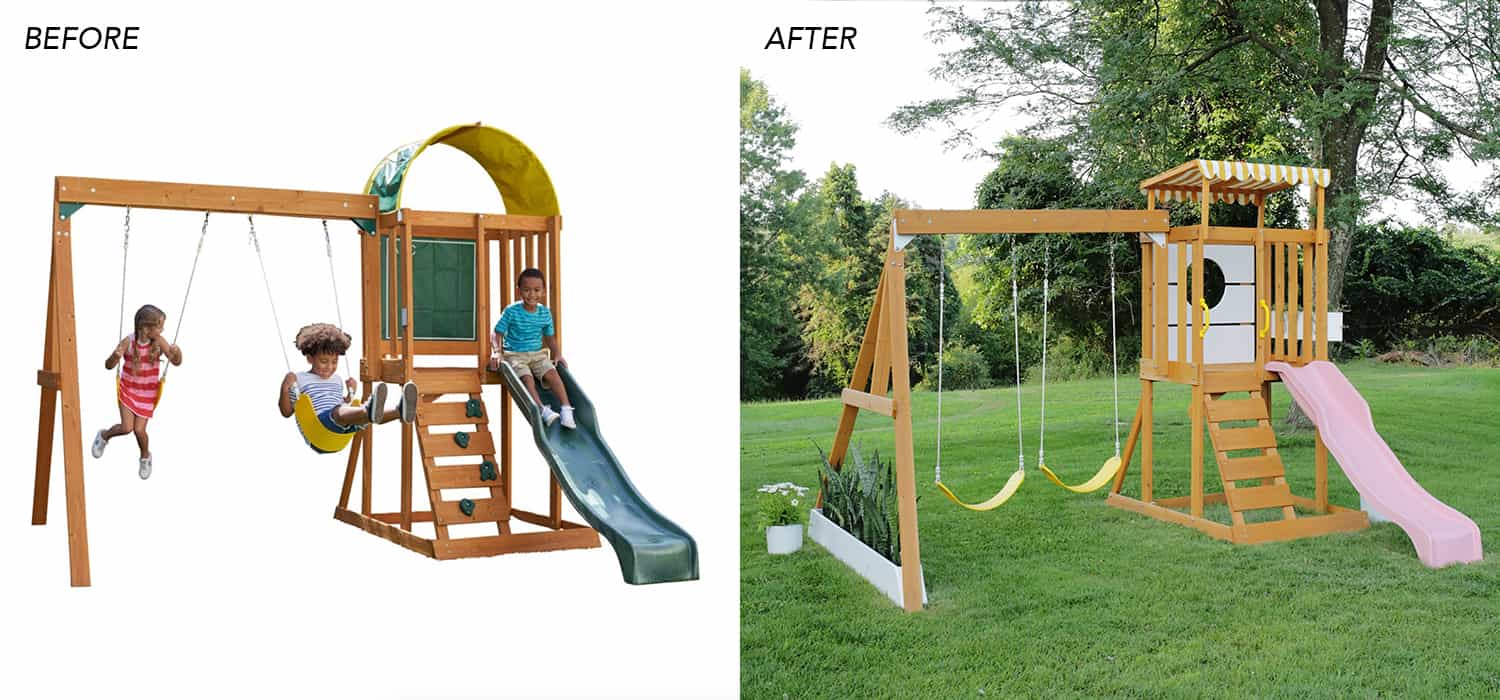 First, we bought the set and put it together with the help of an assembly app from the manufacturer (super helpful compared to the paper directions!). I left off the vinyl plastic chalkboard backboard on the back of the tower, the climbing rocks, and the domed top that comes with the set. You could leave the climbing rocks on if you want, but it’s not that high of a ladder and we have a tall 4-year-old. So there’s not much for her to climb height-wise, and it looked cleaner to just leave them off and use it as a regular ladder.
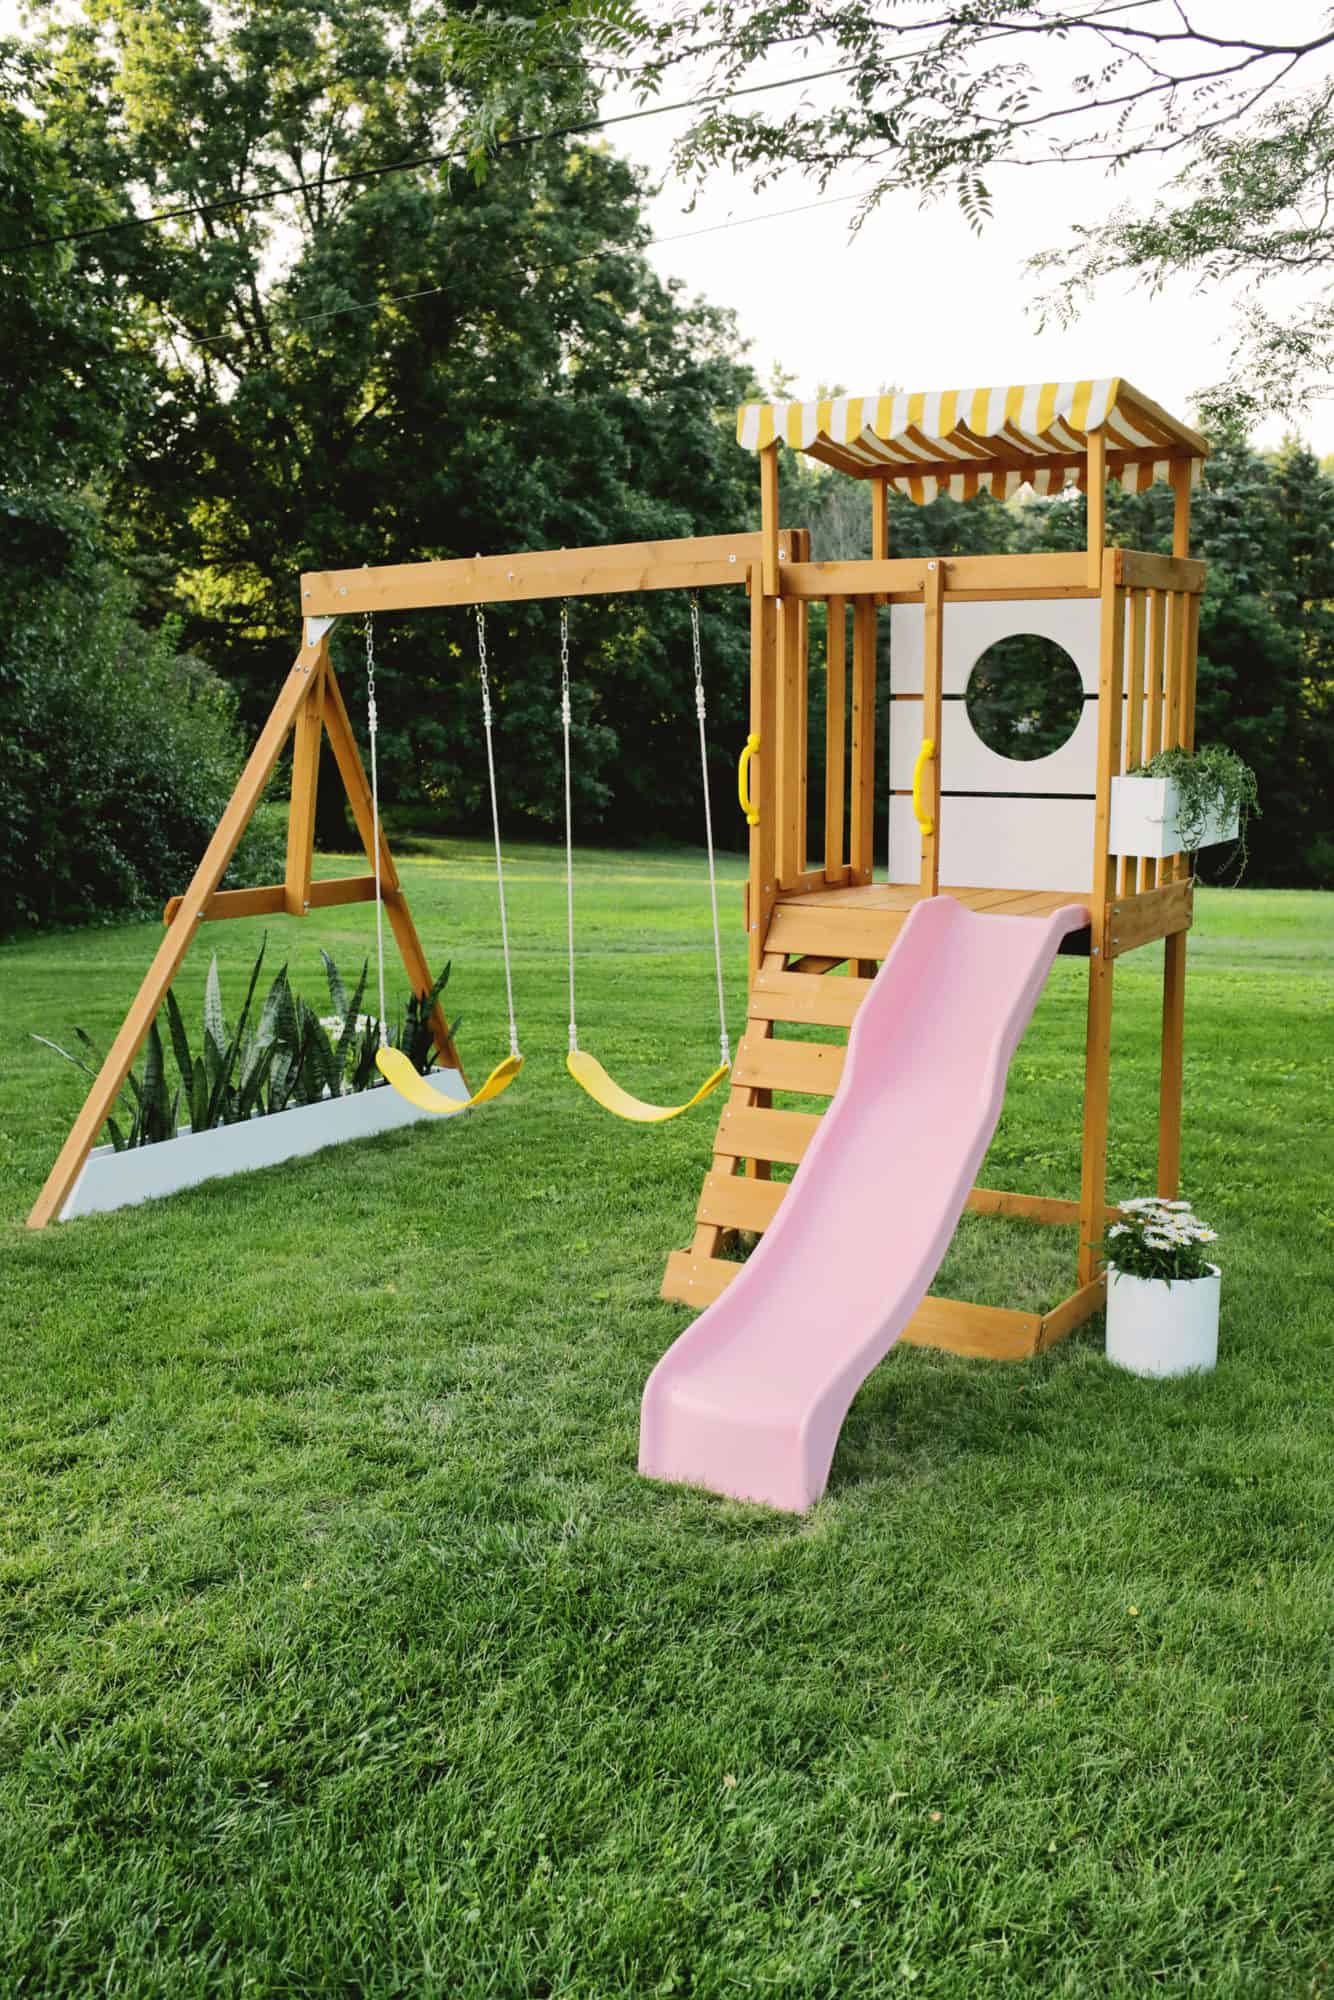
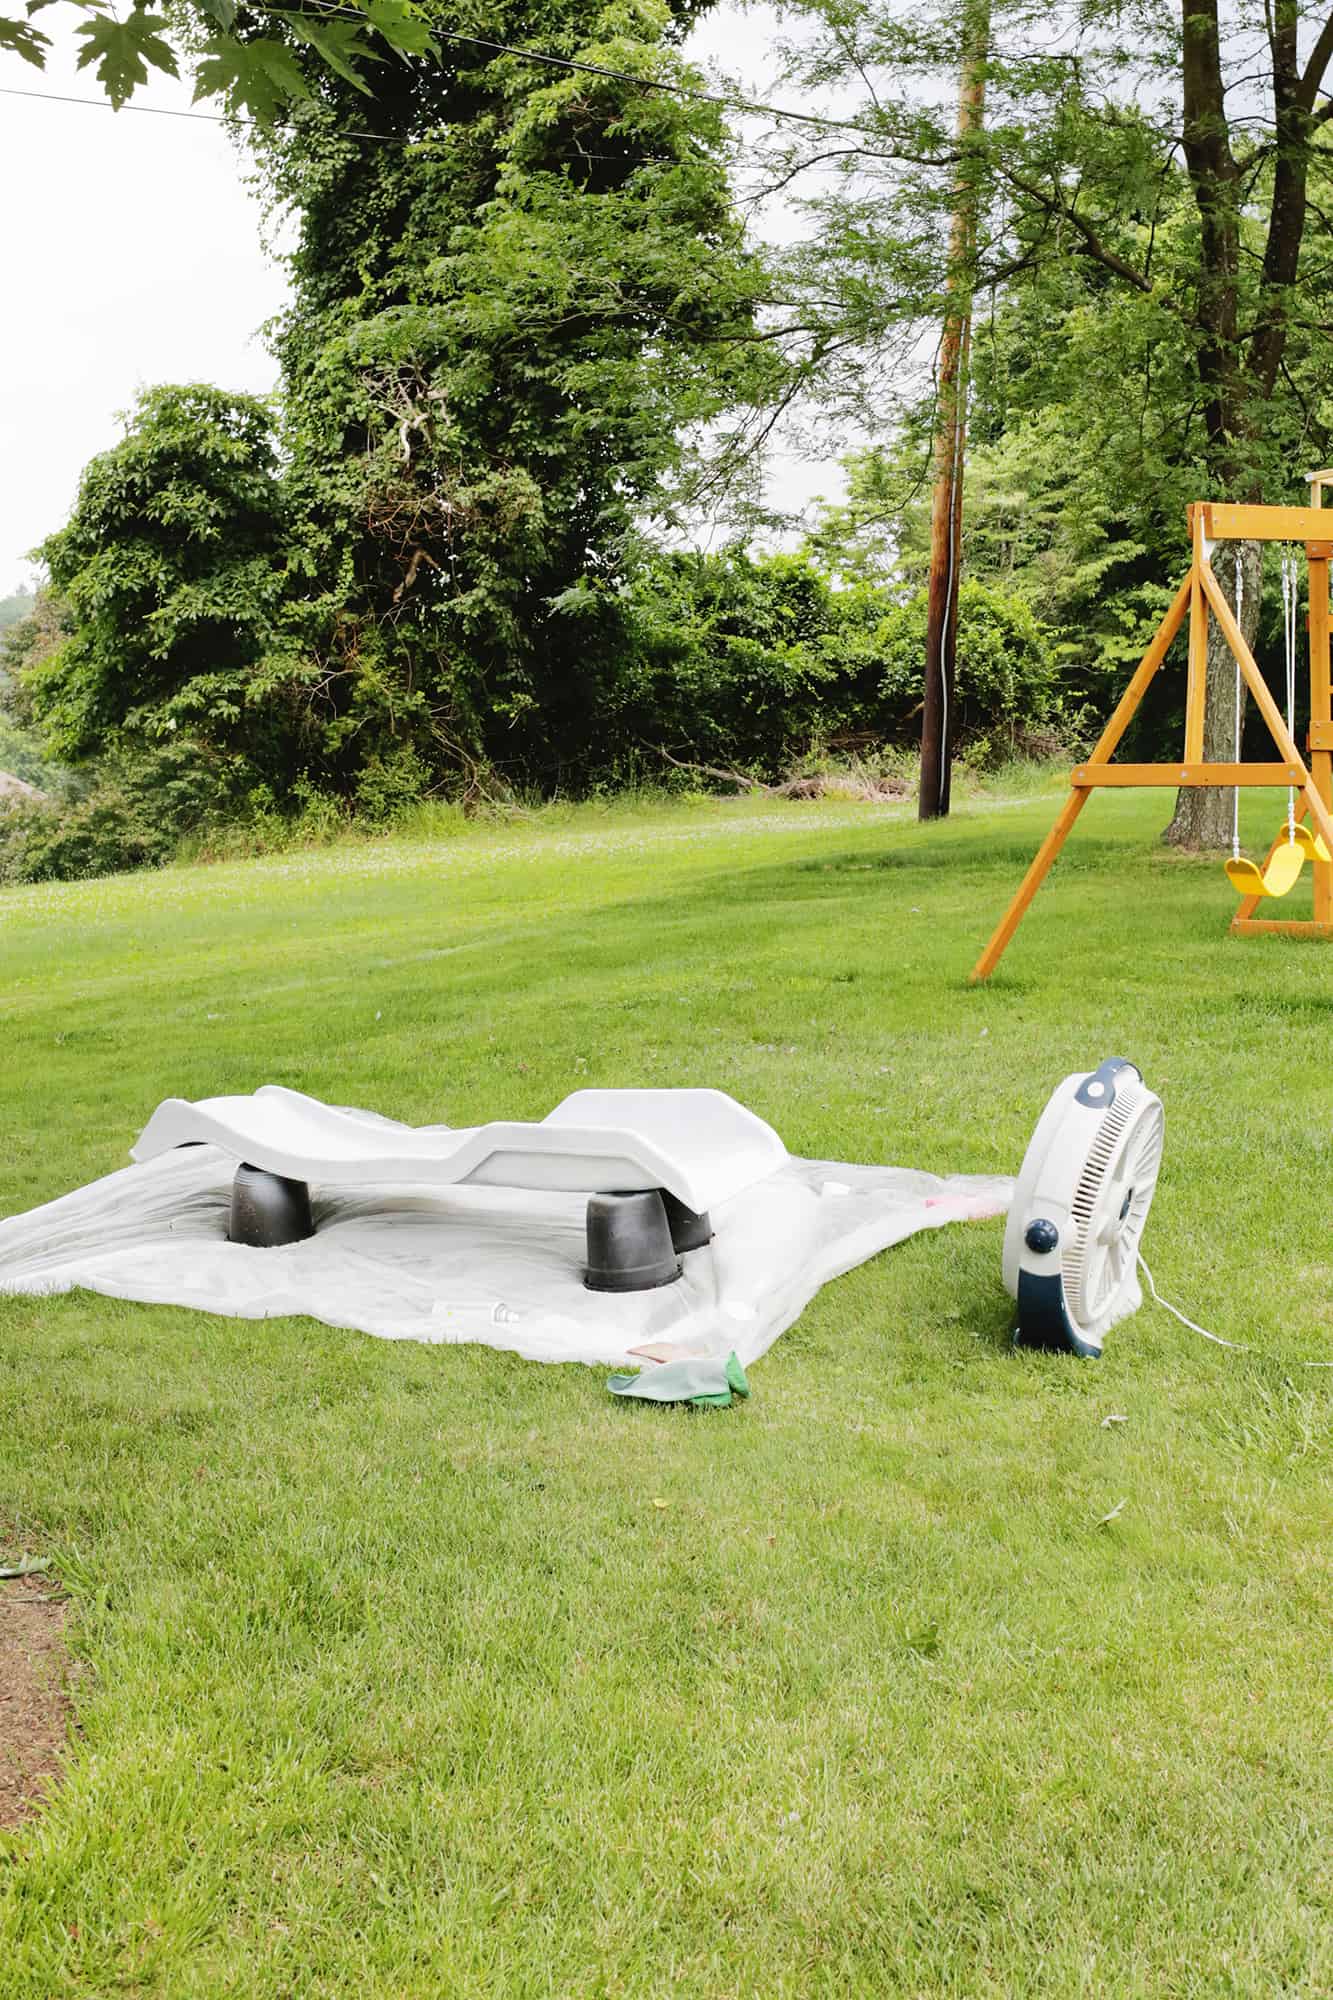 Once we had the shell of the play set up and running, it was time to customize! I used this primer and spray paint to paint the slide pink with lots of thin coats and dry time according to the directions between coats. I know that painting a slide won’t be a one-time forever fix, and from what I’ve seen, people that do that say you need to touch up the paint seasonally to keep it looking nice. But that’s basically what I do with a lot of my outdoor furniture as well at the beginning of the summer season. So, that’s not a deal breaker for me—totally worth it to have a pink slide! I did find that it was helpful to use a super fine sandpaper once the paint was totally dry to make sure the sliding area was really smooth. I lightly buffed it with a fine grit sanding sponge in circles and that helped take off any texture that had accumulated from the paint coats to make it slidable again. Just make sure to wipe off all the sanding dust before sliding or it will get all over your kiddo! Trust me. And side note: Sliding down the slide with lots of buttons and exposed zippers on the backs of clothing will probably scratch the paint off, but I knew most of her play clothes are leggings and soft shorts, and so far we haven’t had any problems from that.
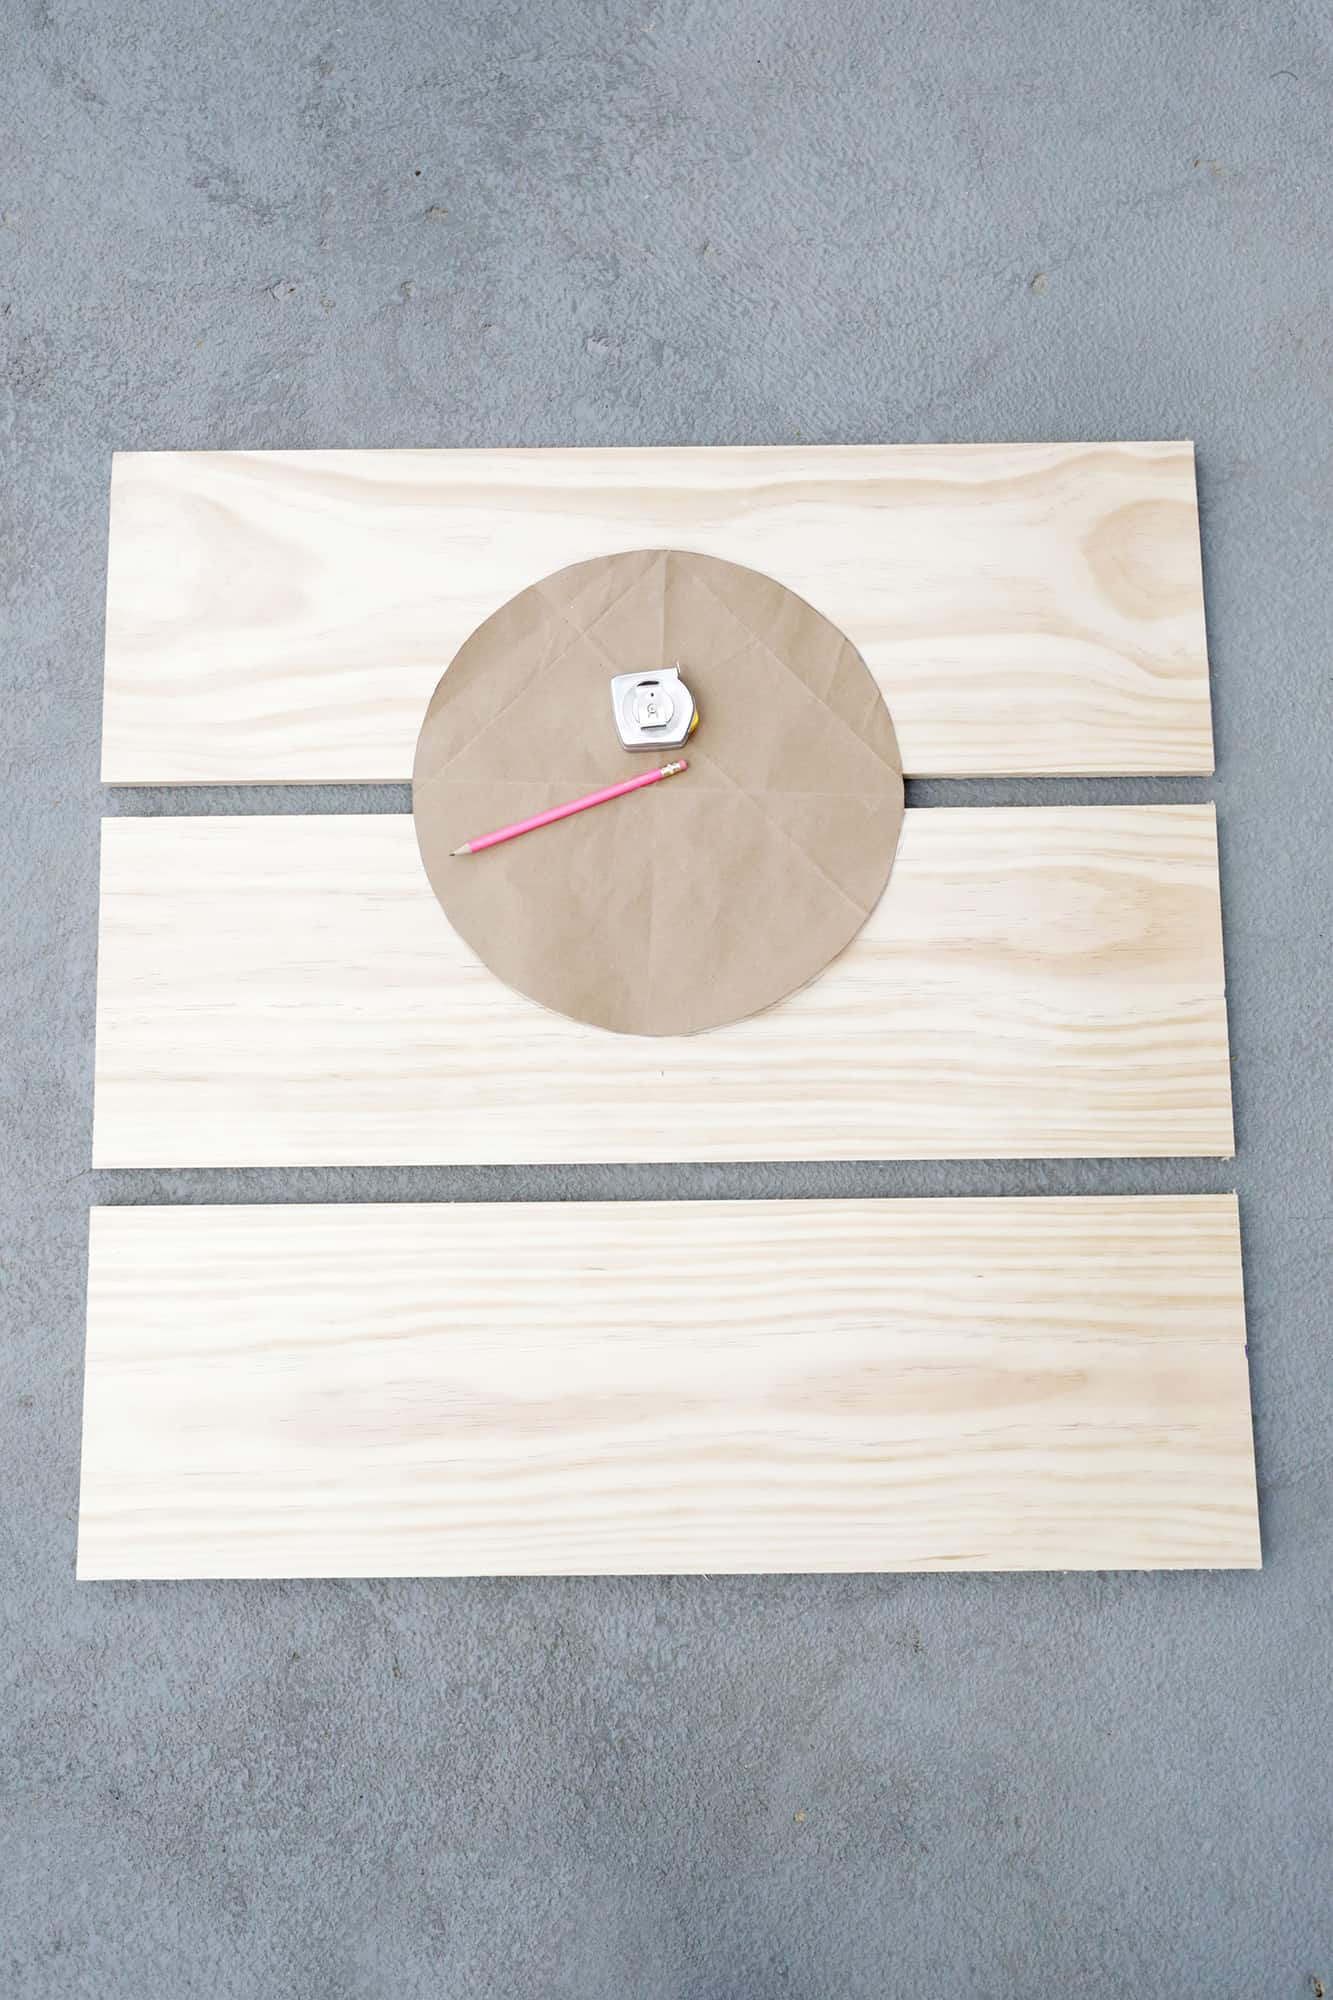
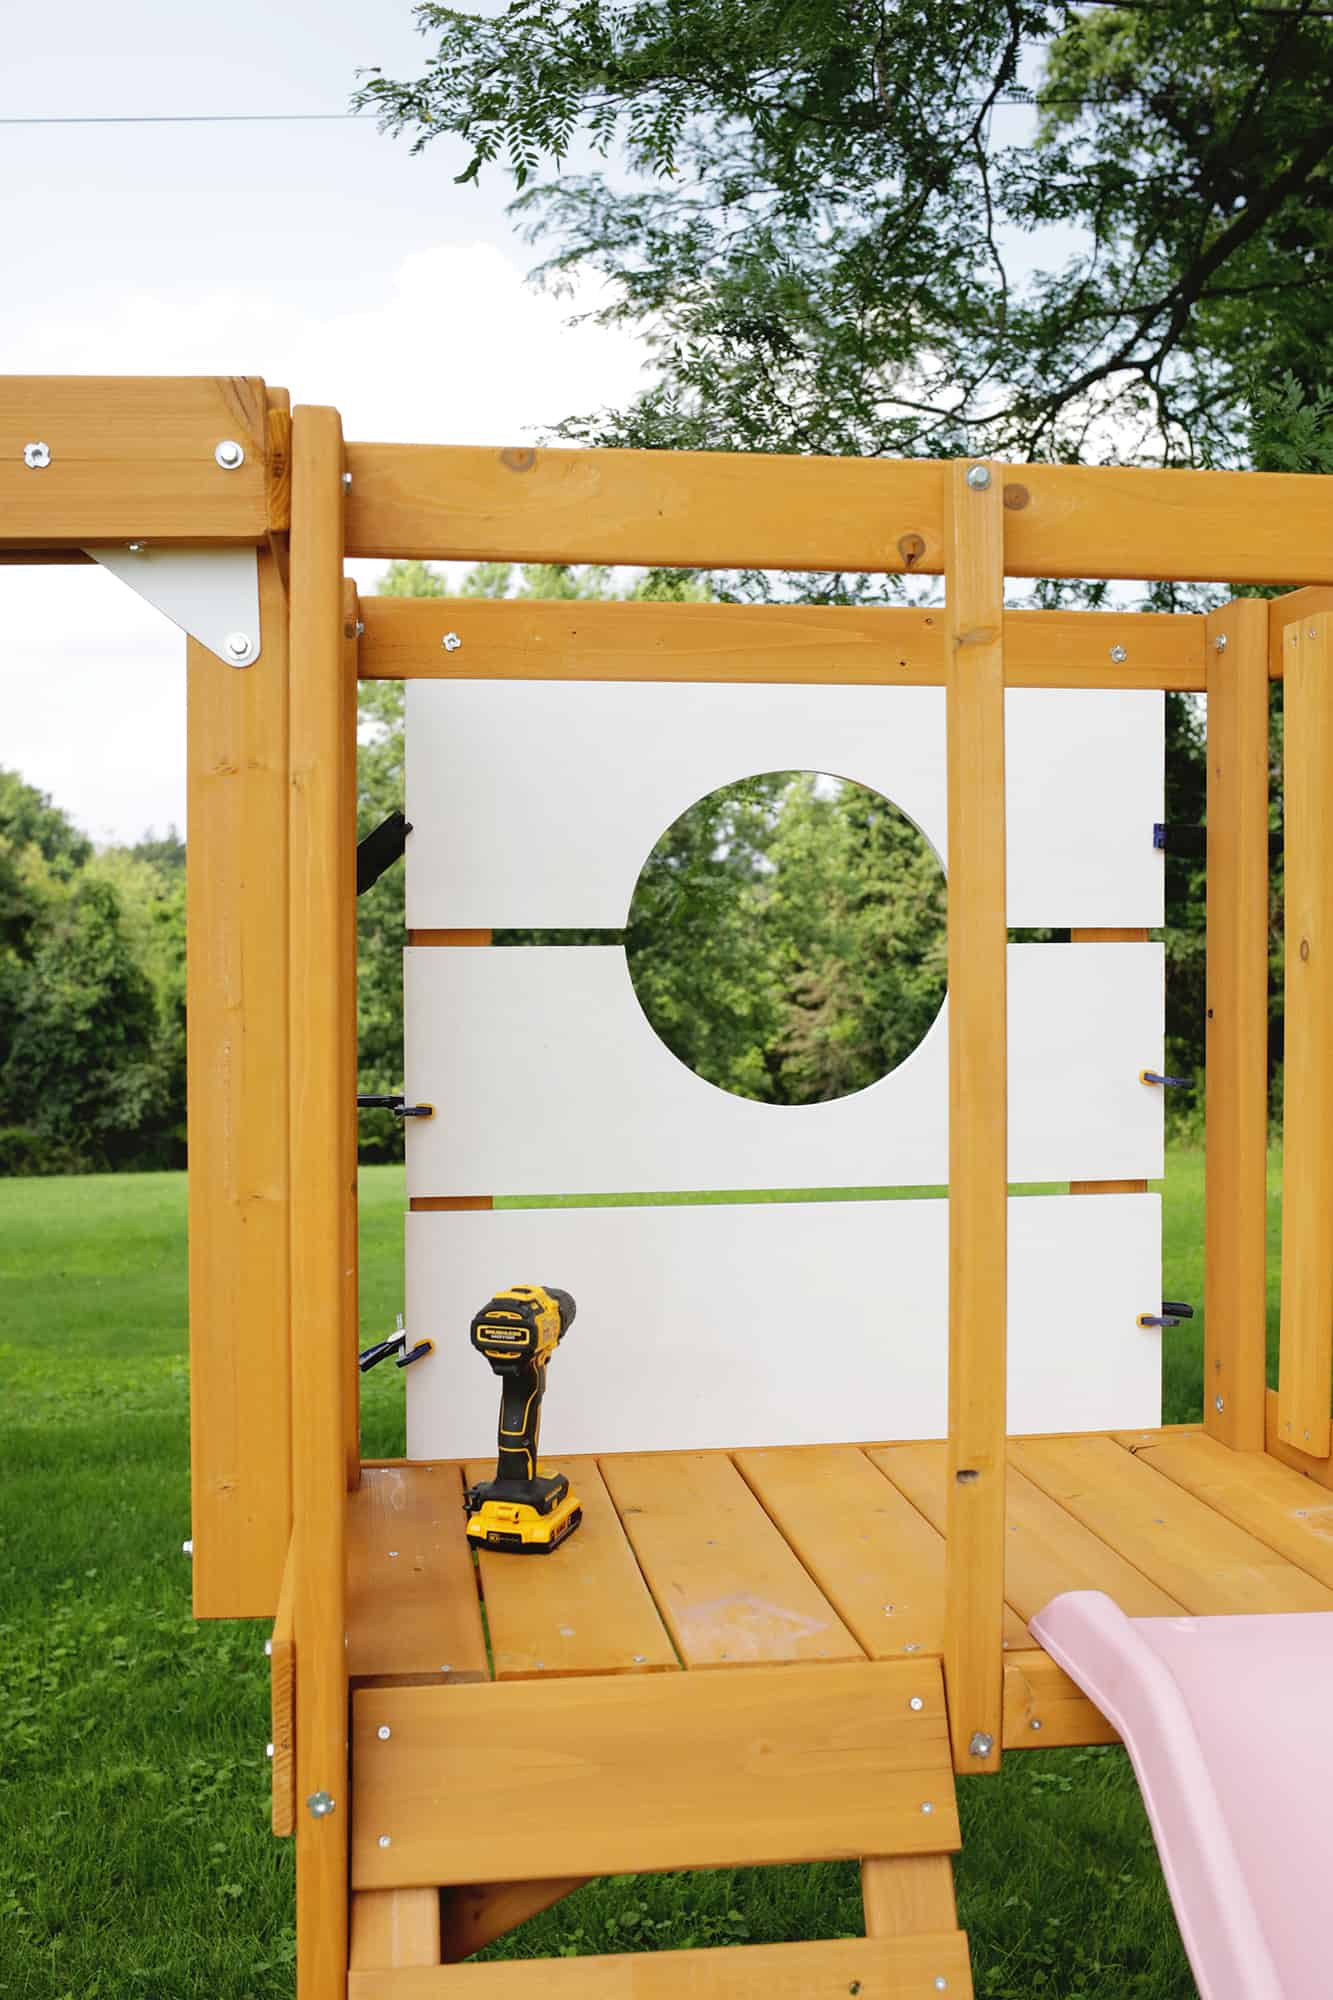
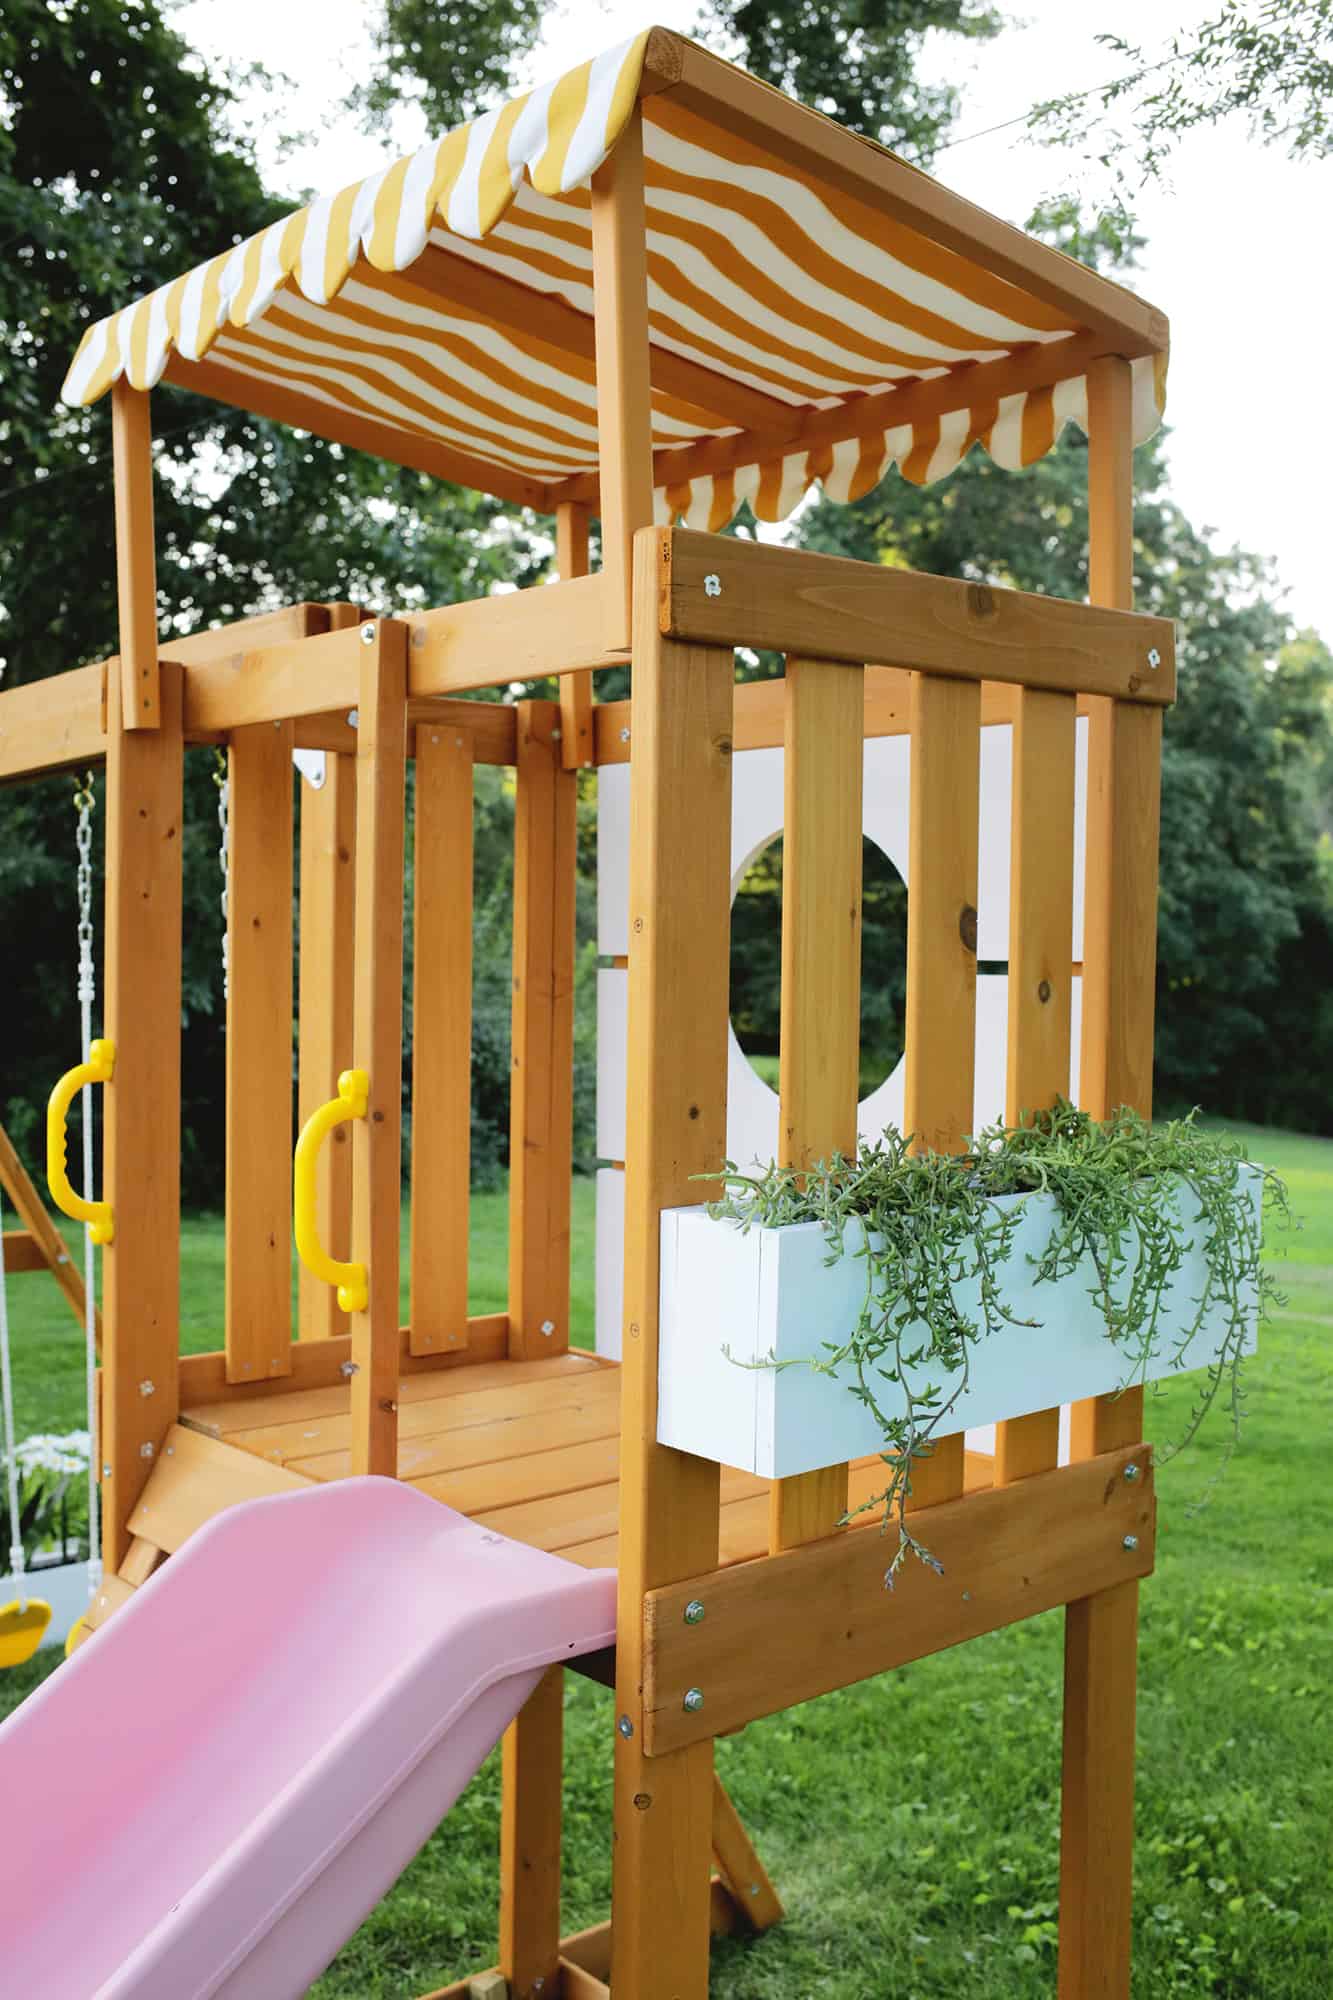
 Once the slide was done, it was time to work on the back window of the tower. I bought three boards that I ripped down to 10″ tall with a table saw, and them cut them to 32″ wide with my miter saw. You can also just buy boards that are as close to 10″ tall as you can find so you only have to cut them to 32″ wide if you don’t have a table saw (you just may have a slightly larger or smaller gap between each board than I do). I traced a 14″ circle between the top two boards and used my jig saw so I could cut out a window for the back side. Then I painted the boards with exterior white paint and could attach them with screws through the back posts of the window area.
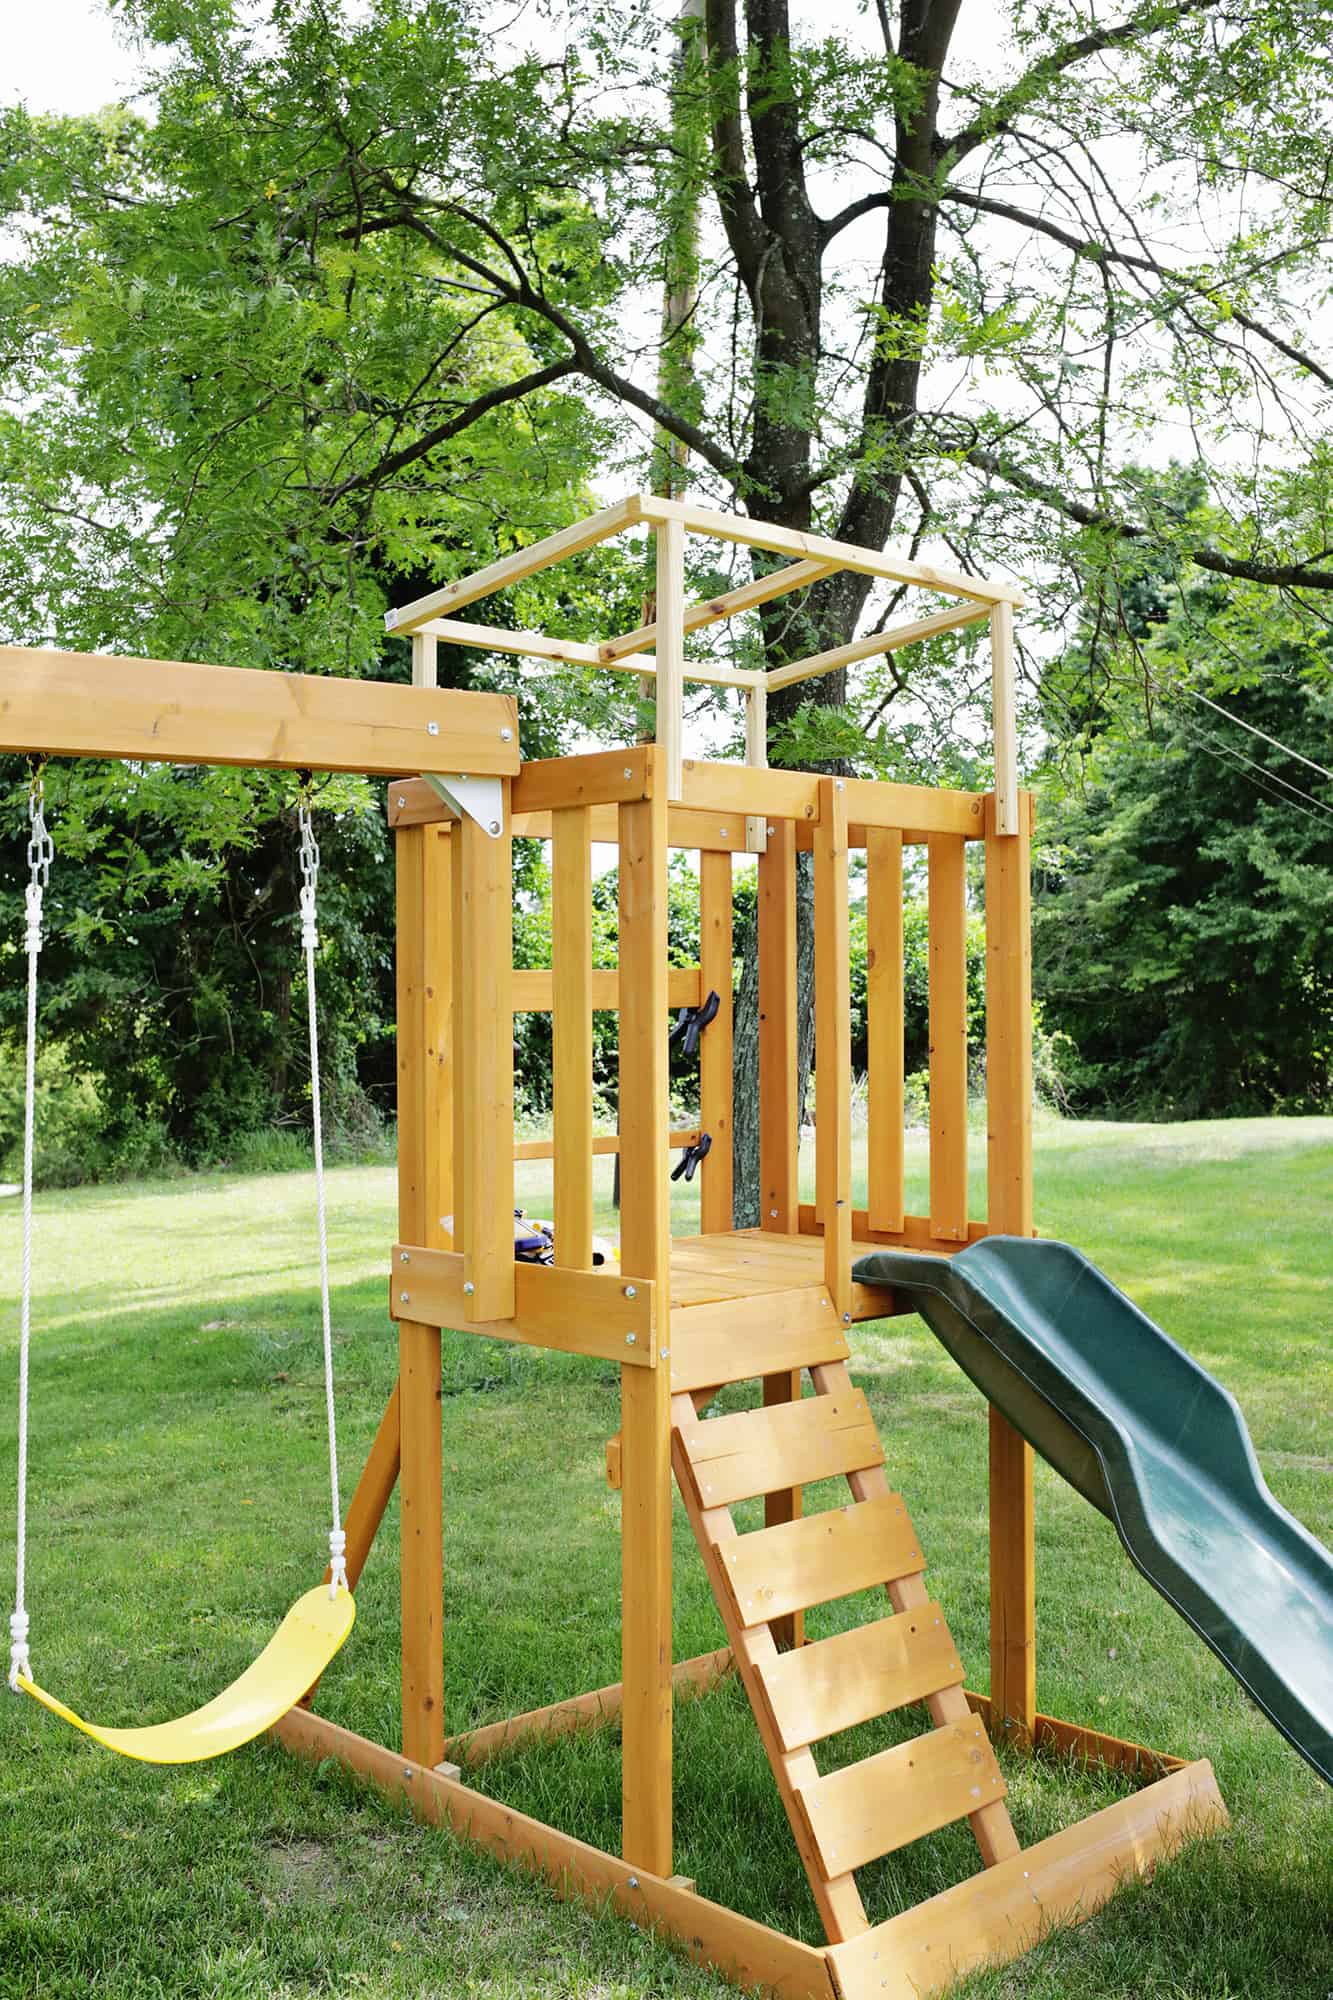
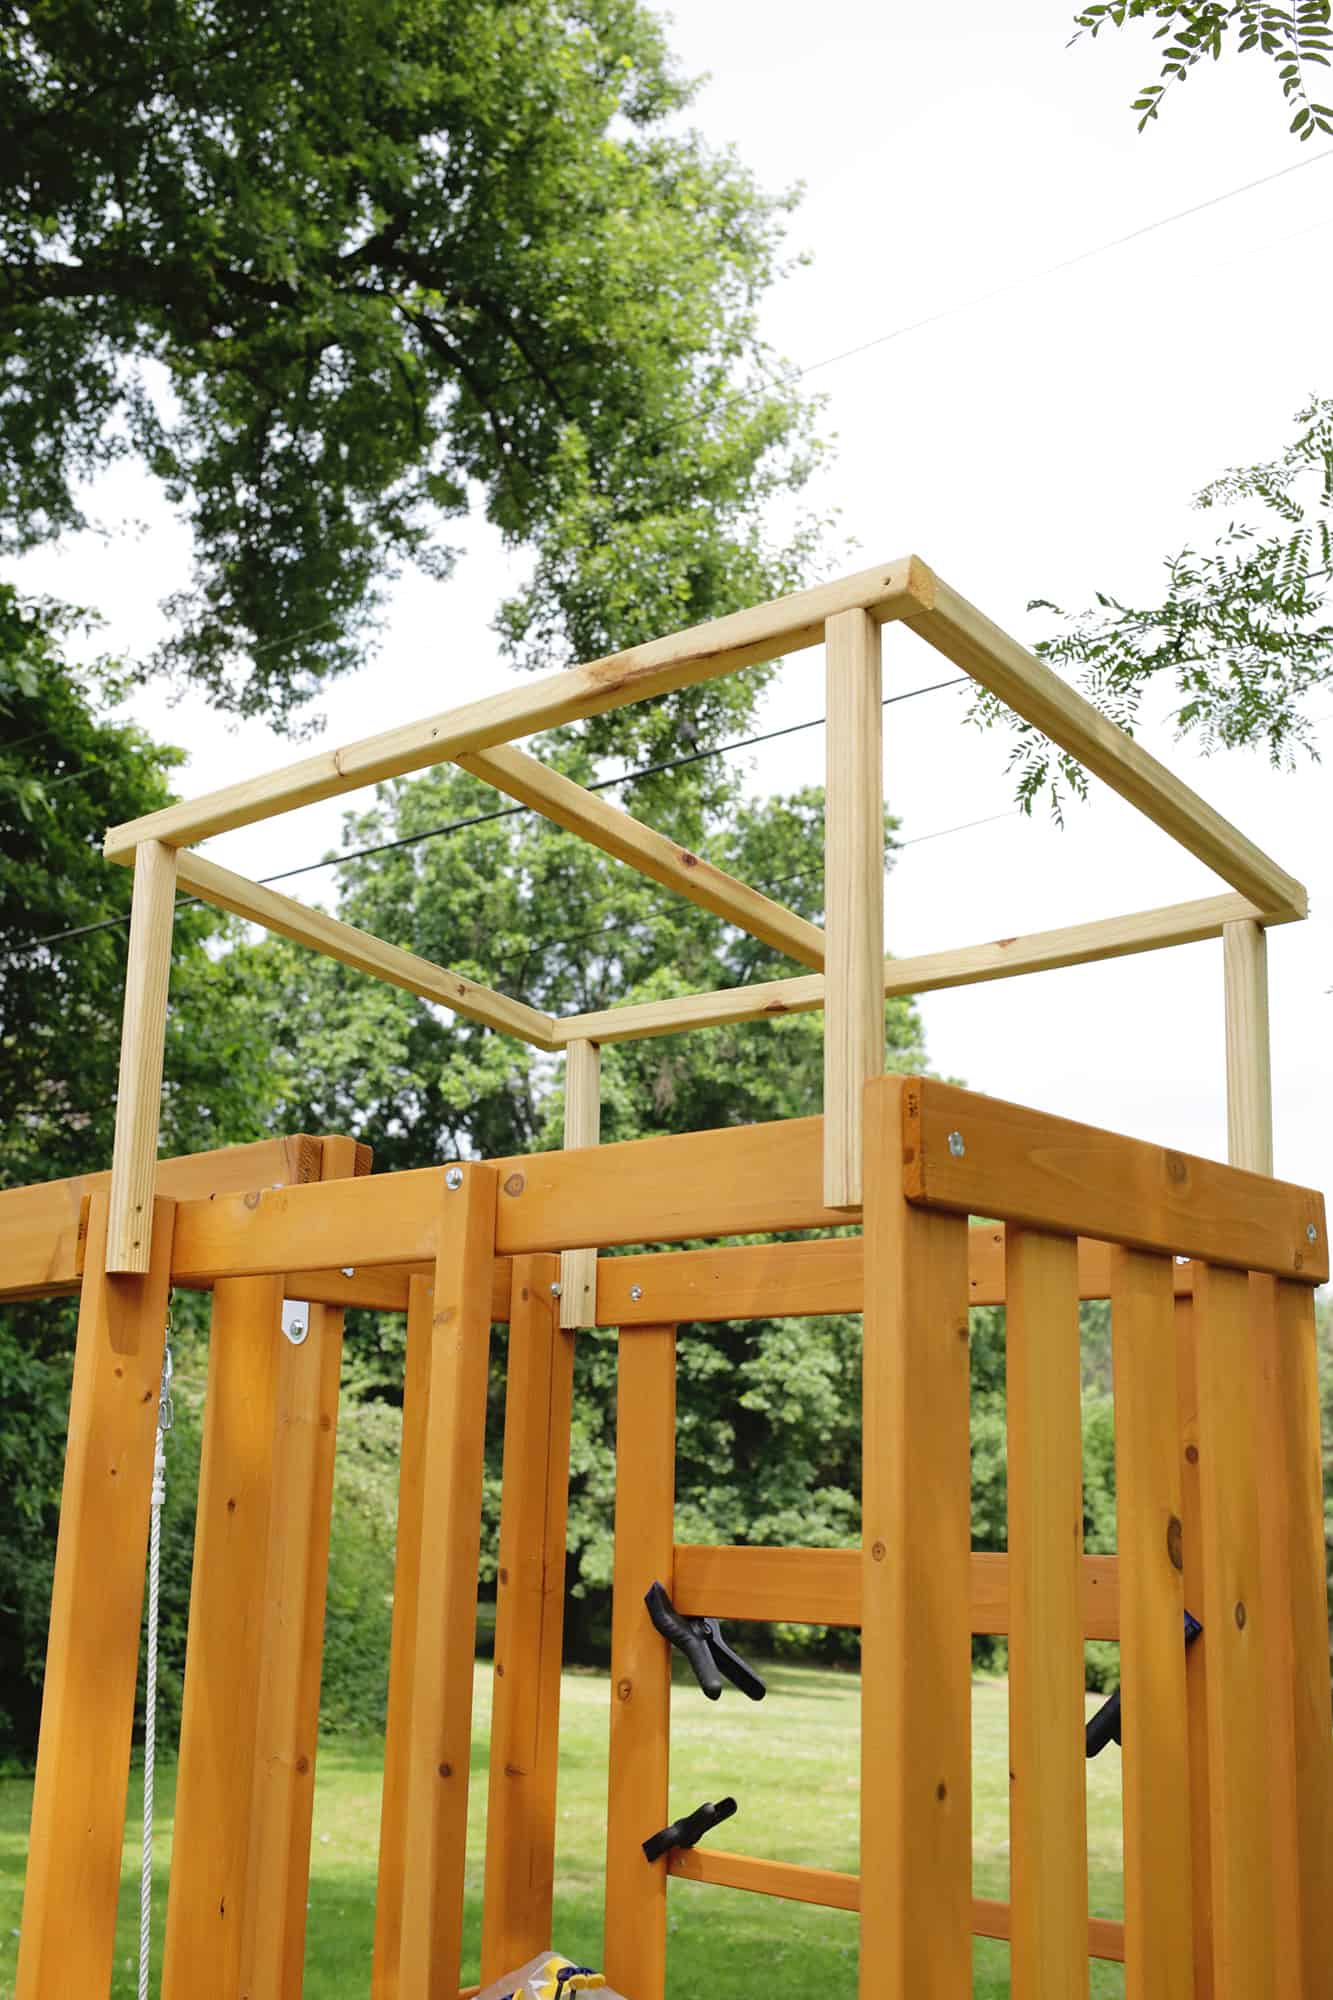
 Now for the top! If you wanted to, you could use the awning it comes with as a pattern to make a new cover in your own outdoor material for a faster upgrade. But since we have a legit mid-century sloped roof on our house, I thought it would be fun for the playhouse to have one too. I basically made a rectangle frame out of 2″ x 2″ boards that measured 40″ x 27″ with a support board in the middle. For the support posts, I cut two 17″ tall front pieces with a 10° angle on the top side so that the rectangle frame would sit at an angle on top of it and cut the back supports to 14″ tall with a 10° angle at the top.
Get a helper and clamp the legs onto your play set frame in the spots shown above and center and level the rectangle frame on top of the legs, adjusting the legs as needed to make it level. Attach the top to the legs by screwing down into the legs from the top of the rectangle frame and then screw the legs into the wooden play set frame as well before removing the clamps. To keep the awning wood weatherproof, I also gave it a coat of exterior paint in Valspar Hazelnut Coffee to match the rest of the cedar wood on the set (you don’t need a lot of paint so you could even get a tester size rather than a quart). You can also take the awning structure off the play set to paint and reattach it if you’d rather paint on the ground, which is a lot easier. Then, I used these screw in snaps to attach the fabric canopy (instructions on that below) to the top of the structure.
To make the canopy top, I basically folded 3 yards of outdoor fabric (similar here) in half so there were two layers (right sides facing in towards each other) and traced out a 40″ x 37″ rectangle with straight pins. Then, I traced half a paper 5″ circle along the front and back edges (the 40″ wide sides are the front and back) to make a scalloped design and sewed all the way around the rectangle, leaving a 4″ gap open on one of the sides so I could turn it through that hole after sewing. Once it was sewn, I cut a 1/3″ seam allowance all the way around and cut little “V”s into the scalloped edges so they would lay flat when turned (like they do here at the 2:50 minute mark). Then, I turned it right side out and used some fabric glue to glue the 4″ opening shut and added the snaps to the edges and corners so I could snap it to the roof. You could just nail it to the roof, but I thought there may be some occasions where the fabric could use a hose off or a wash and it would be nice to snap it off easily.
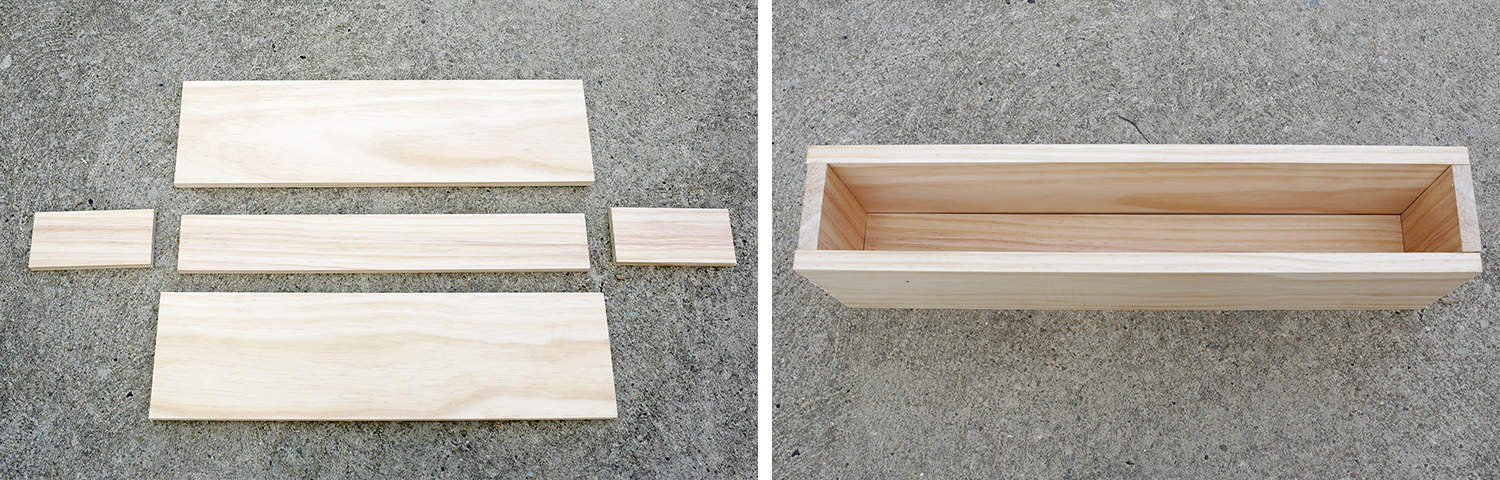
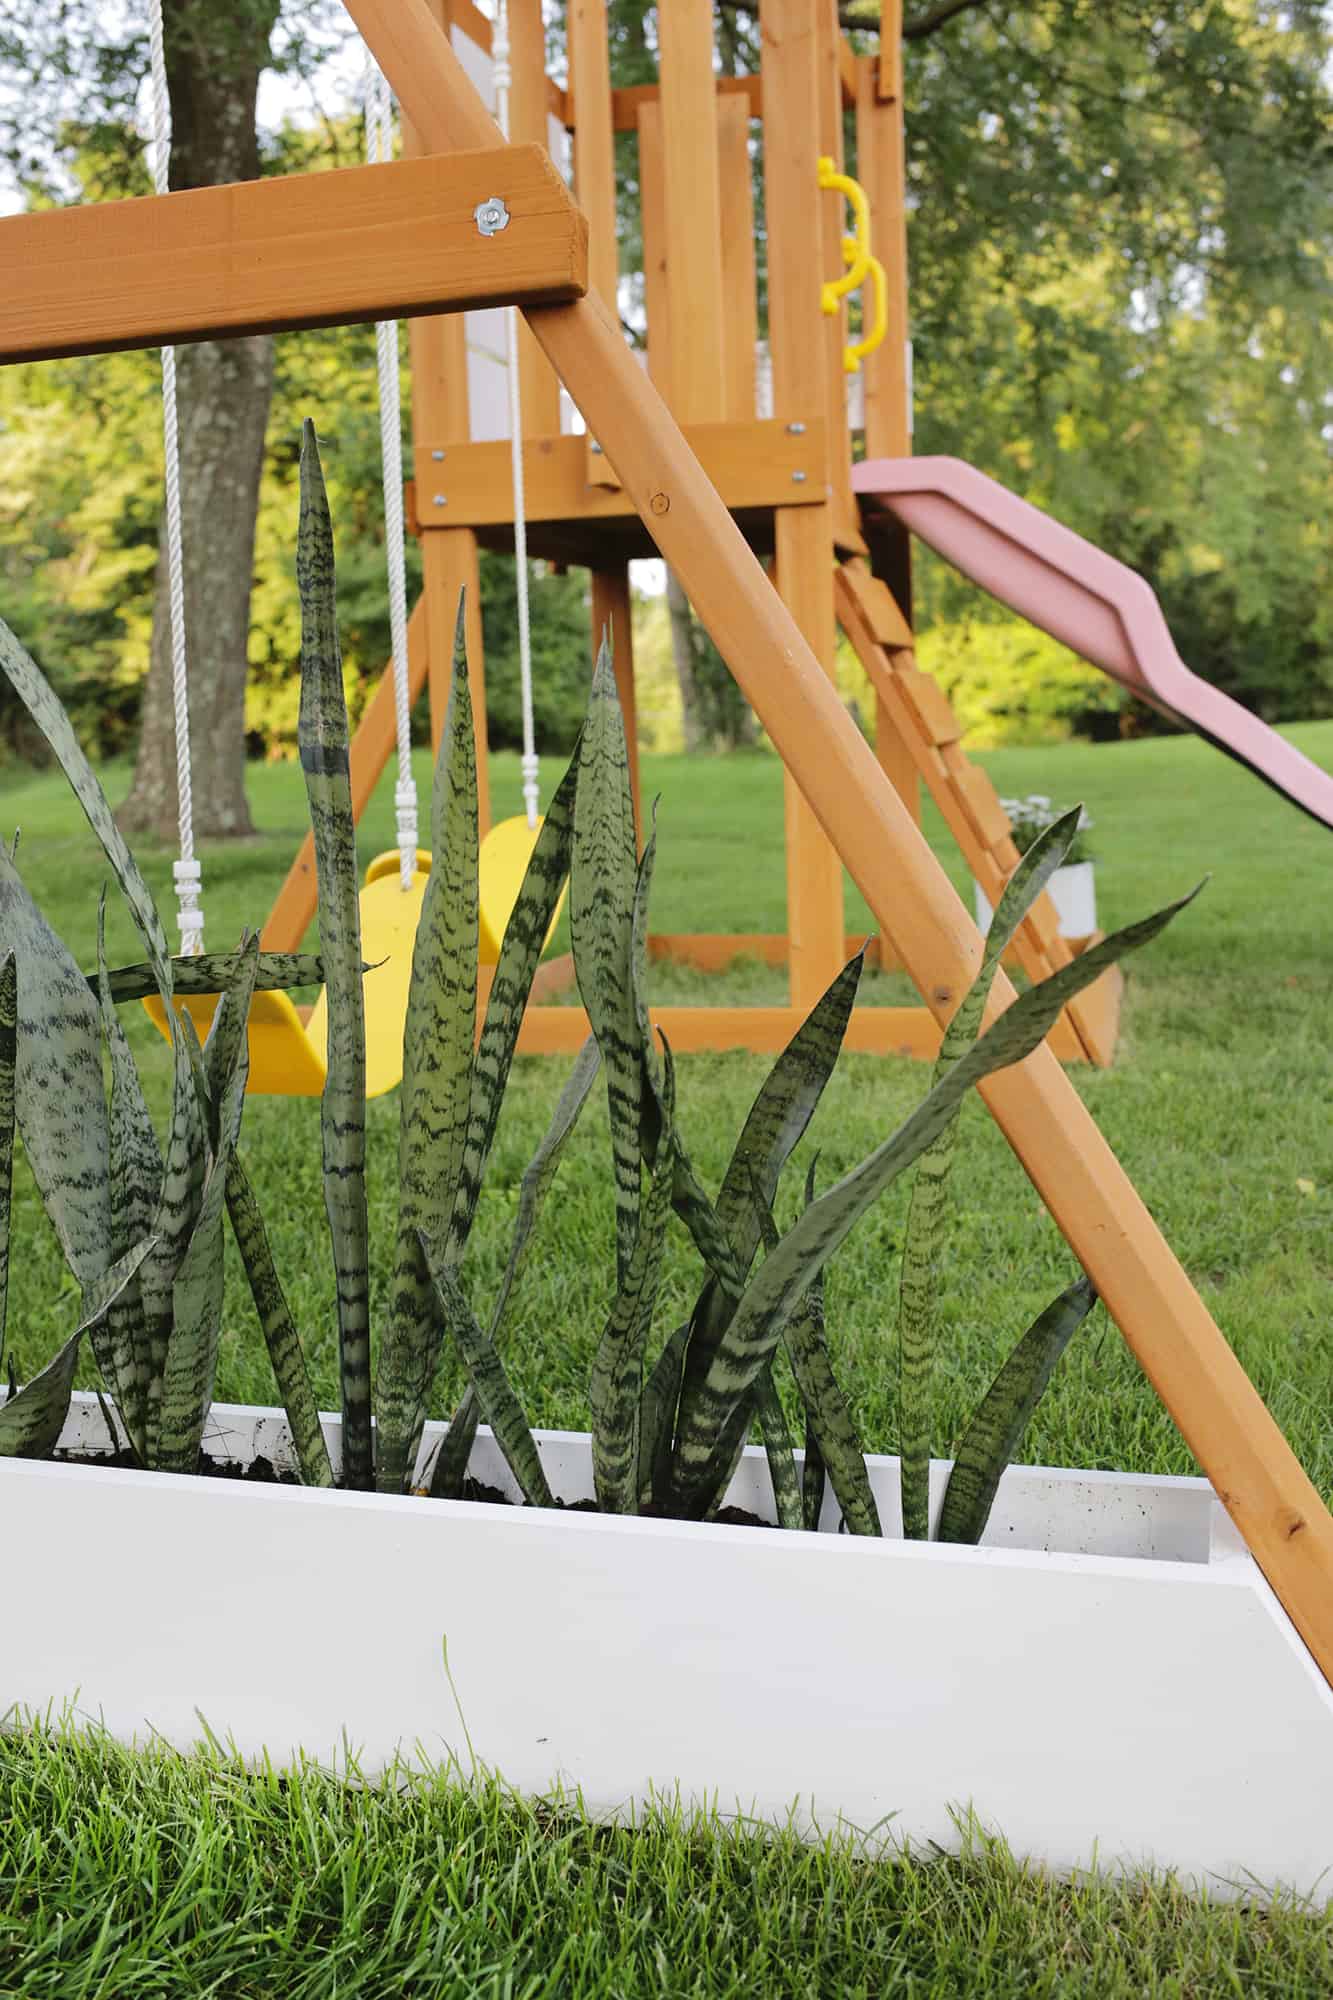
 Next, it was time to add some planter boxes! While you could totally buy some planter boxes and just screw them on, they are pretty easy to make. So I just took some 7.5″ x .75″ boards for the front and back panels and 3.5″ x .75″ boards for the bottom and sides and make one box that was 26″ long and 5″ deep to mount by the slide, and another that was just long enough to sit between the swing legs. I did try just assembling with my nail gun, but they started to pull apart, so I went back and re-attached all the sides with screws instead (predrill so you don’t split the wood!). Paint with some exterior paint to seal the wood and drill holes in the bottom board every 4″ or so for drainage and you are ready to add your plants!
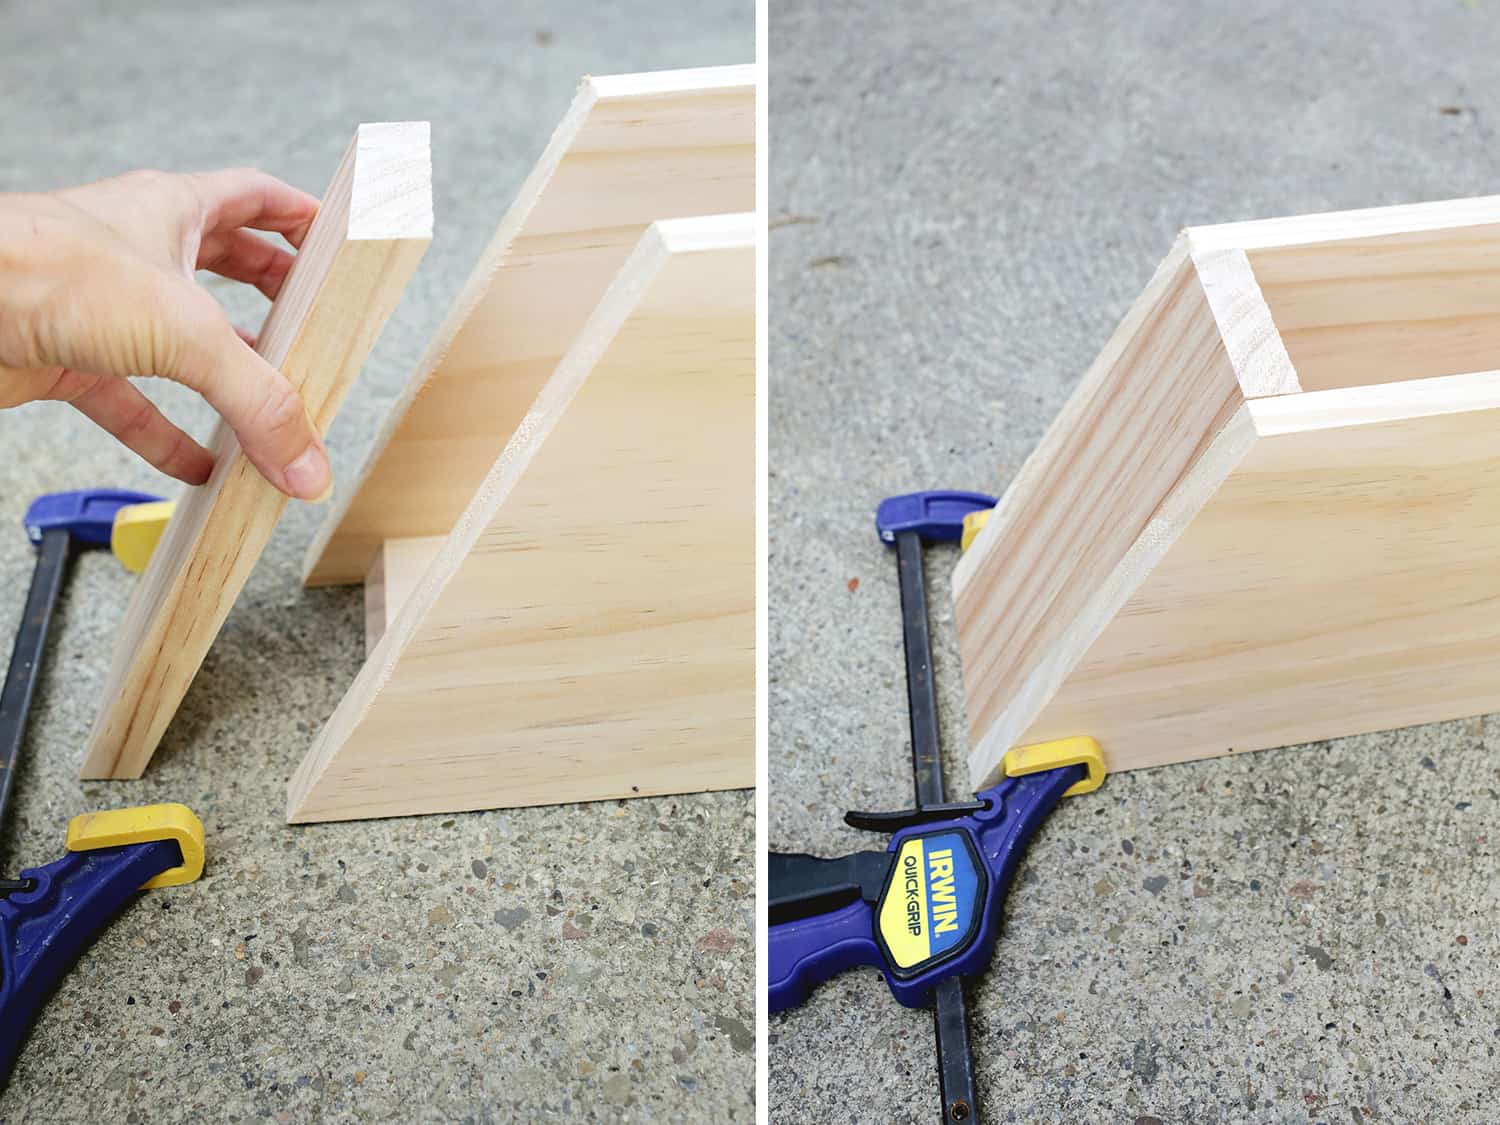
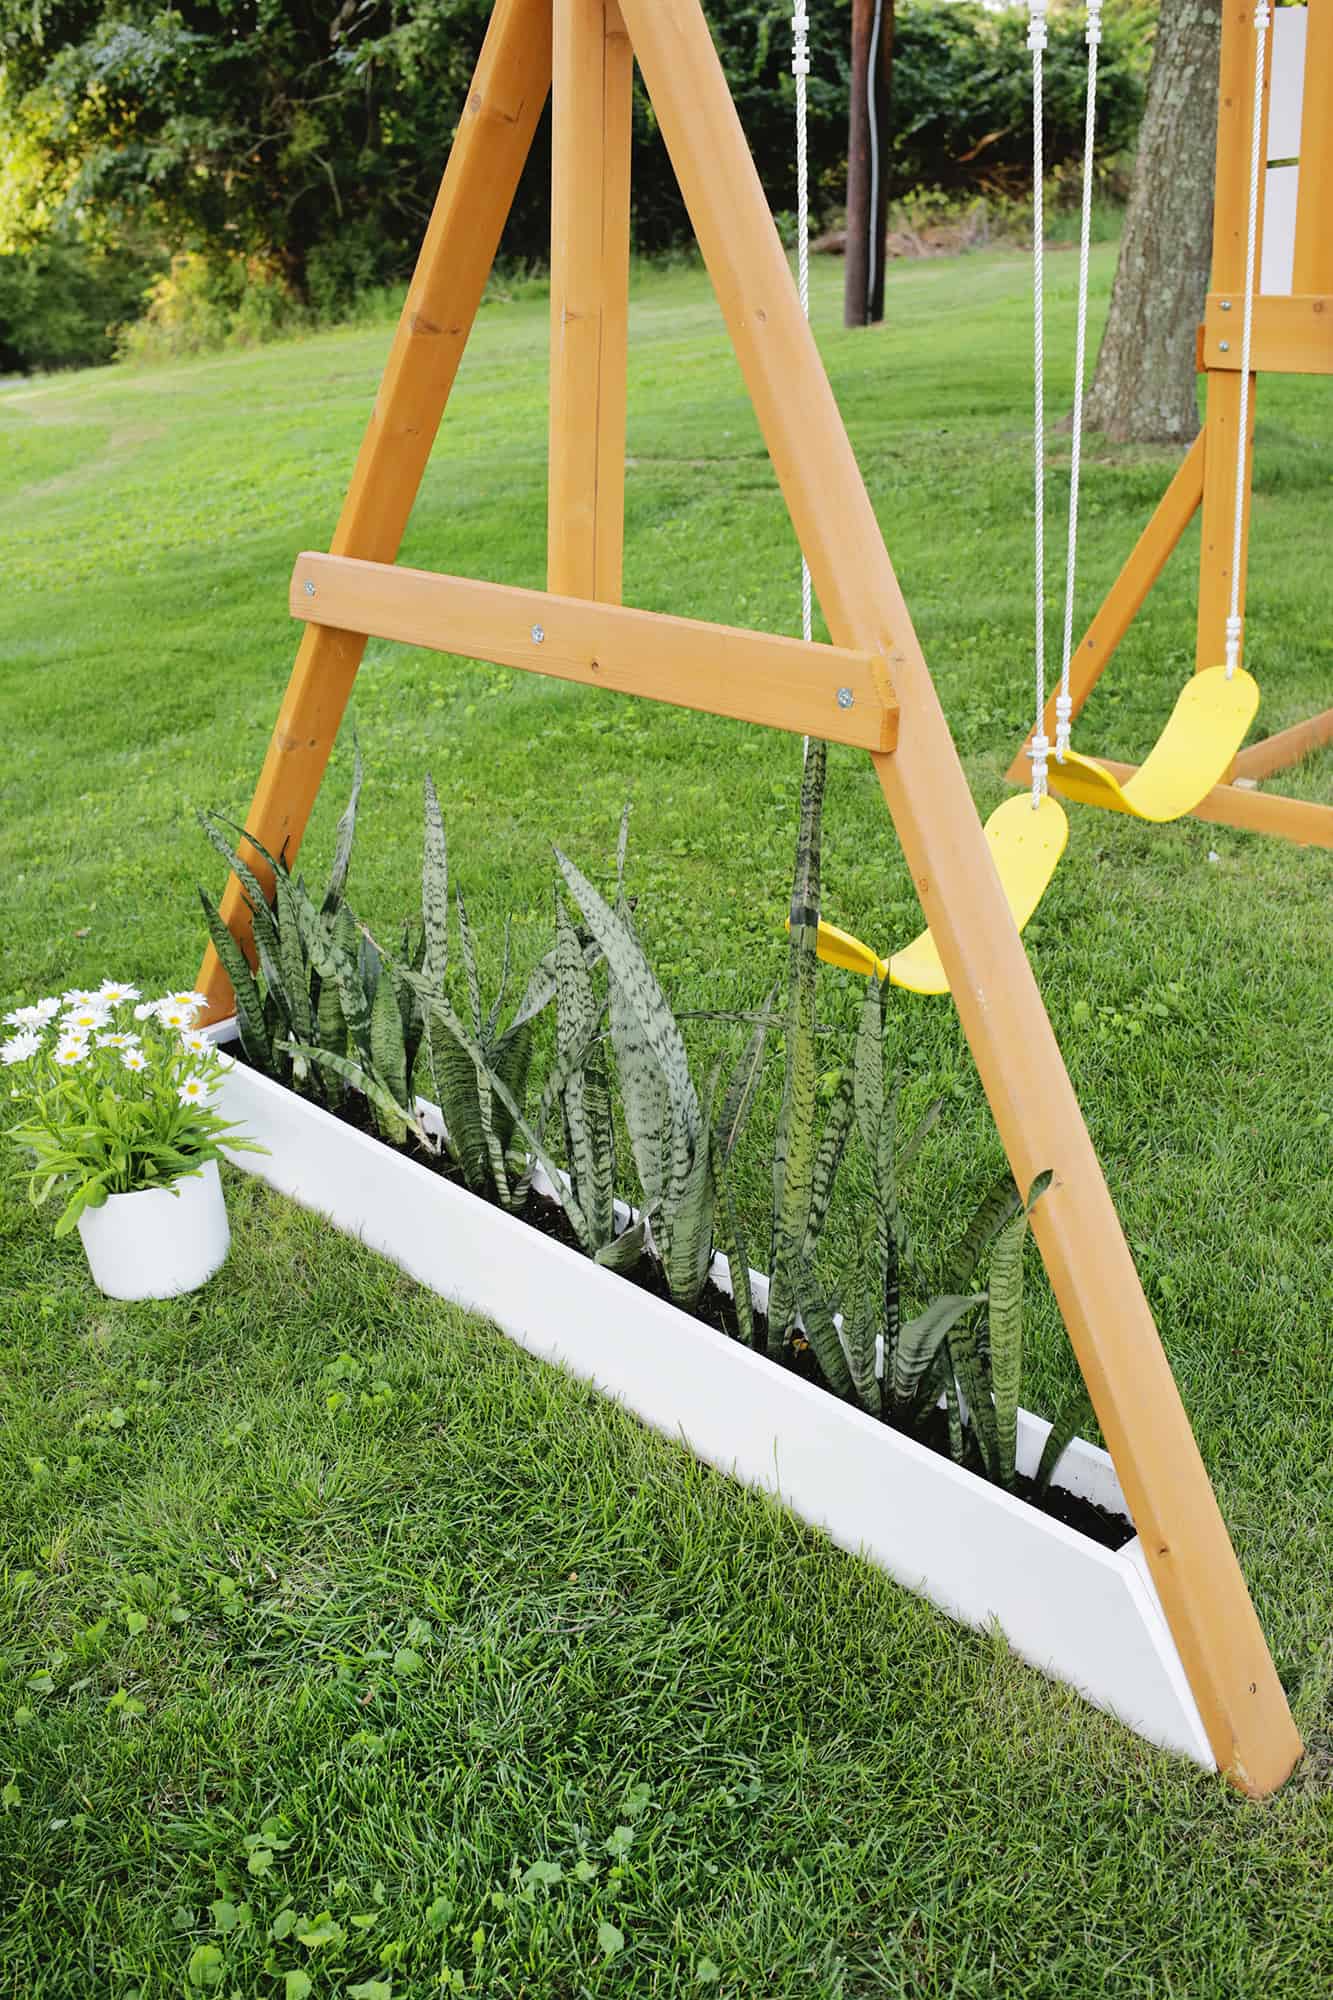 You don’t have to angle the edges of your ground box like I did, but it does make it fit nice and cozy between the legs … all those angles you see are cut at a 31.5° angle to fit nice and cozy between the swing legs (my miter saw had a little groove and special mark for 31.5° cutting, so check and see if yours does too).
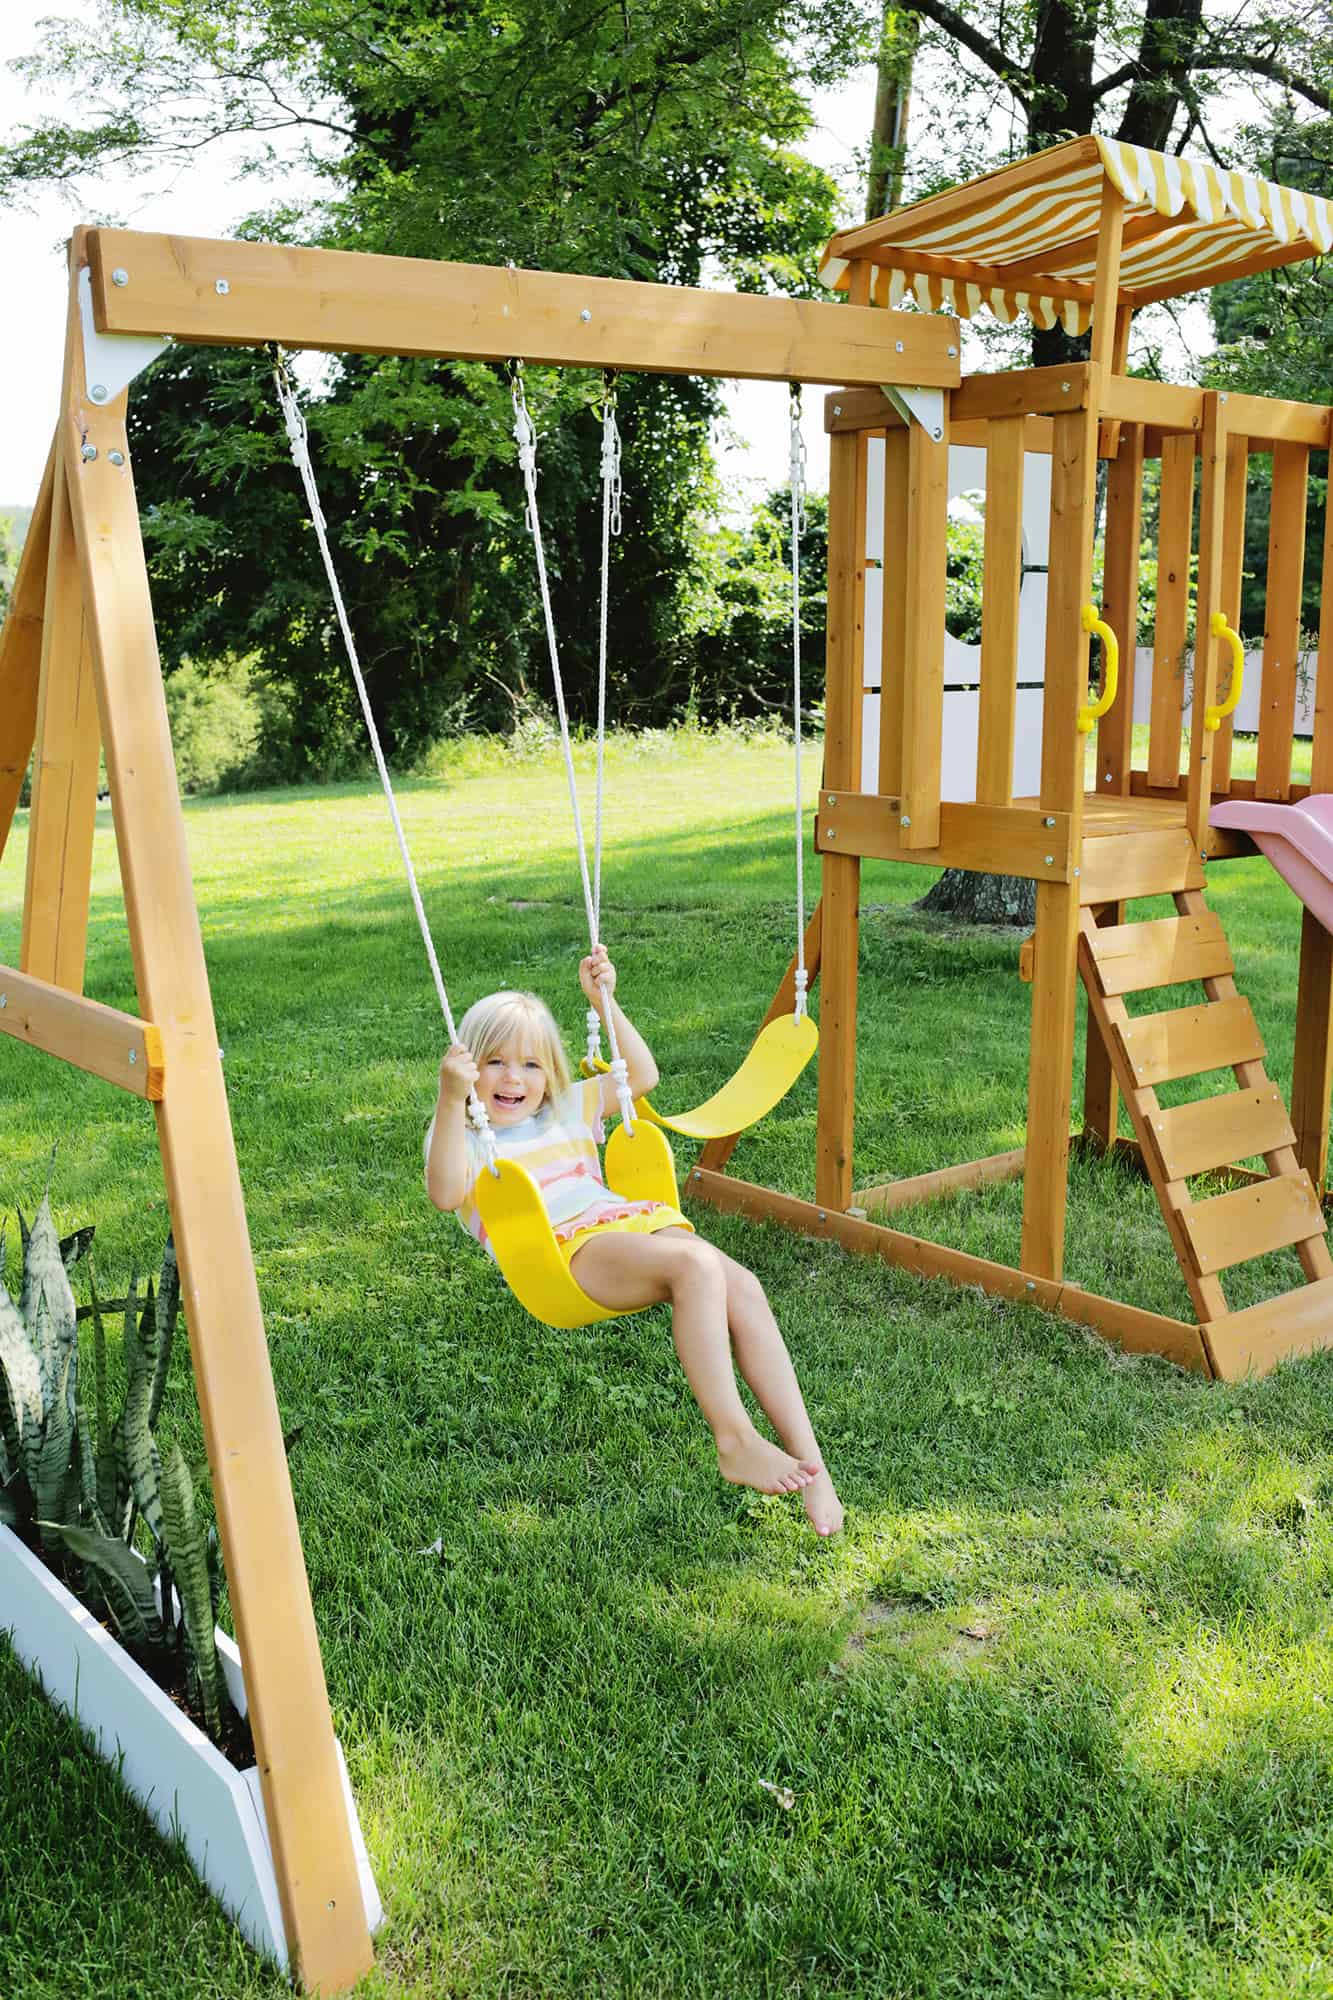
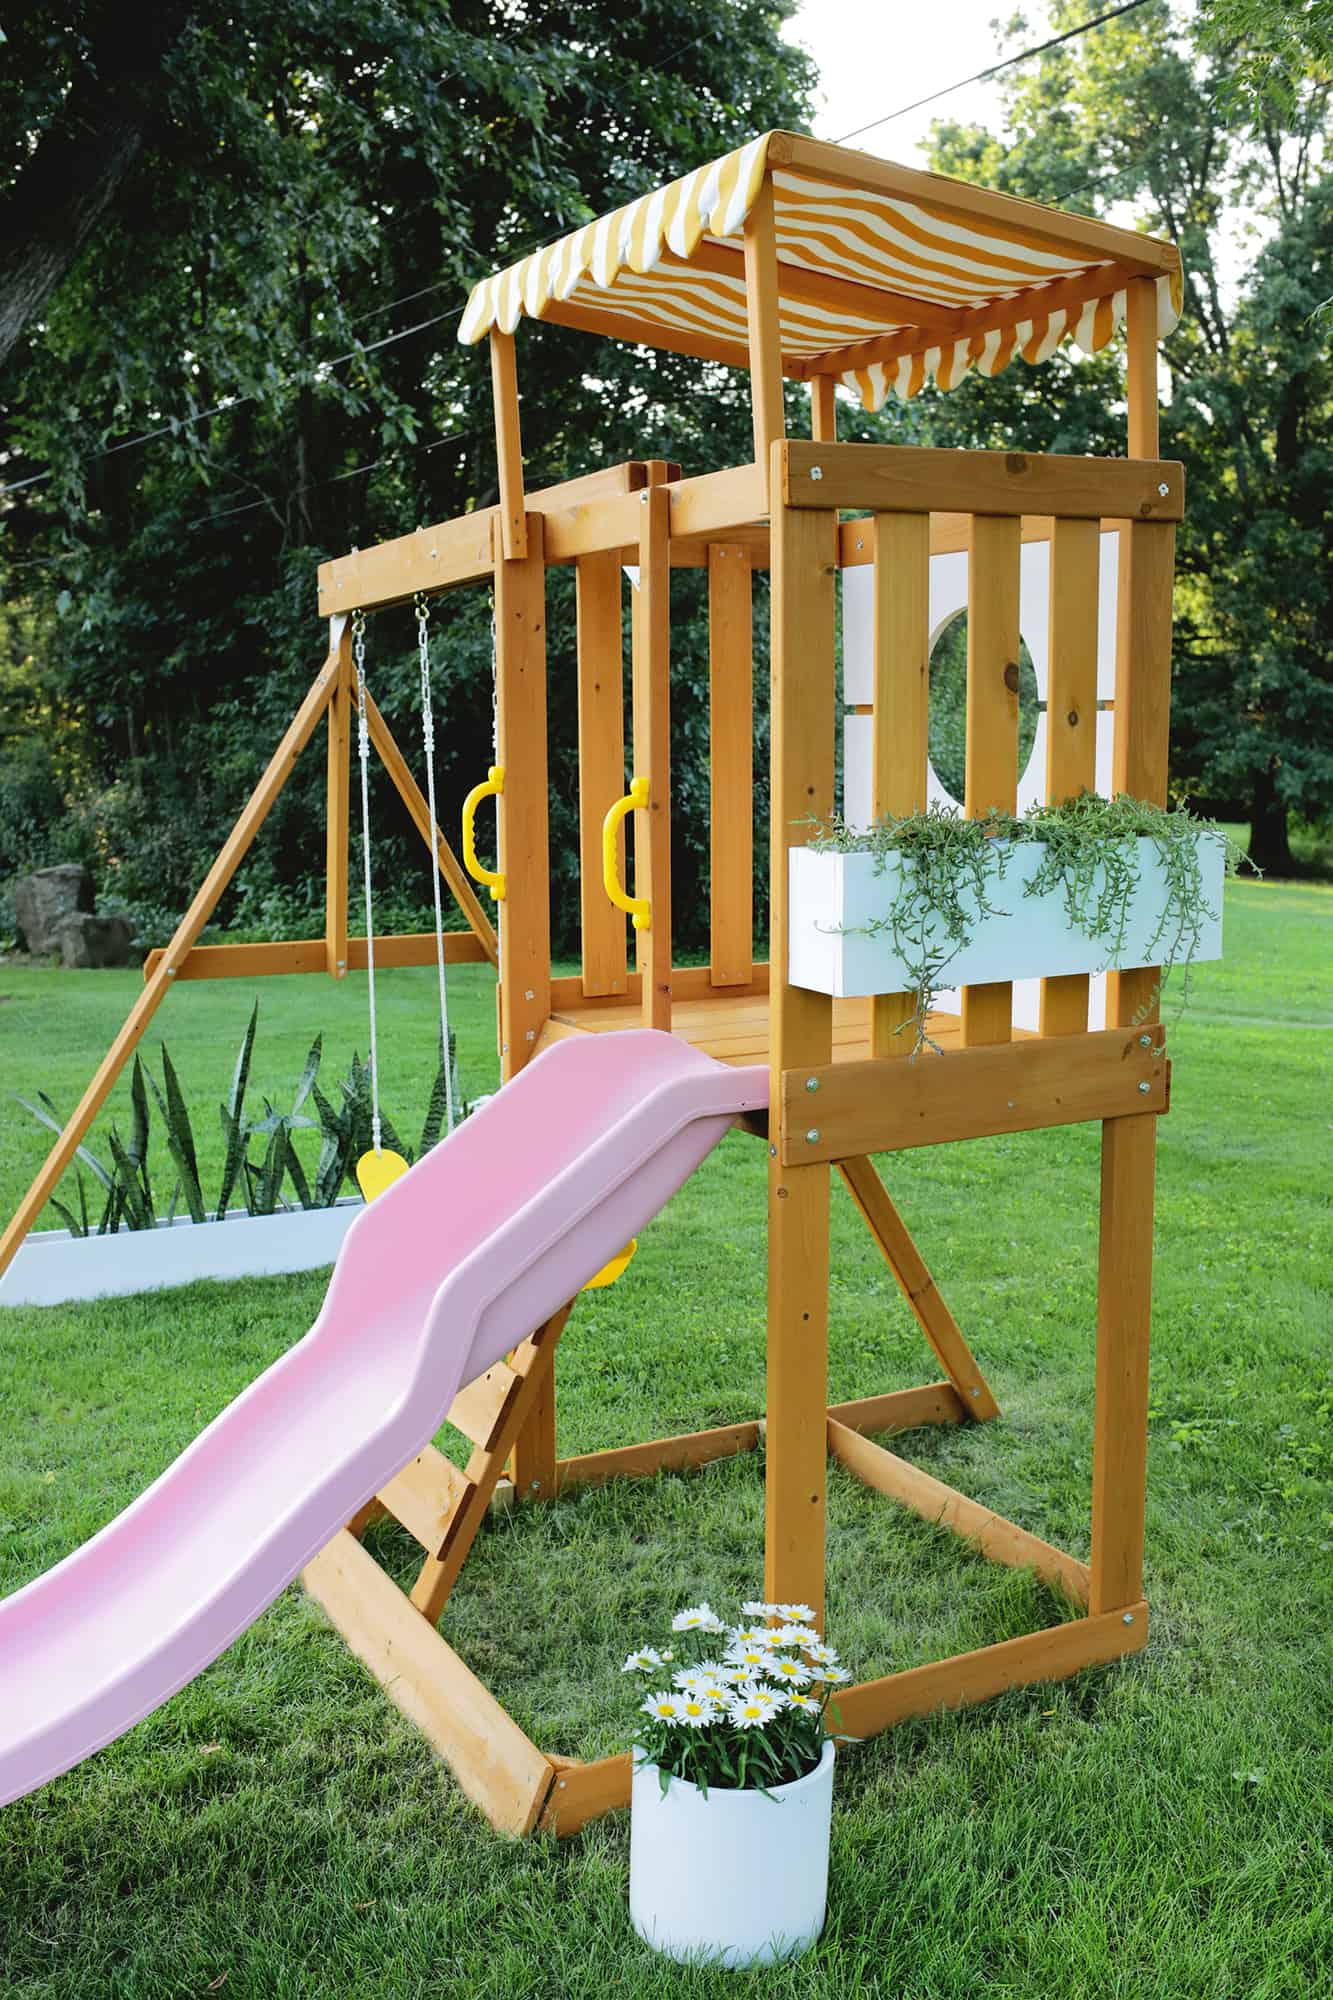

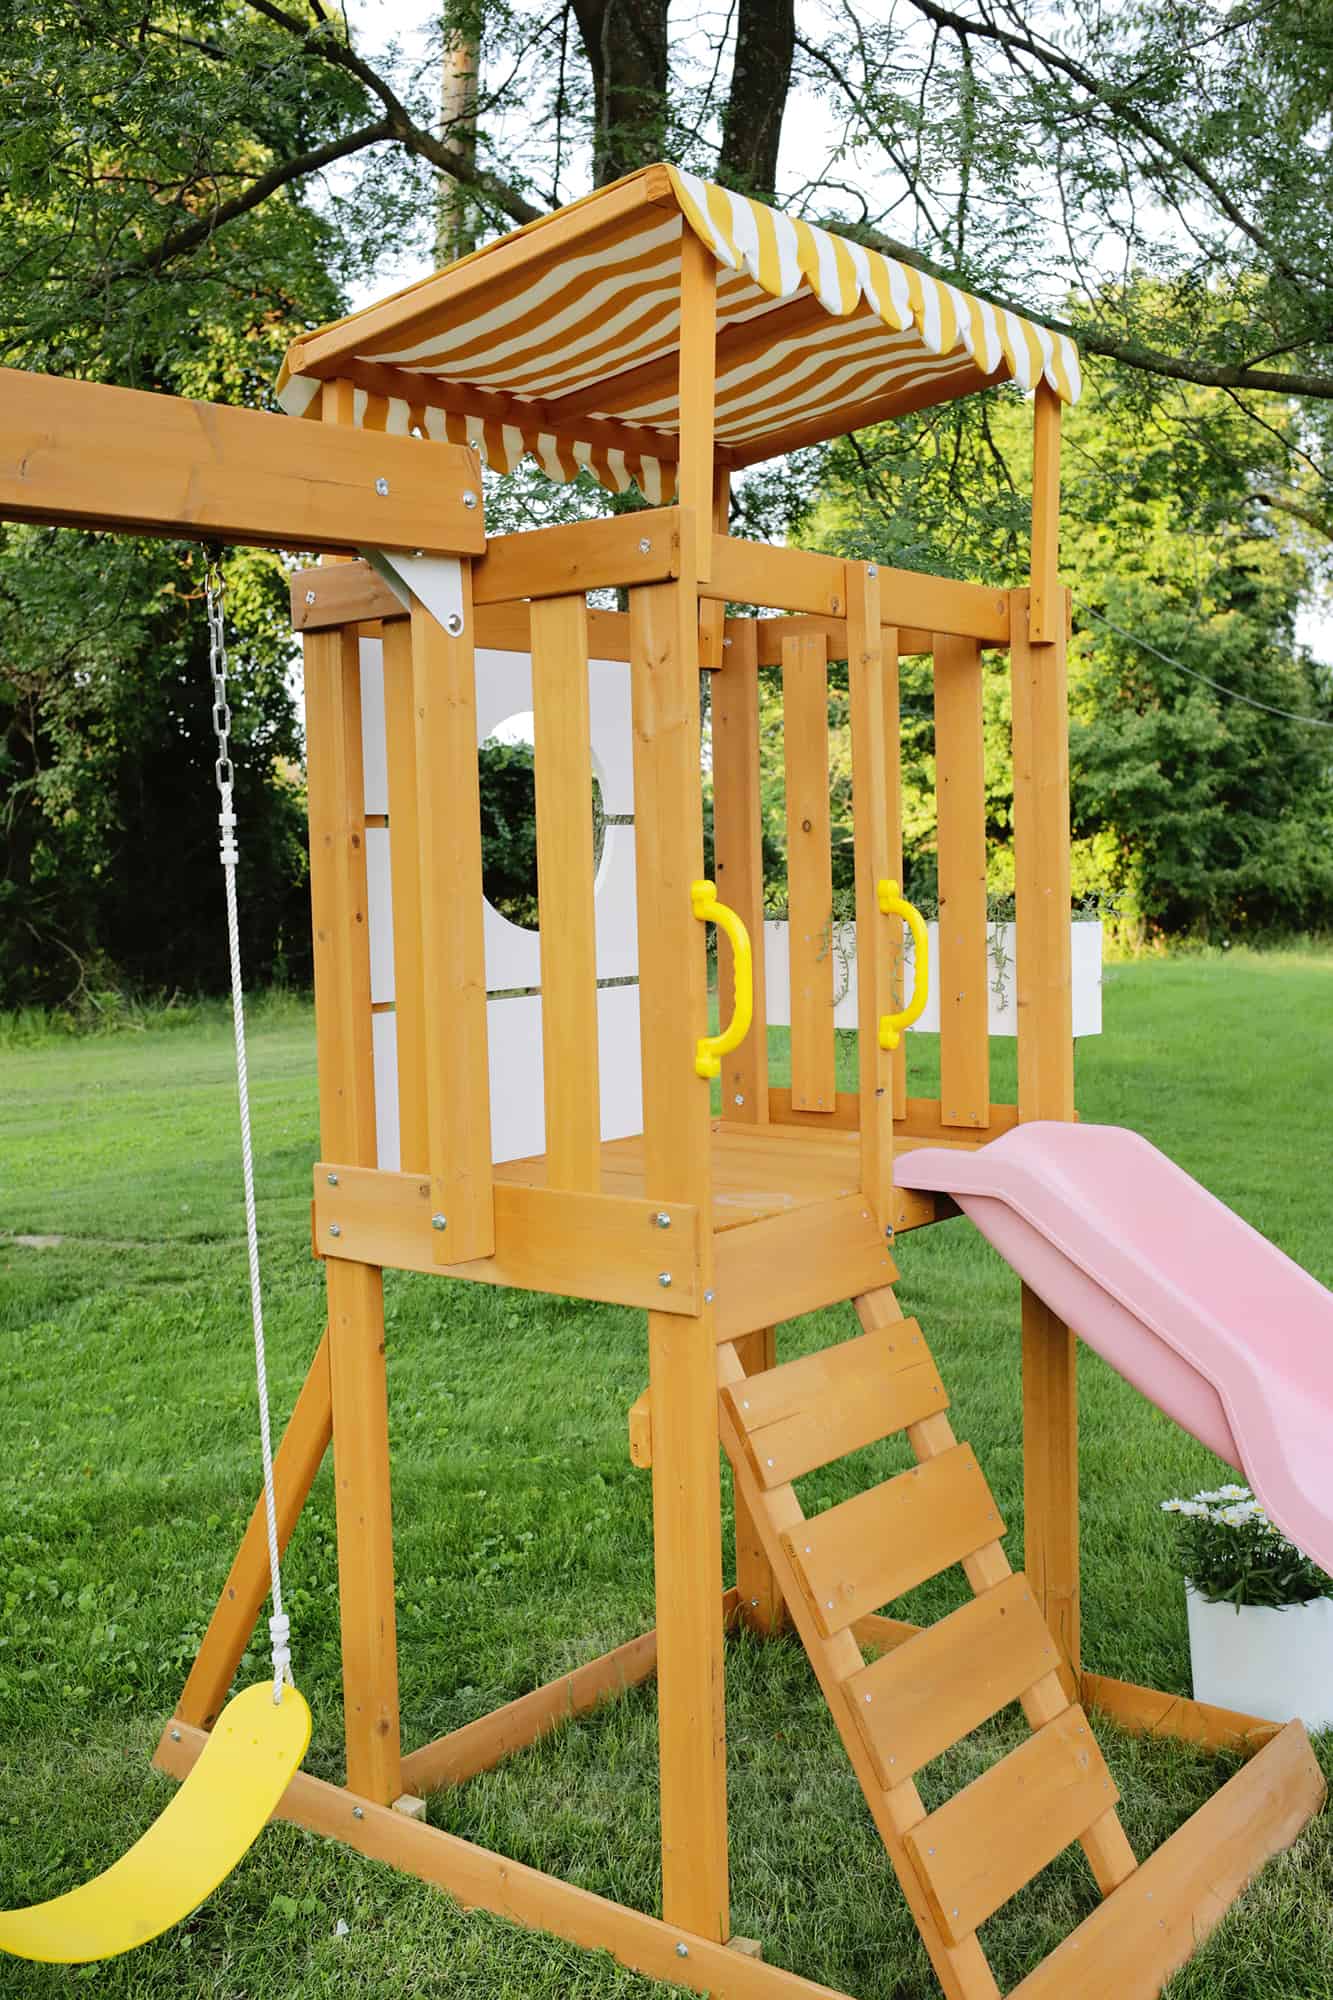


 Once the planter boxes were screwed in place and plants were added, we popped on these handles to get to the top of the ladder easier, and my play set was finally done!! Lola has been so happy with this play set (as you can see) and once I got all the additions done to it, she turned to me and said, “This playground is great!!” My mom heart was so warmed. Depending on the expense of the fabric you get or how nice the wood is that you buy, you can totally make all these additions for under $200, so it will still keep your play set in a more budget category compared to a lot of the more customized ones I’ve seen …
So, if you’ve been wanting to get a cute custom mid-century-inspired play set but don’t want to do all the work of building it from scratch, consider buying your own set and doing some custom additions! I know I’m so glad that we did 😉 xo. Laura


I don’t always read the whole DIY post of something I will likely never do, but this was fascinating to me! And snapping the awning is genius. Then it can come off if you want to store it in the winter (depending how rough your weather is). Very cool project.
Looks really cute! I’m curious though, what will you do with the snake plants when it gets cold? (Unless those are something else!). 🙂
I’ll bring them inside! I did that with outdoor planters at our last house too 🙂
Laura
Another awesome DIY Laura! It is so cute and Lola looks so happy!
You are the DIY queen! So so creative – I absolutely love the scalloped awning edge. And I couldn’t even tell the slide had been painted – I thought you’d found a pink one somewhere! Your daughter looks so happy – I bet this is one of her favorite DIYs haha.
Amazing! I don’t have a kid but I’m always scared that whenever I do I’m going to look around one day and be surrounded by primary colors. This has given me hope!
Haha, I promise that doesn’t have to be the case! There is hope!
Laura
Same! Pregnant with my first and shrieking at the sight of toys and play sets in acid green, yellow and red ? I’m so grateful we have Laura and Elsie showing us kiddo stuff doesn’t have to look awful ?
This is such a great project Laura!!
Thanks Claire!!
Laura
I love everything about how you customized this play set, but if I had to choose a single element as a winner, that would definitely be the plants for me! I think it looks so much more complete than before! It’s a lovely finishing touch!
Well done Laura! I’m constantly impressed with your creativity and DIY skills. Lola is a lucky little girl to have such a pretty play set.
Thank you!! I’m so glad she likes it 🙂
Laura