-1″ half round flexible molding (I got mine here but you can also get it here)
-1″ straight half round molding
-level
-large circle you can trace (like a bowl or planter) or a large compass (this one is nice too)
–miter saw or miter box for a hand saw
-hammer and nails or nail gun (I love this battery nail gun!)
–wood filler
-latex caulk (this is my favorite and it dries really fast)
-paint color of choice (I love this brush for painting round molding and this primer is helpful for the flexible molding)
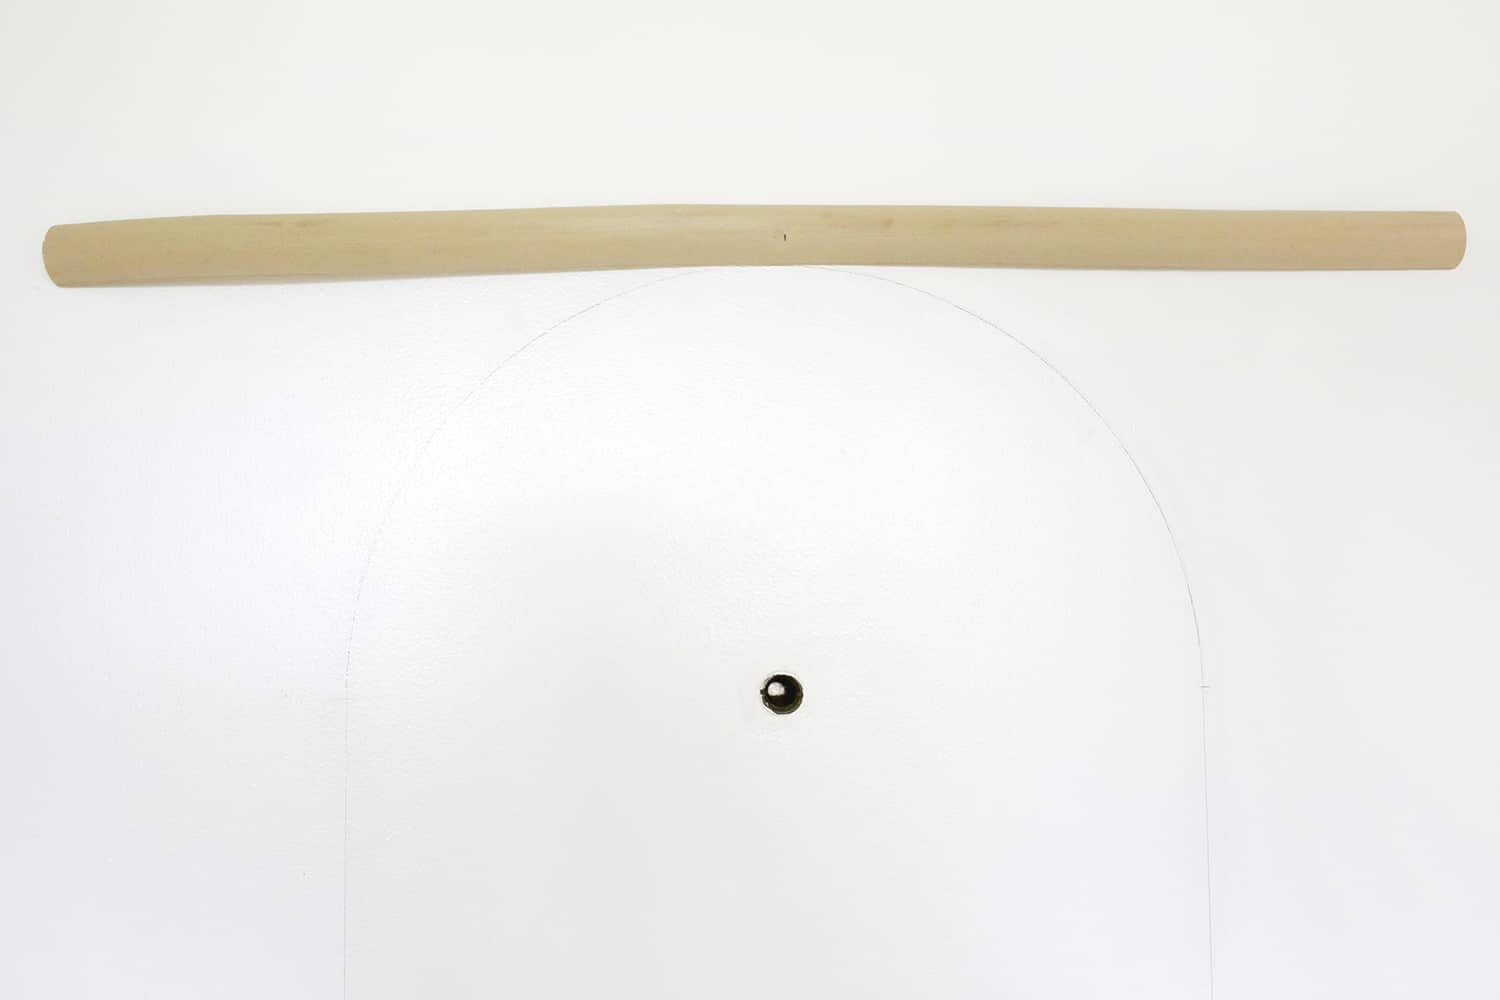
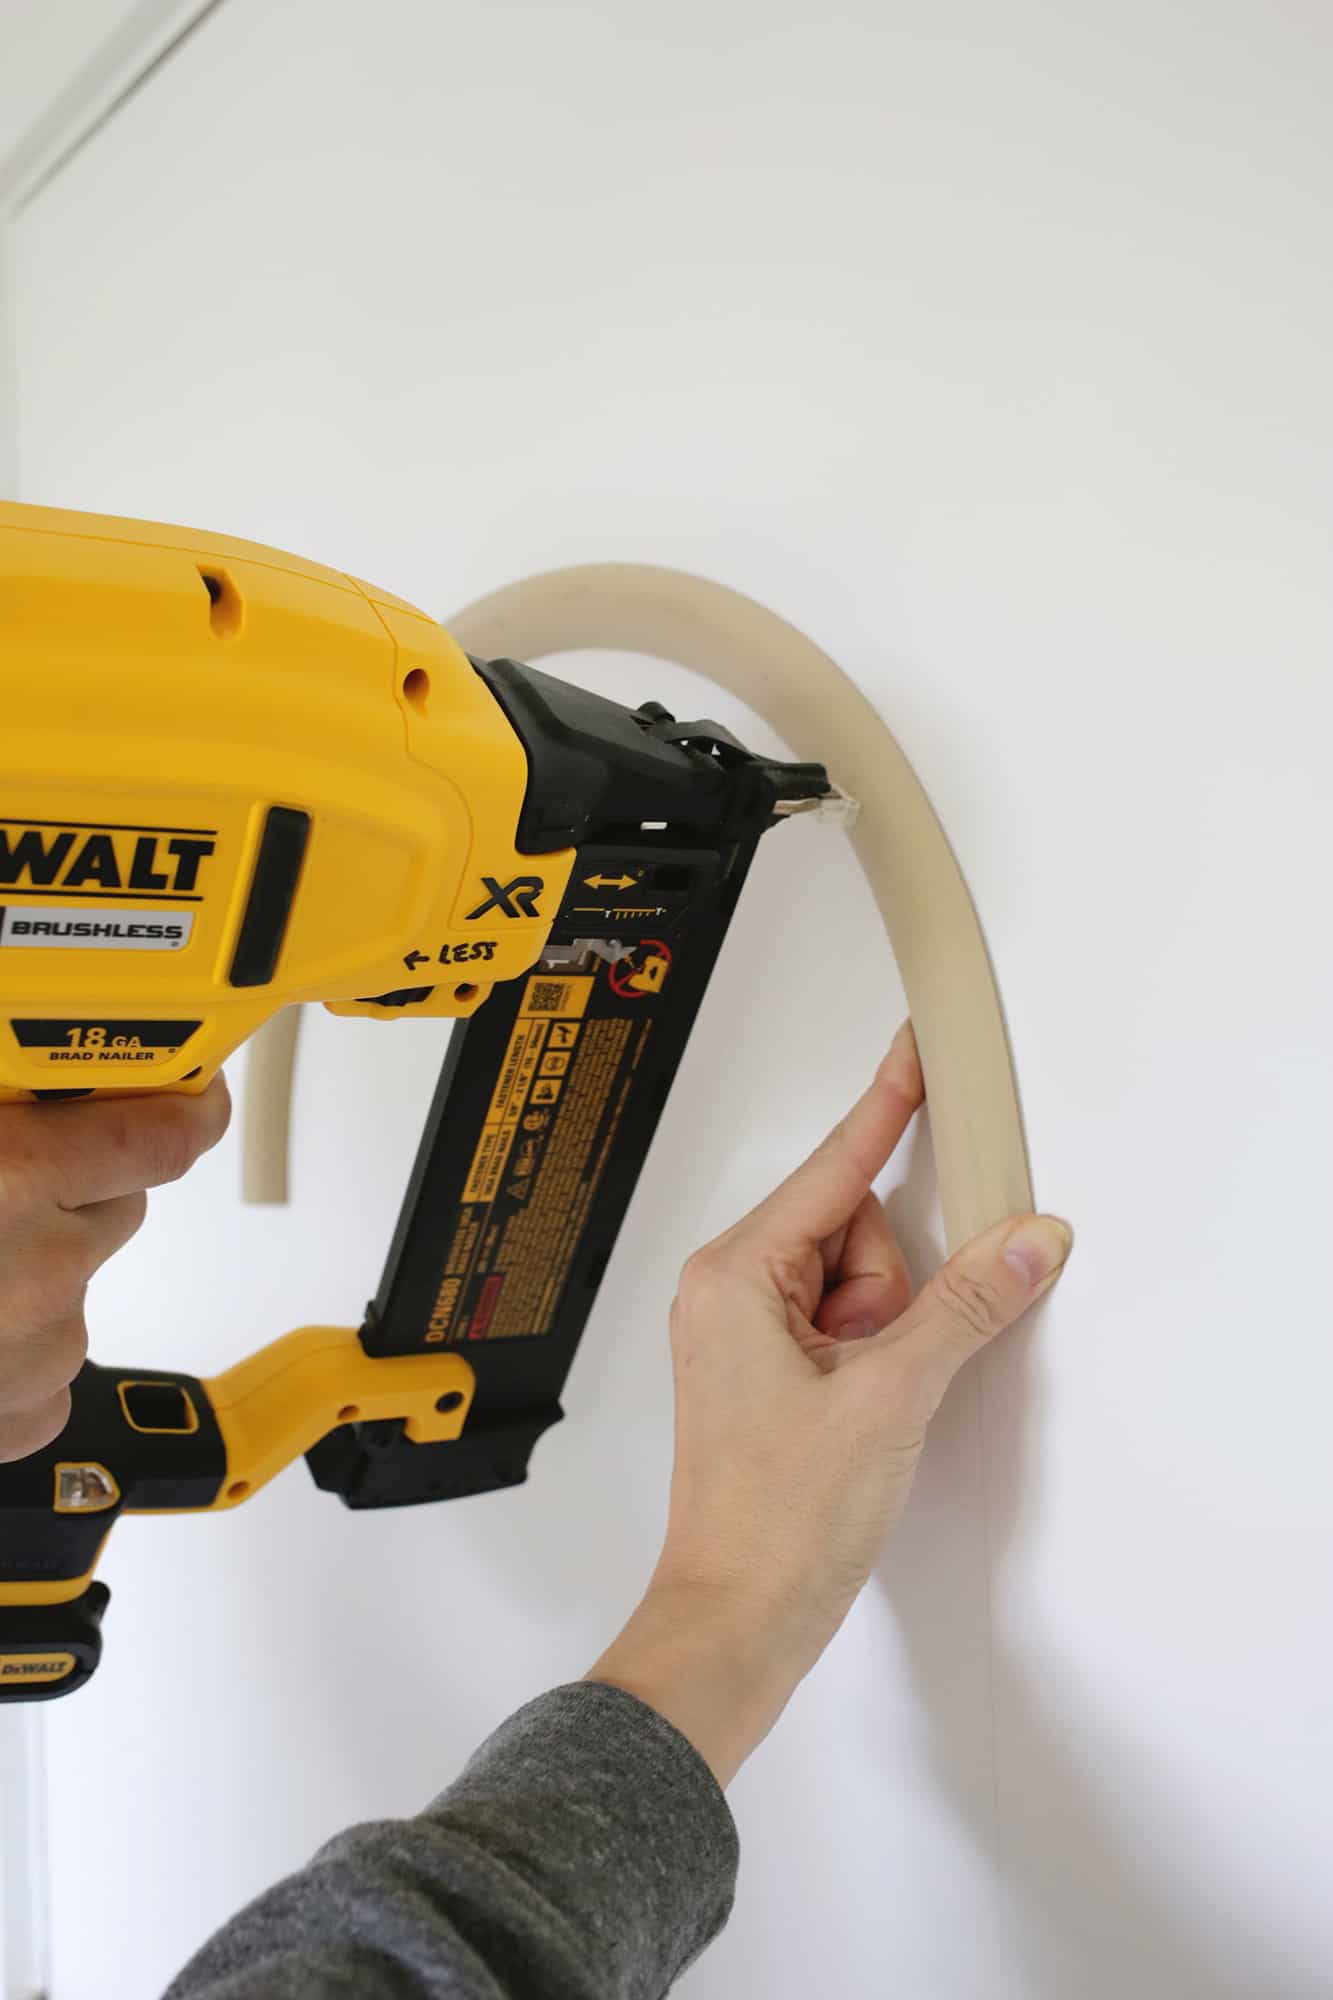
Once I had my half circle traced, I added some straight lines down the sides and decided where I wanted the “pill” shape to cut in half in the middle (use a level to make sure all your lines are level and straight as you trace). Measure your half arch at the top of your shape and cut a piece of flexible molding to that length. Find the middle of your arch and of your molding strip and nail your strip centered above your arch as you see above. Then, using a friend for help, continue to bend and arch the molding to follow your traced line and nail it in every 2-3″ as you go.
Make sure your nail heads are sinking in past the trim so you can fill those holes later to make them disappear … use a nail setter to drive them in further if you need to (this set is really handy). Repeat with the other side of trim so you have your curved arch ready to go.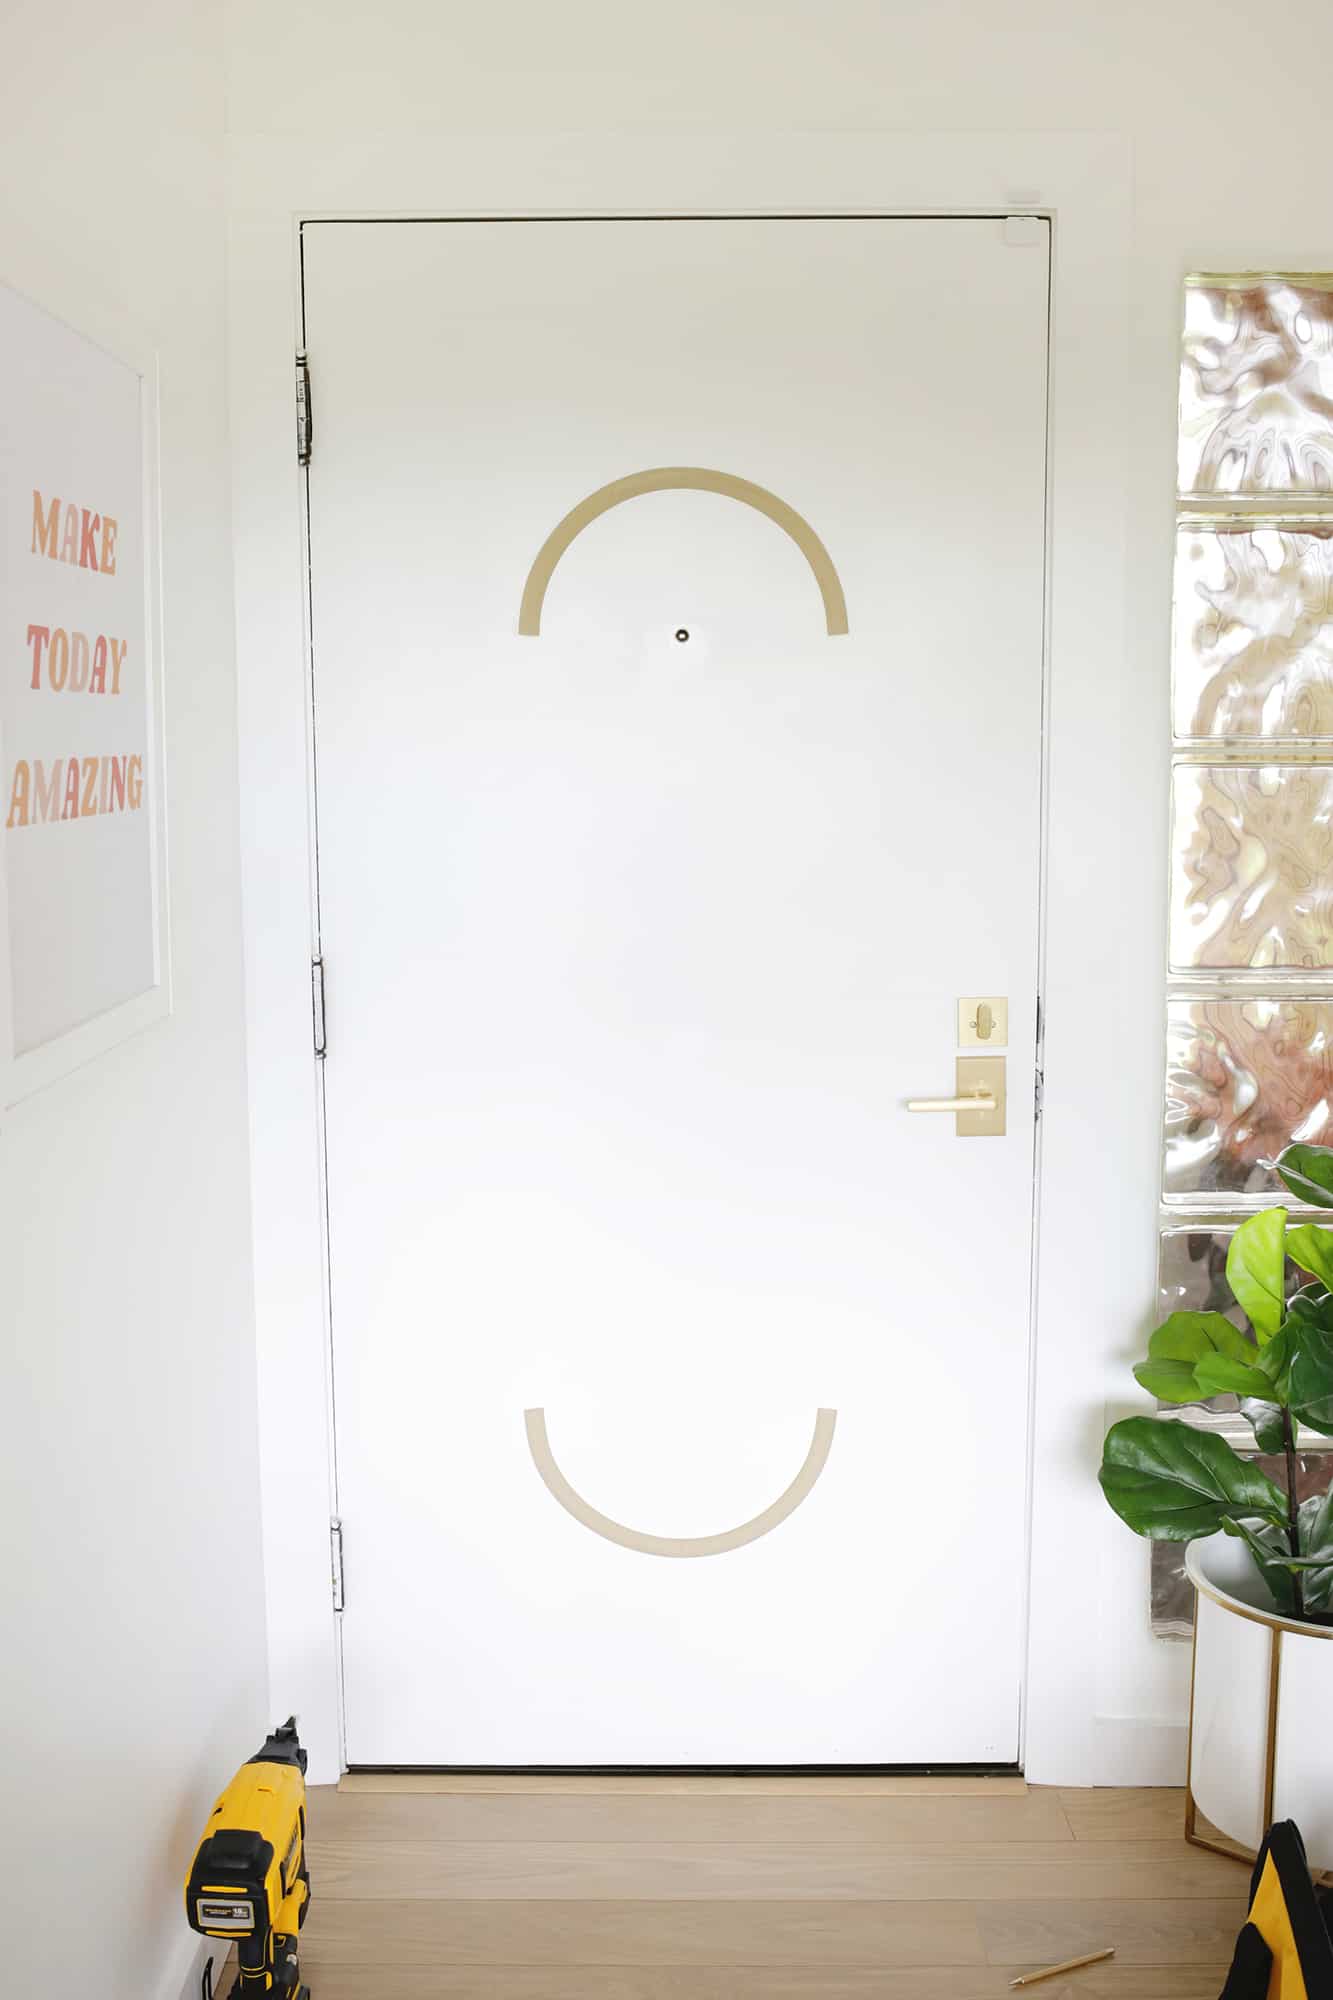

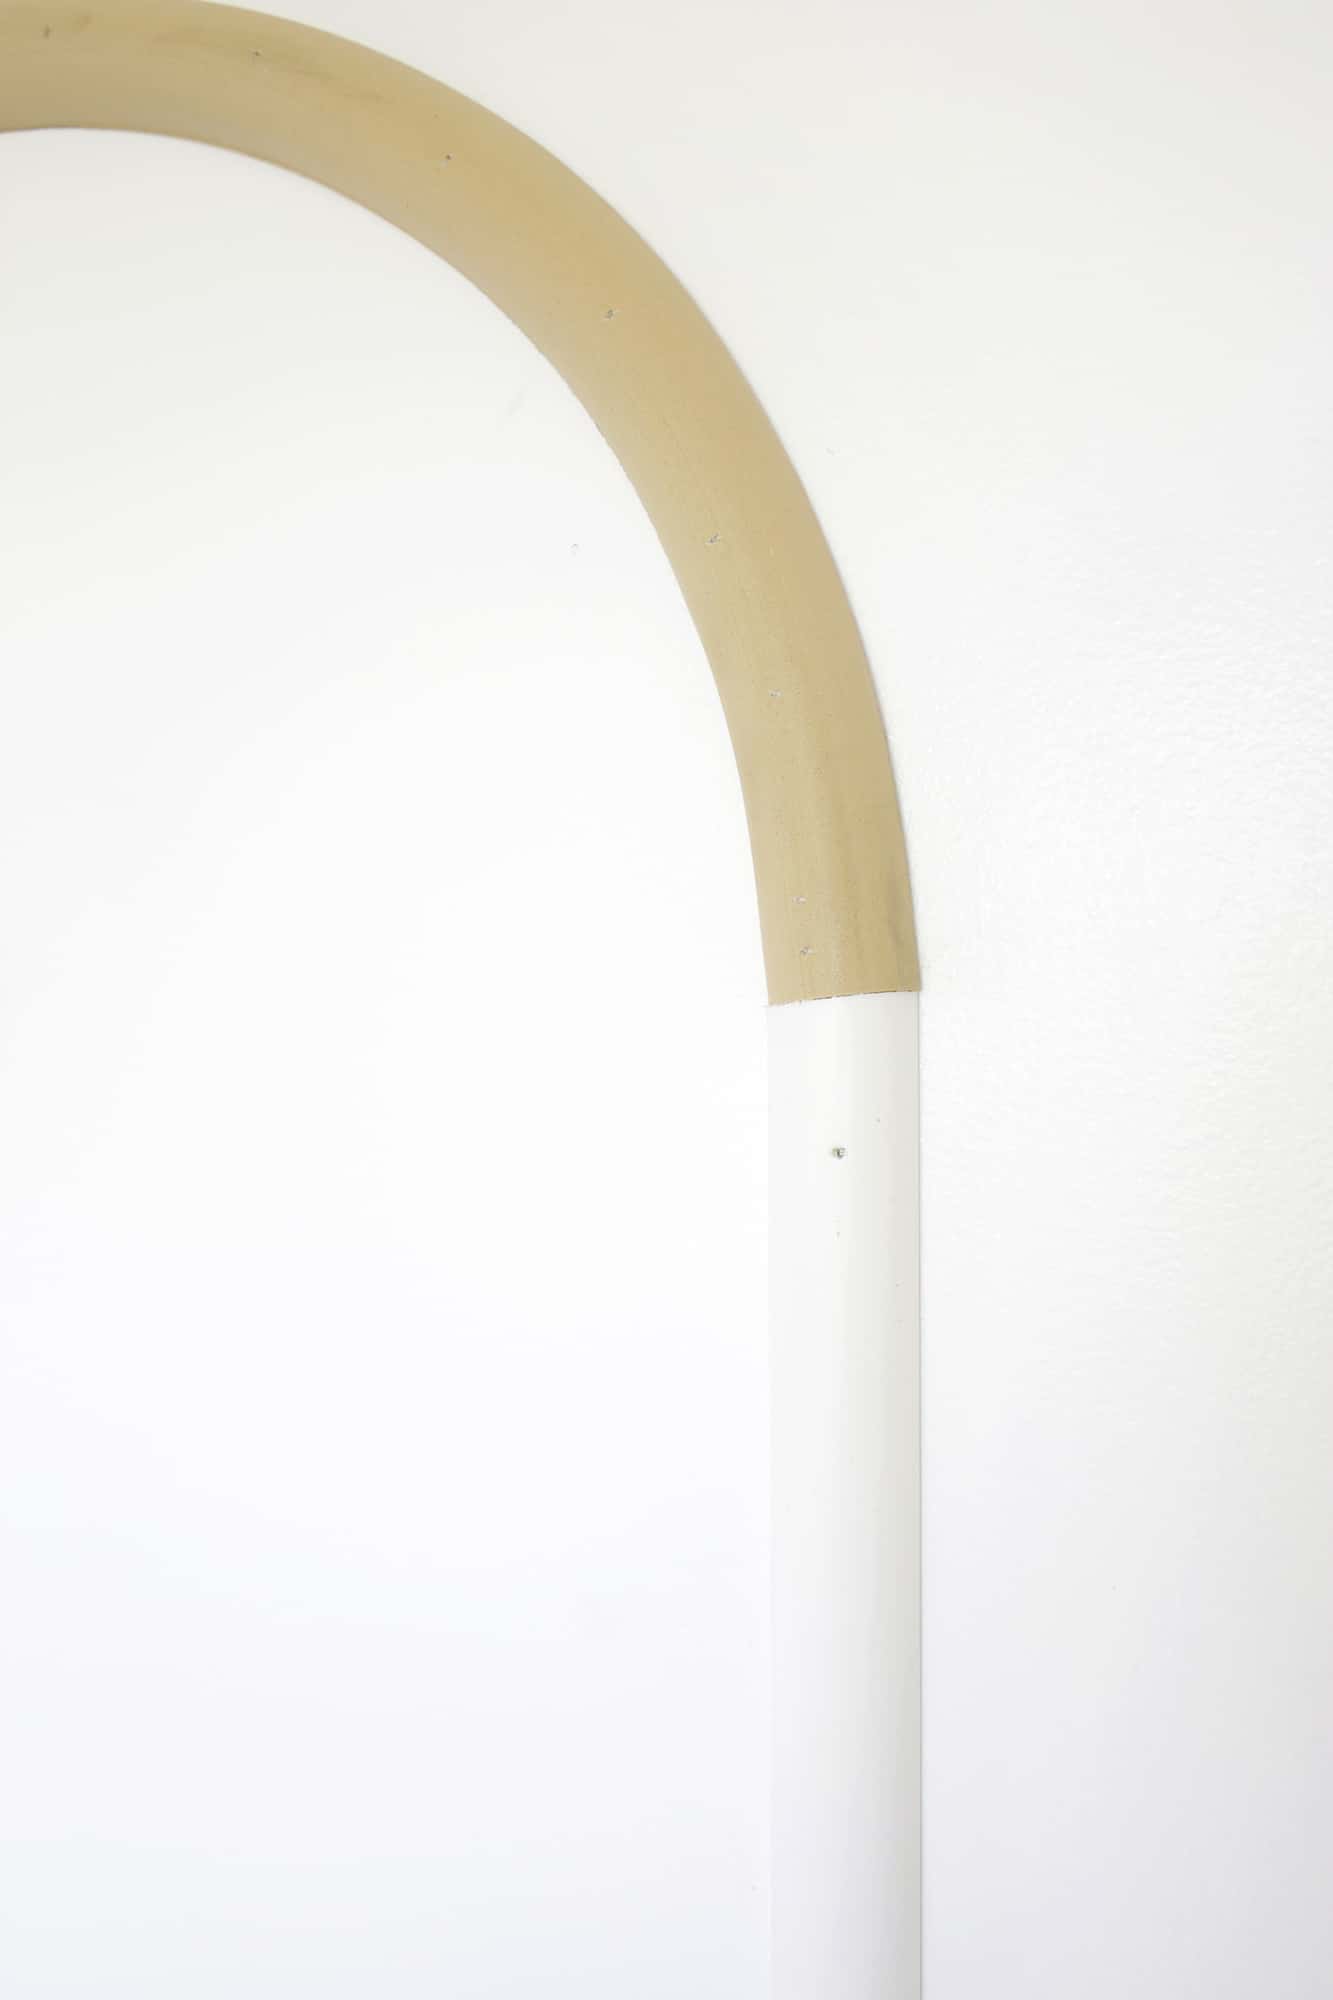
You can cut your trim where it meets the arch at a regular 0° angle (so no angle at all), but I found that it’s really hard to get the flexible arch to bend exactly so it fits to that angle (you can see it meets together at a slight angle in the photo above). I cut a few test scrap pieces at different angles until I found that cutting the straight trim at a small 7° angle was just enough to fit perfectly with my flexible molding. If you aren’t using a miter saw where you can change the angle slightly like that, then just cut it at no angle and you can fill any gap between them with wood filler.
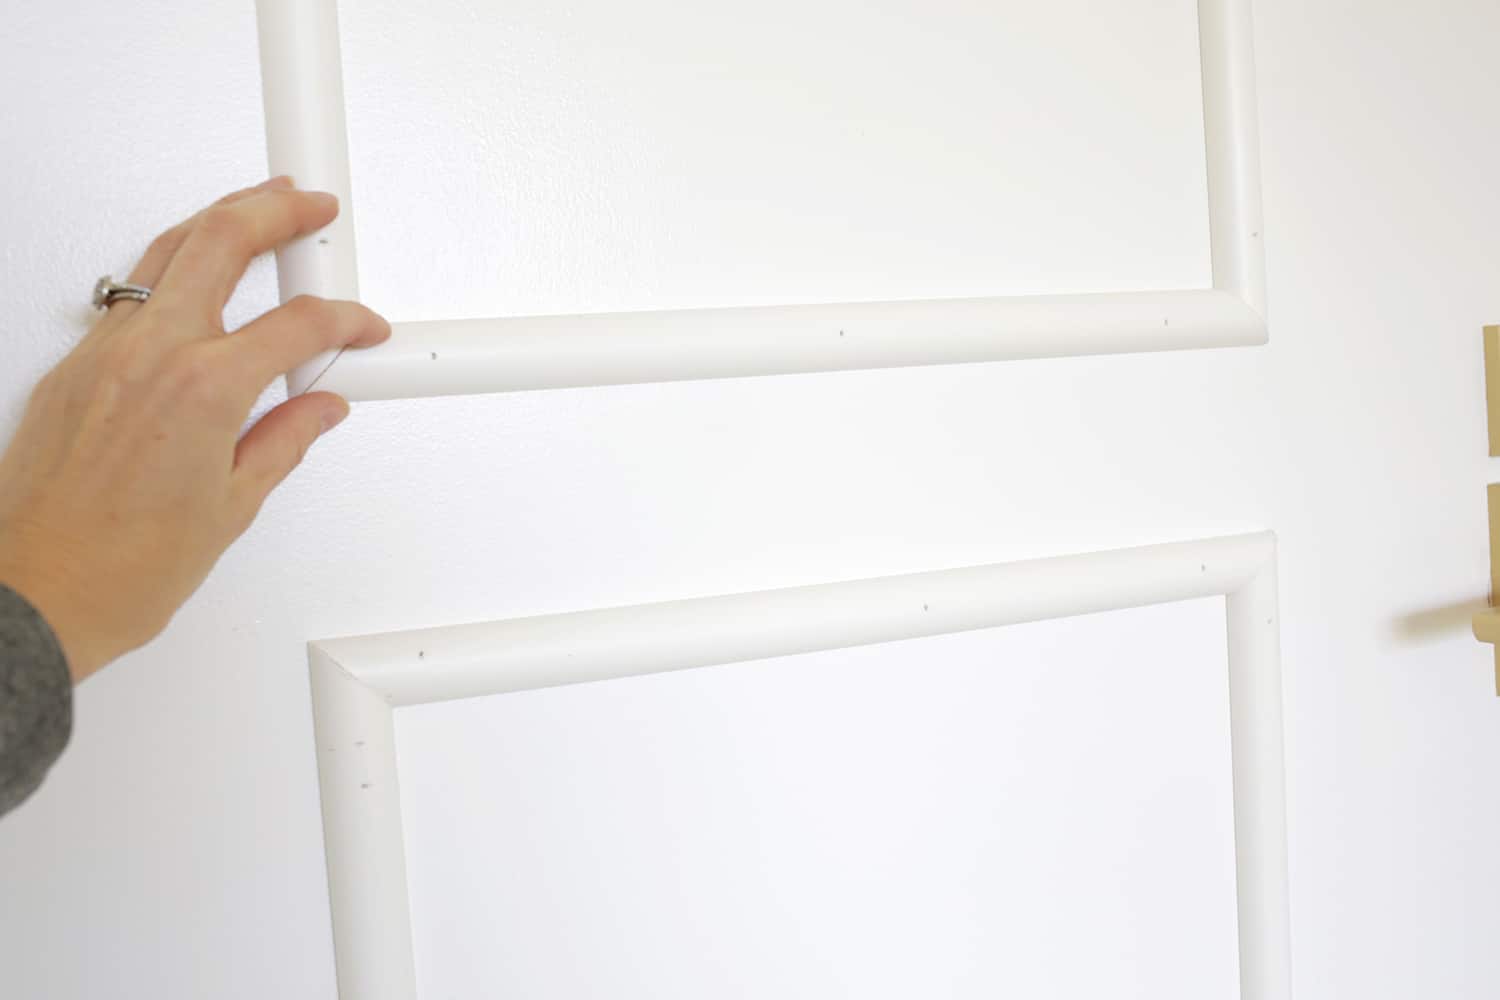
And now it’s time to fill your nail holes with wood filler, sand then down when dry and caulk the sides of your seams with calk (optional but will make it all look seamless, so I highly suggest that). Once it’s all sanded and dry, you can paint the trim to match the door (love this rounded brush for painting anything rounded like this). This flexible molding had a bit of a harder time sticking to regular paint, so I would suggest a coat of this first on the trim so it adheres more evenly and requires less coats overall. A few coats of paint and you’re done!
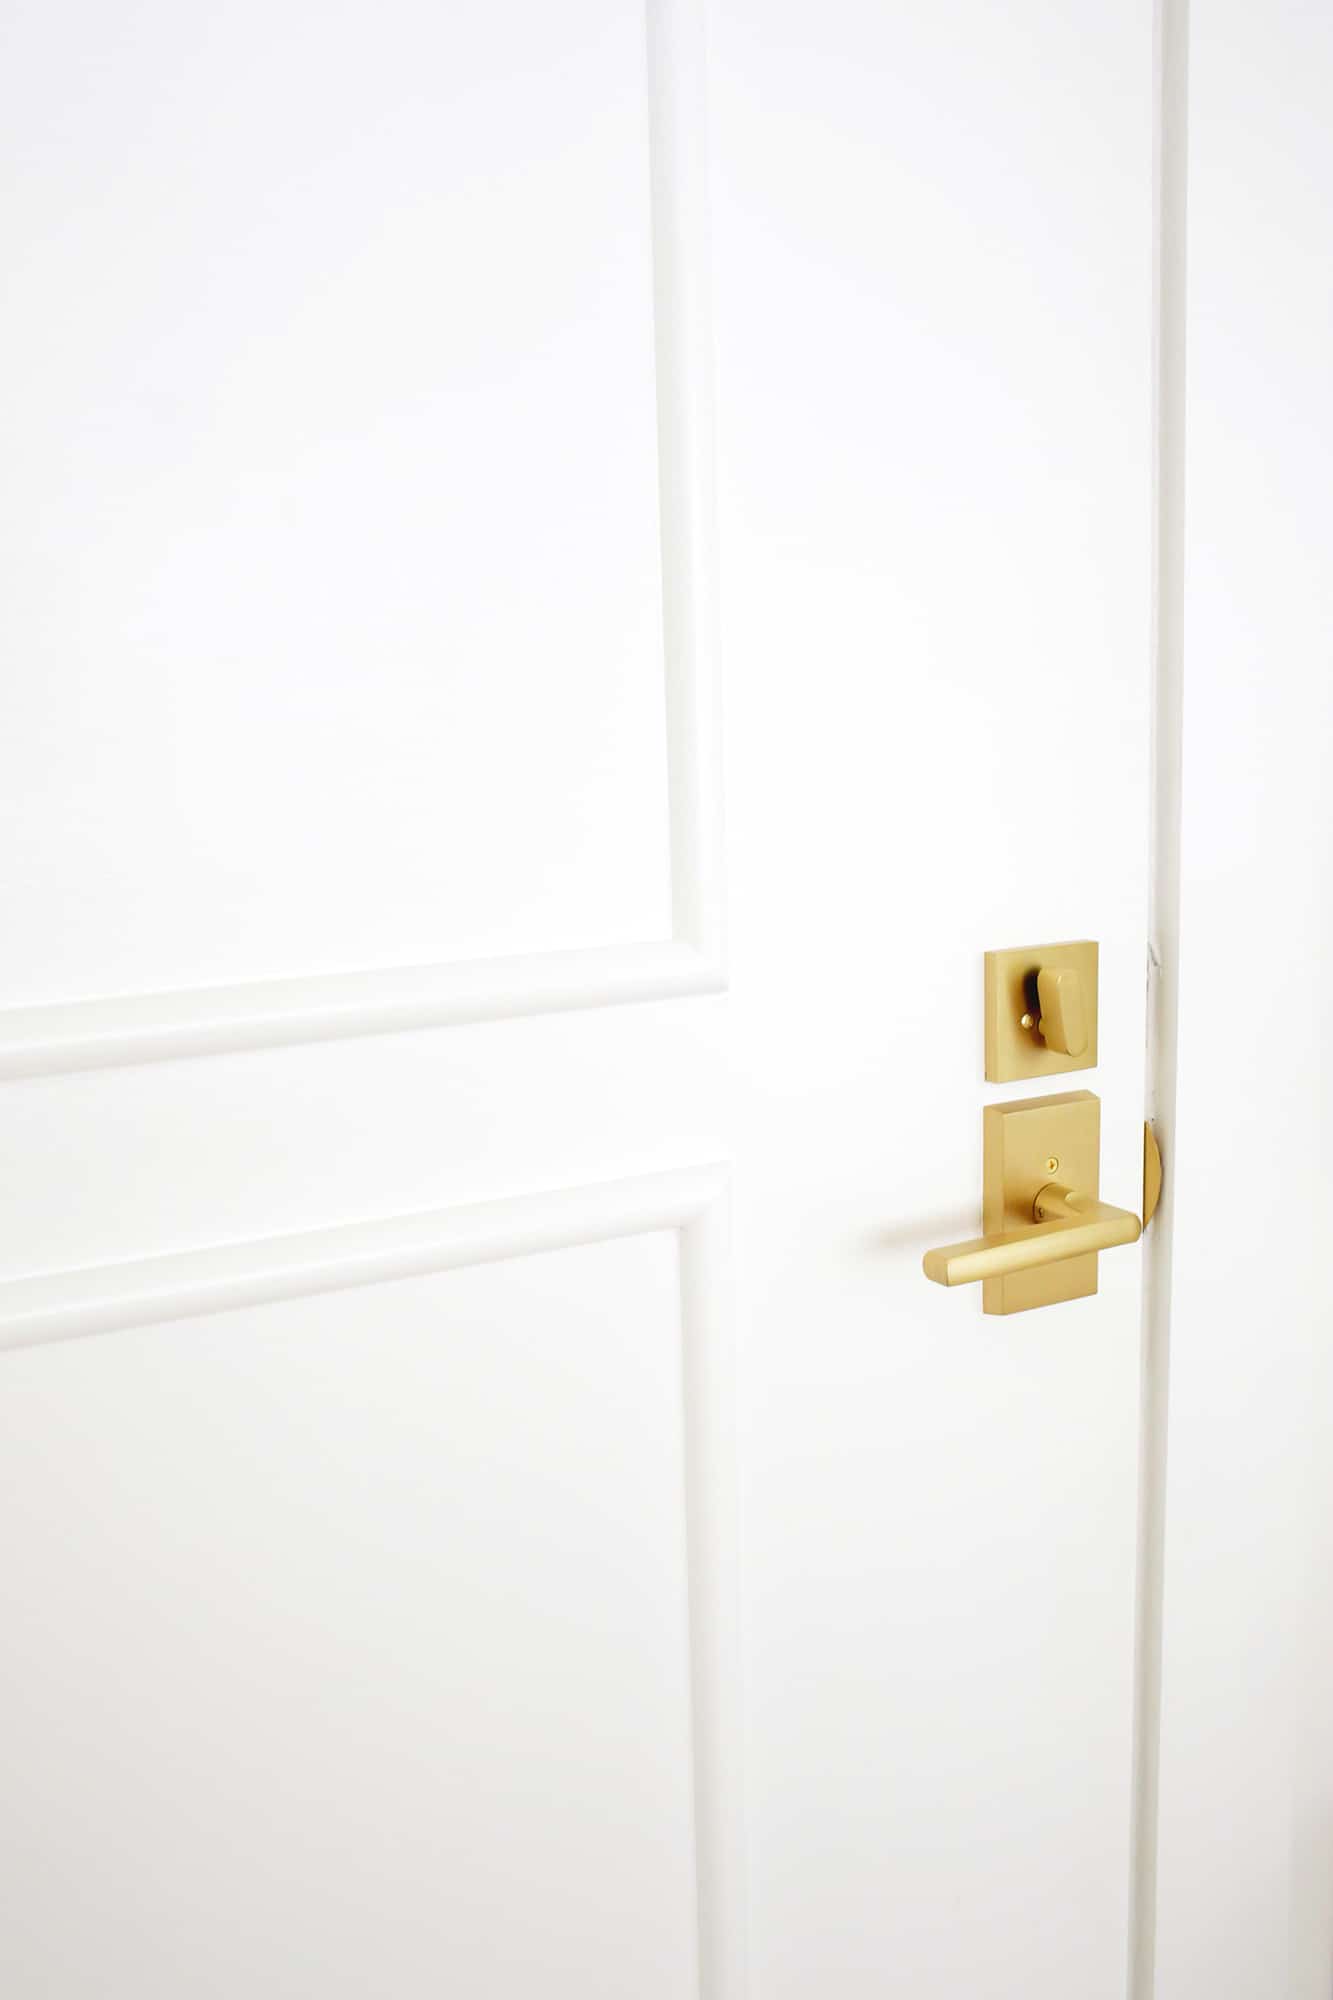
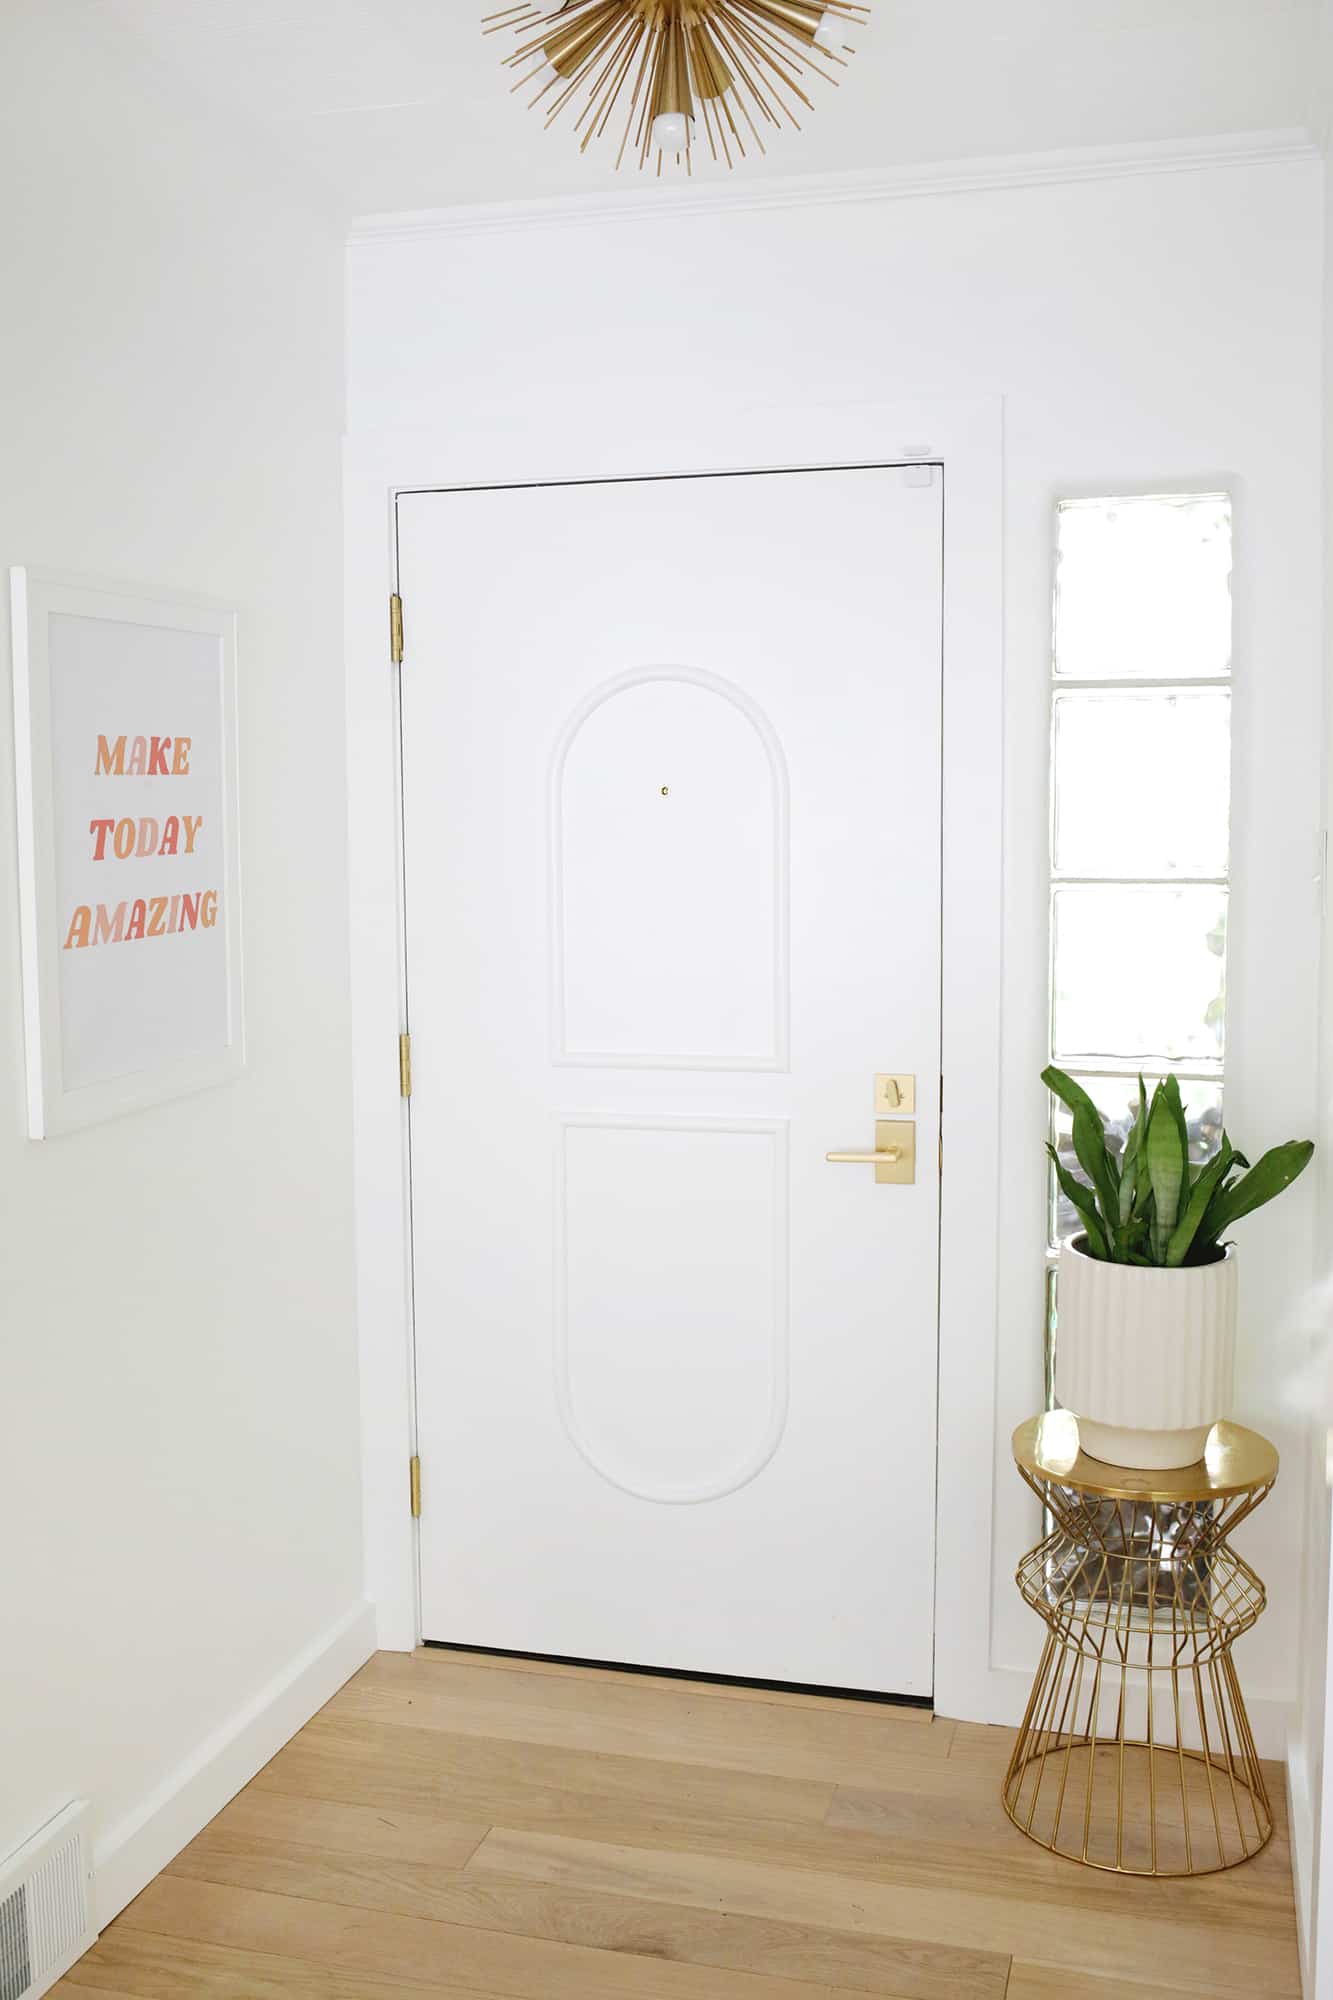
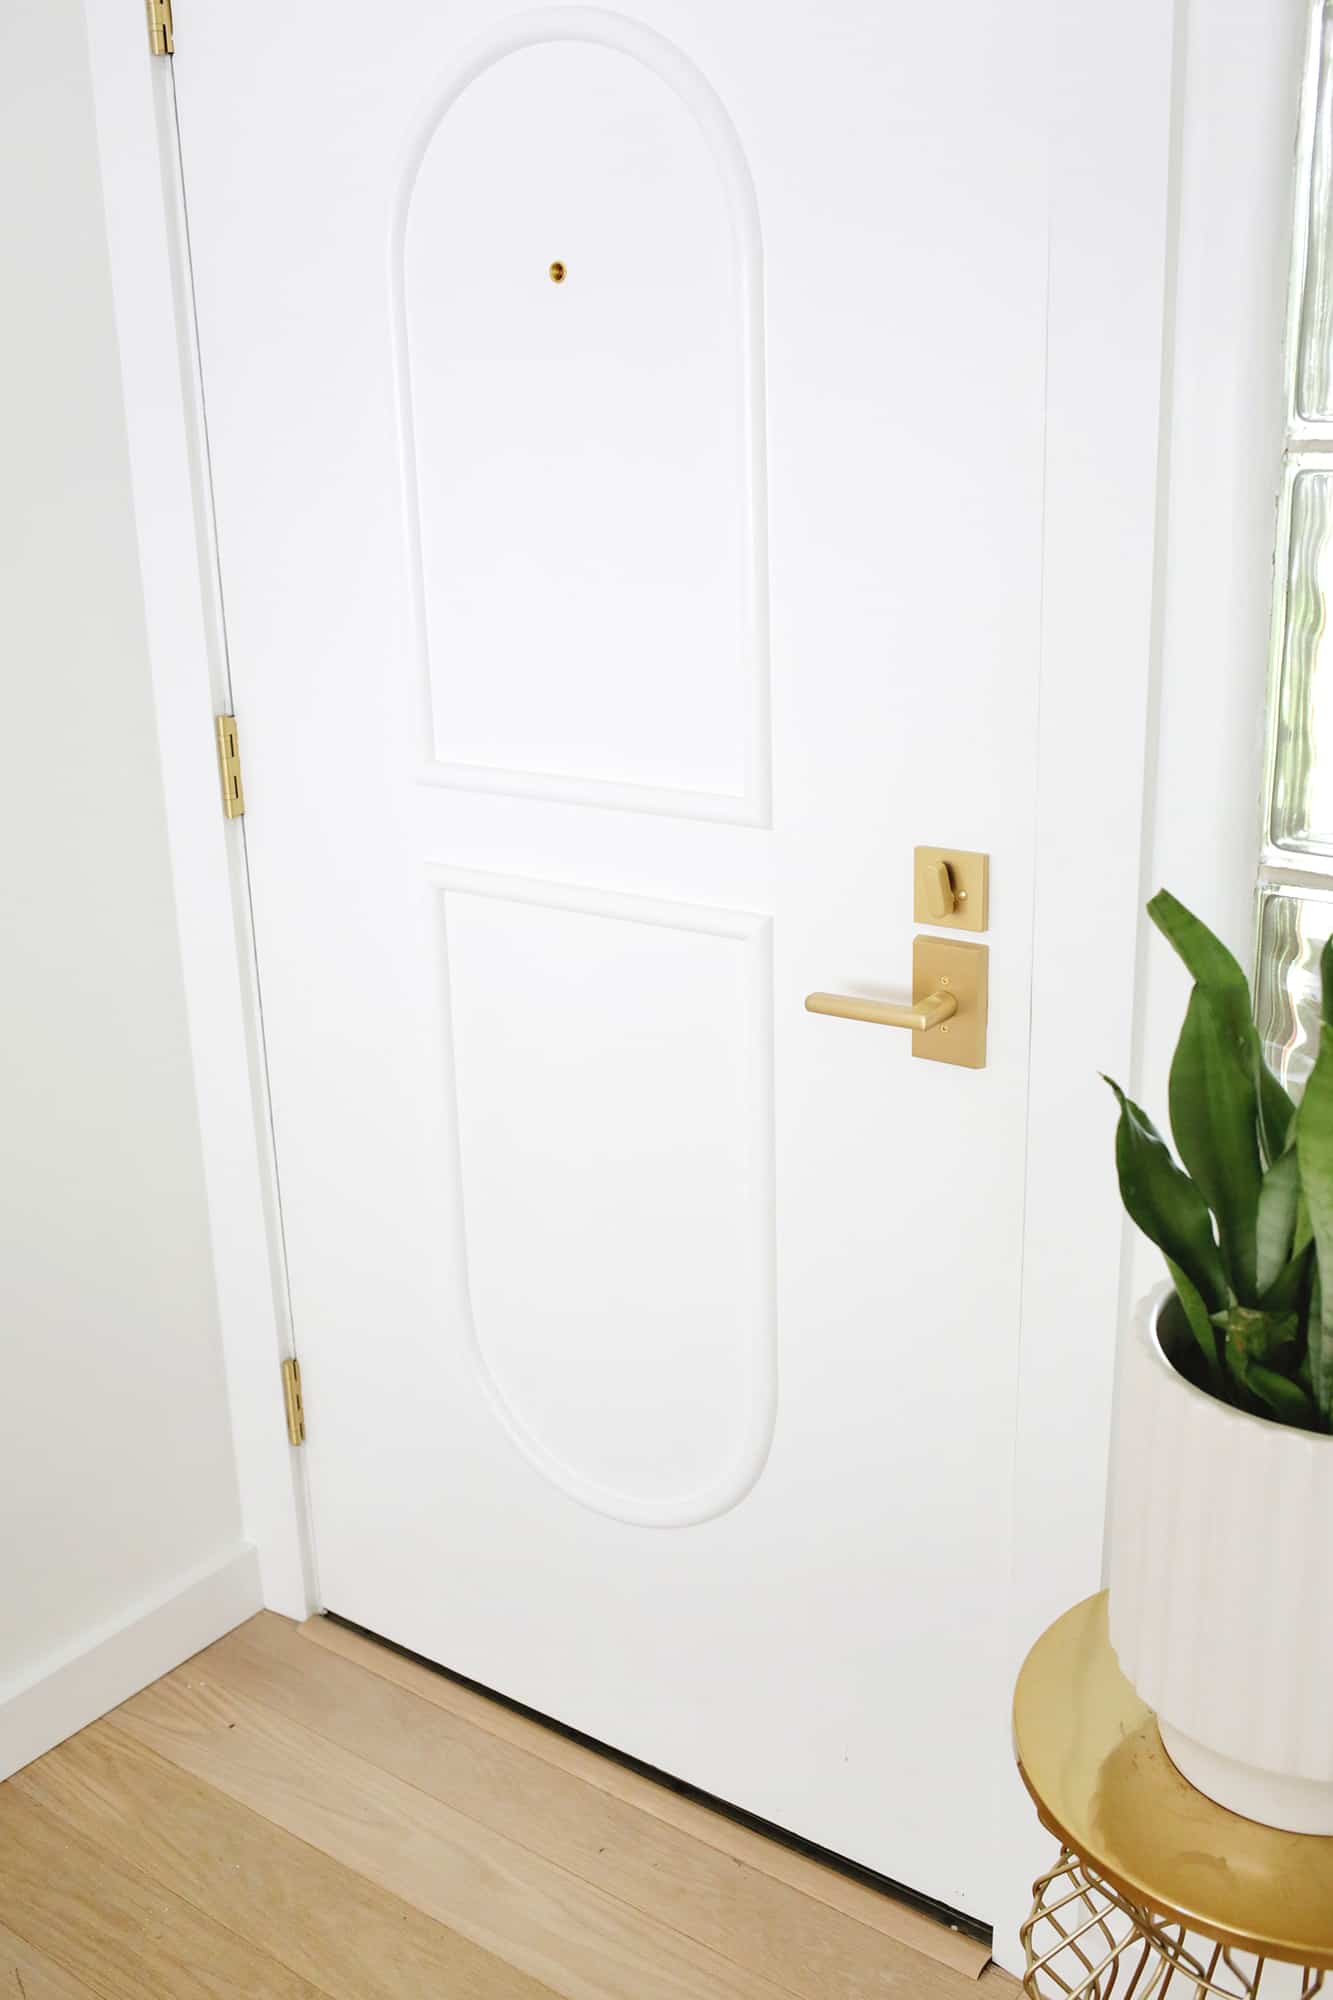
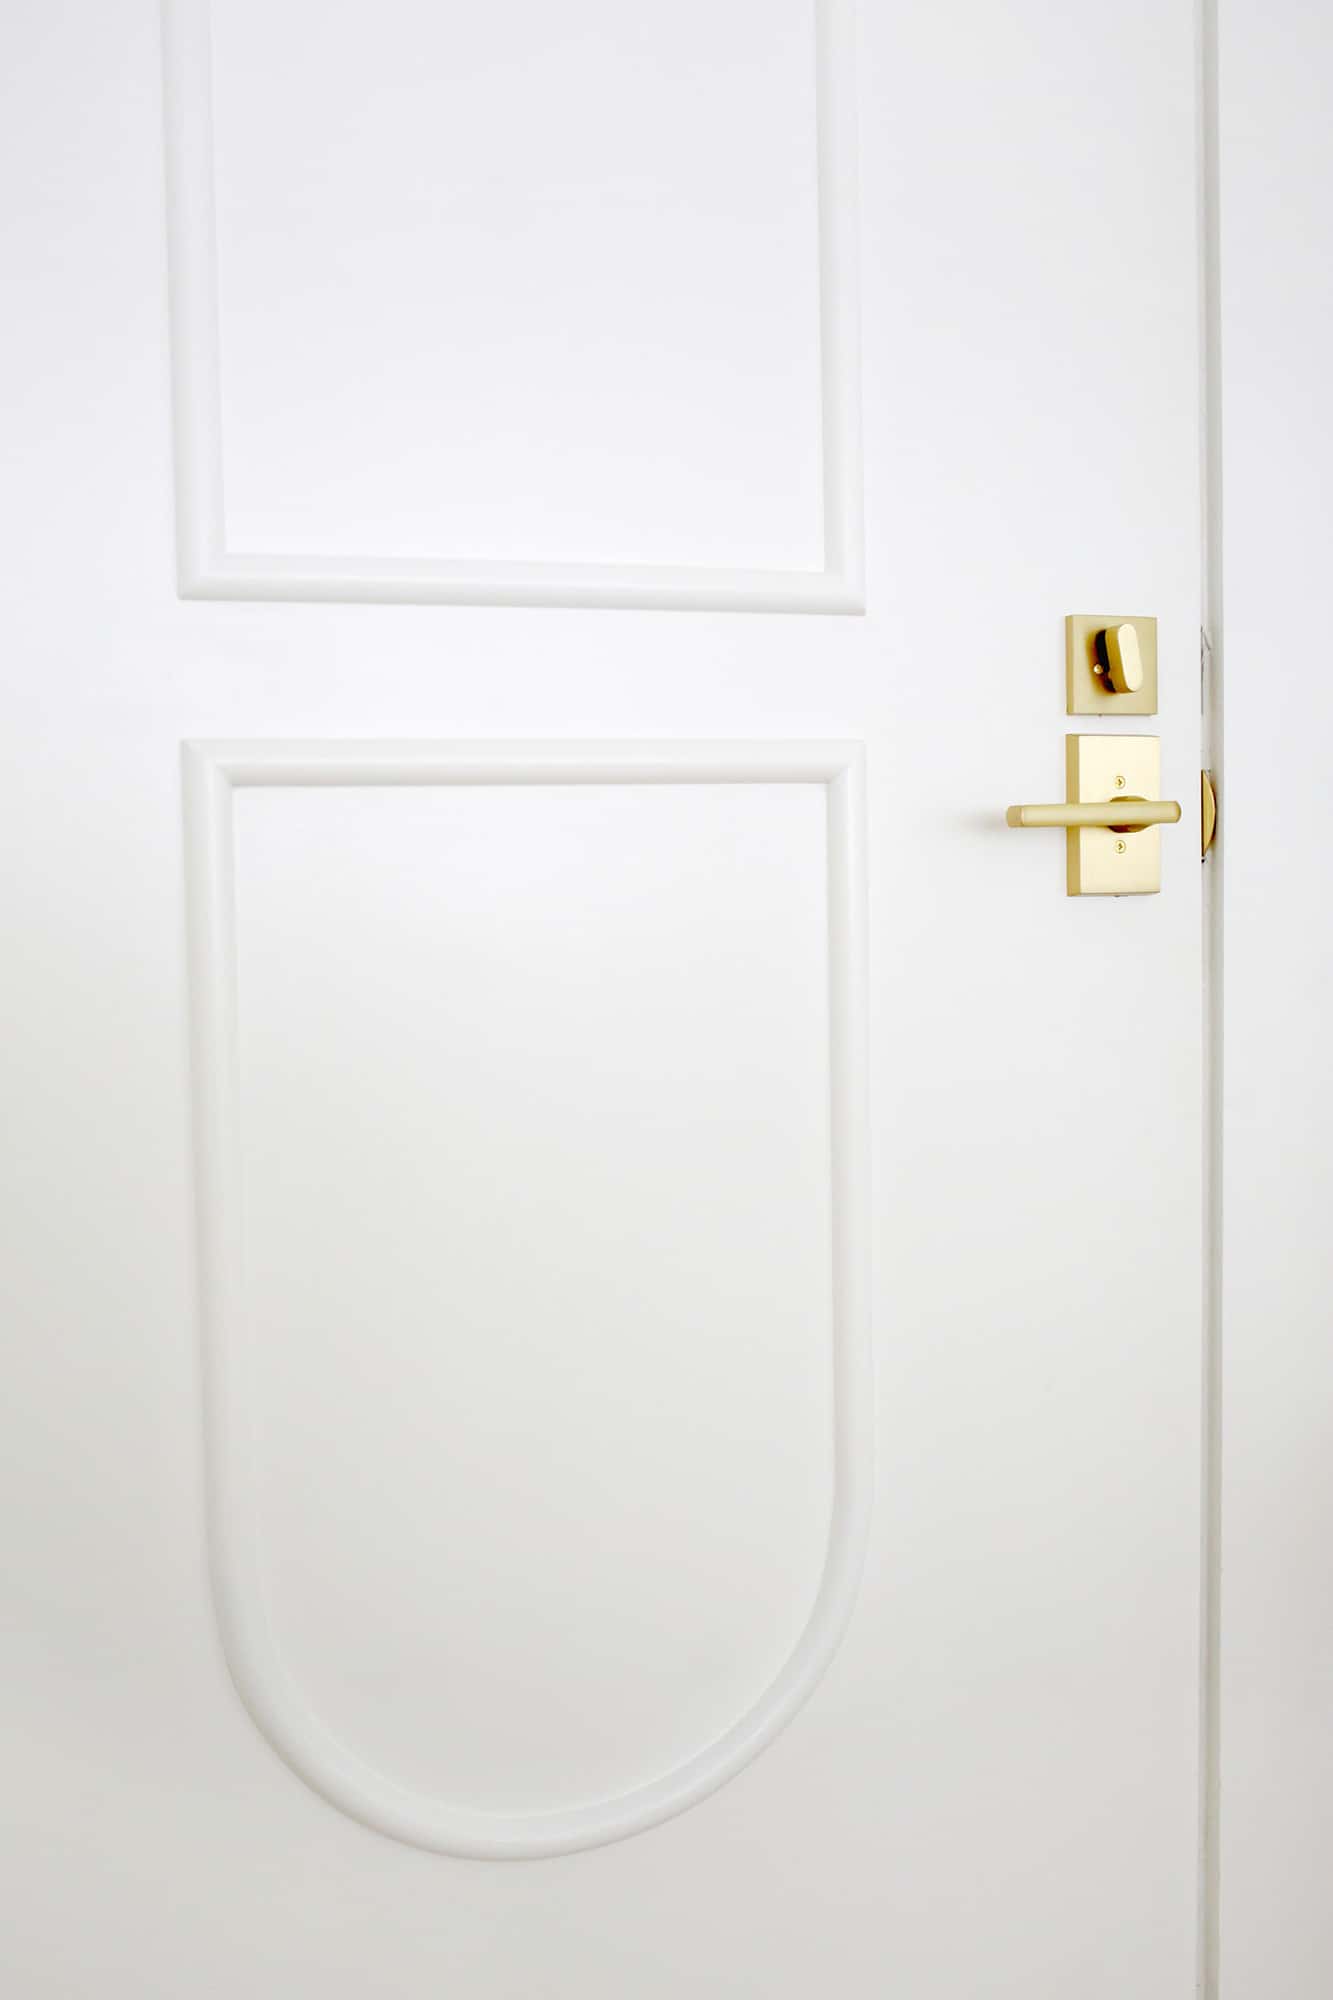
Oh, by the way, my husband asked me at the beginning if I was doing a Dr. Mario logo with my design and I just rolled my eyes as far back as they could go … yes, Todd, I’m doing a Dr. Mario logo in trim on our door. Not. Ha ha.
It goes without saying, but you can adjust the design to be whatever you like for your door! Flexible trim has a limit for how small an arch it can make, but as long as you stay within that, the sky’s the limit for what shape you want to make with rounded and curved lines. Have you ever worked with flexible trim before? xo. Laura
Love this post? Check out how to Refresh Hollow Core Doors and give them a full makeover!
Love this post? Sign up for our newsletter for more ideas!

Get creative ideas for recipes, crafts, decor, and more in your inbox!
 Get the How-To
Supplies
- 1″ half round flexible molding
- 1″ straight half round molding
- level
- large circle you can trace (like a bowl, planter, or a large compass )
- miter saw or miter box (for a hand saw)
- hammer and nails (or nail gun)
- wood filler
- latex caulk
- paint color of choice
Instructions
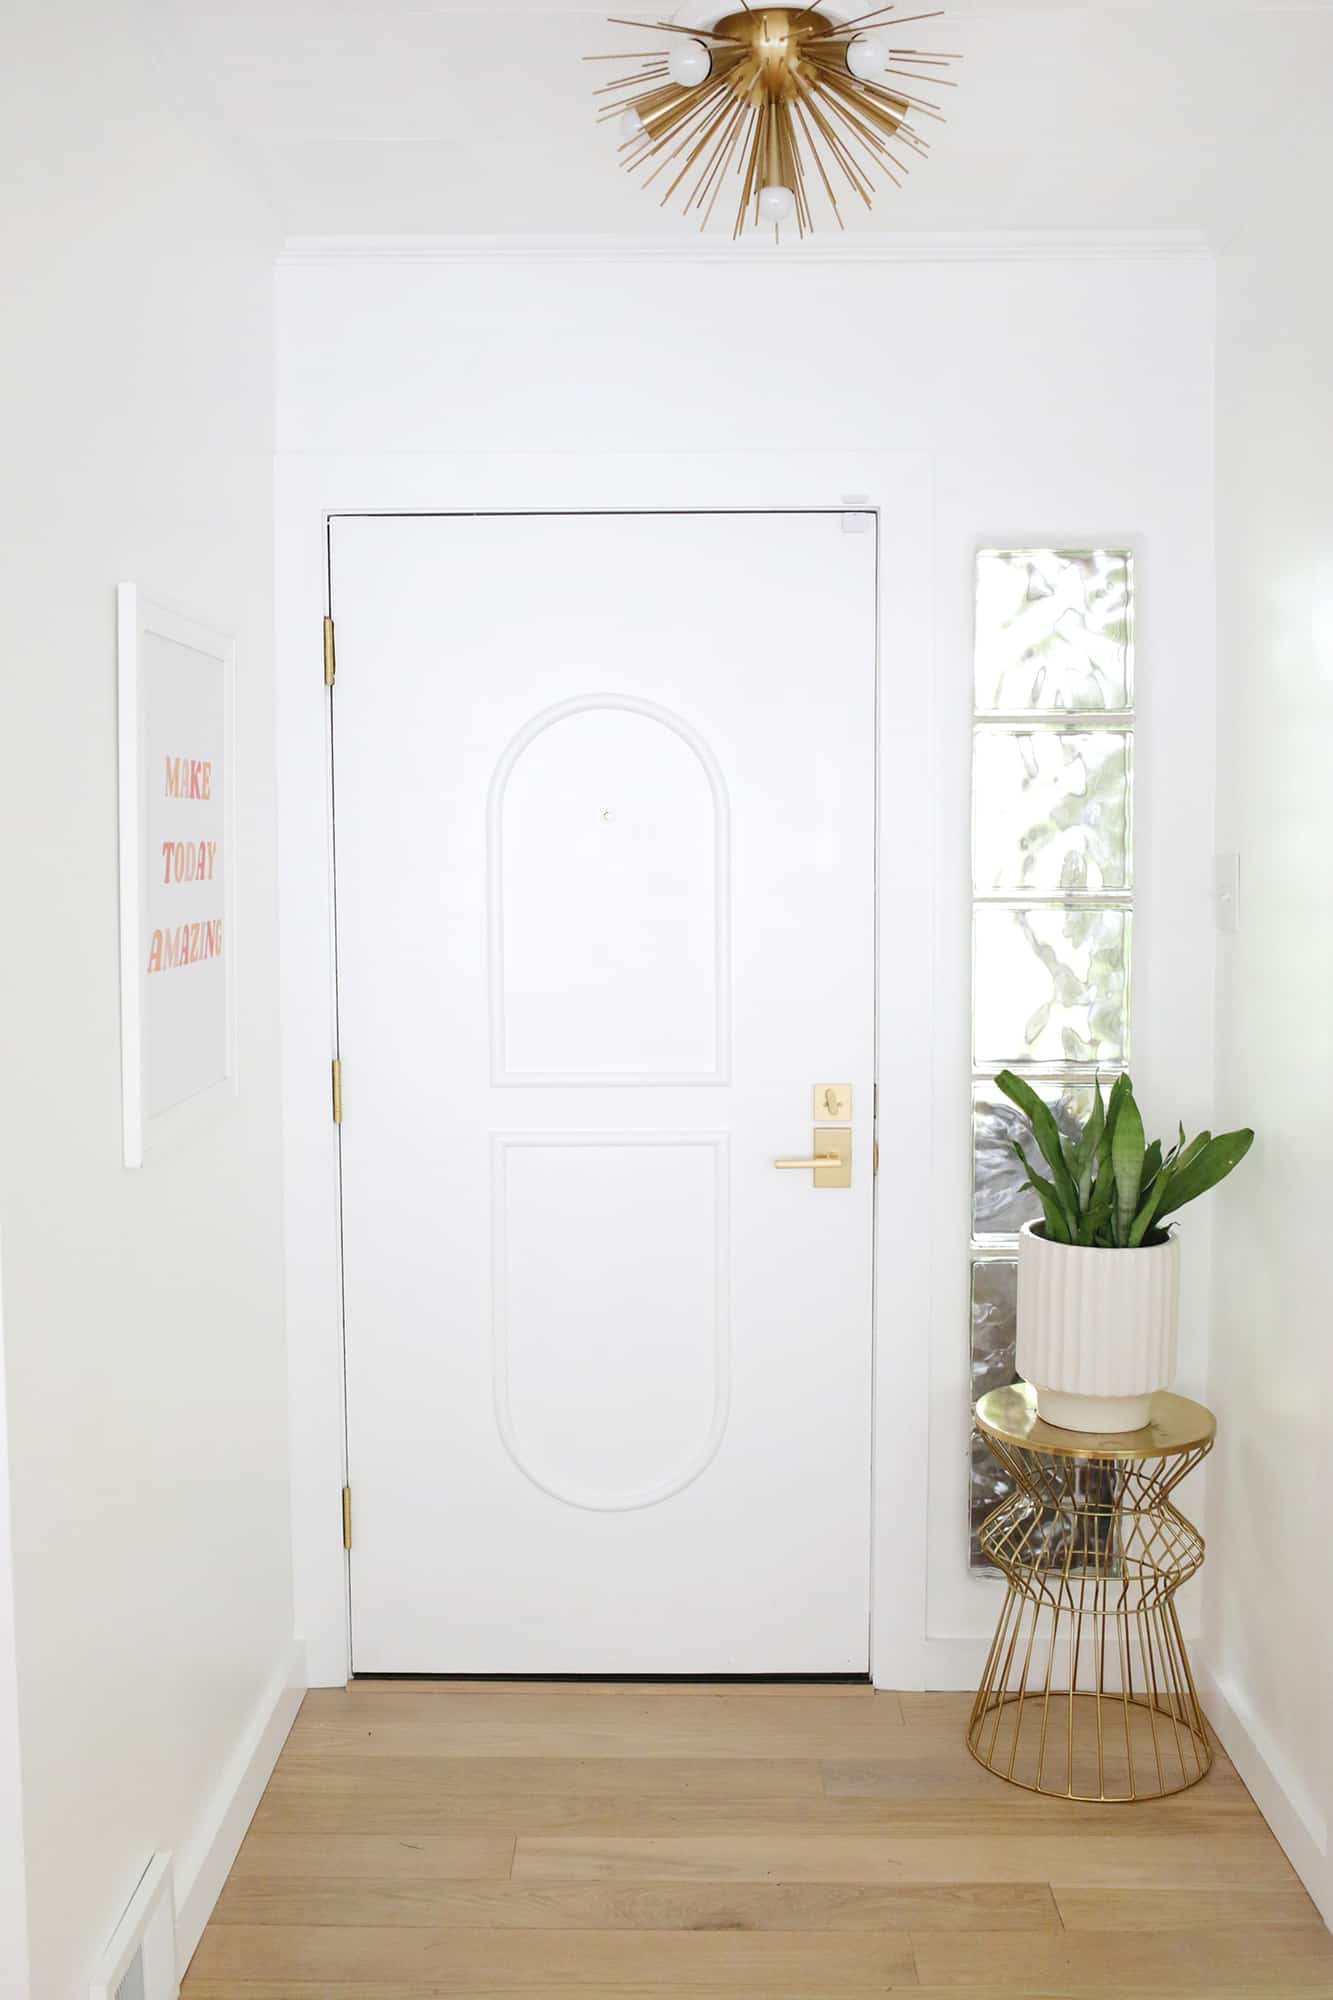
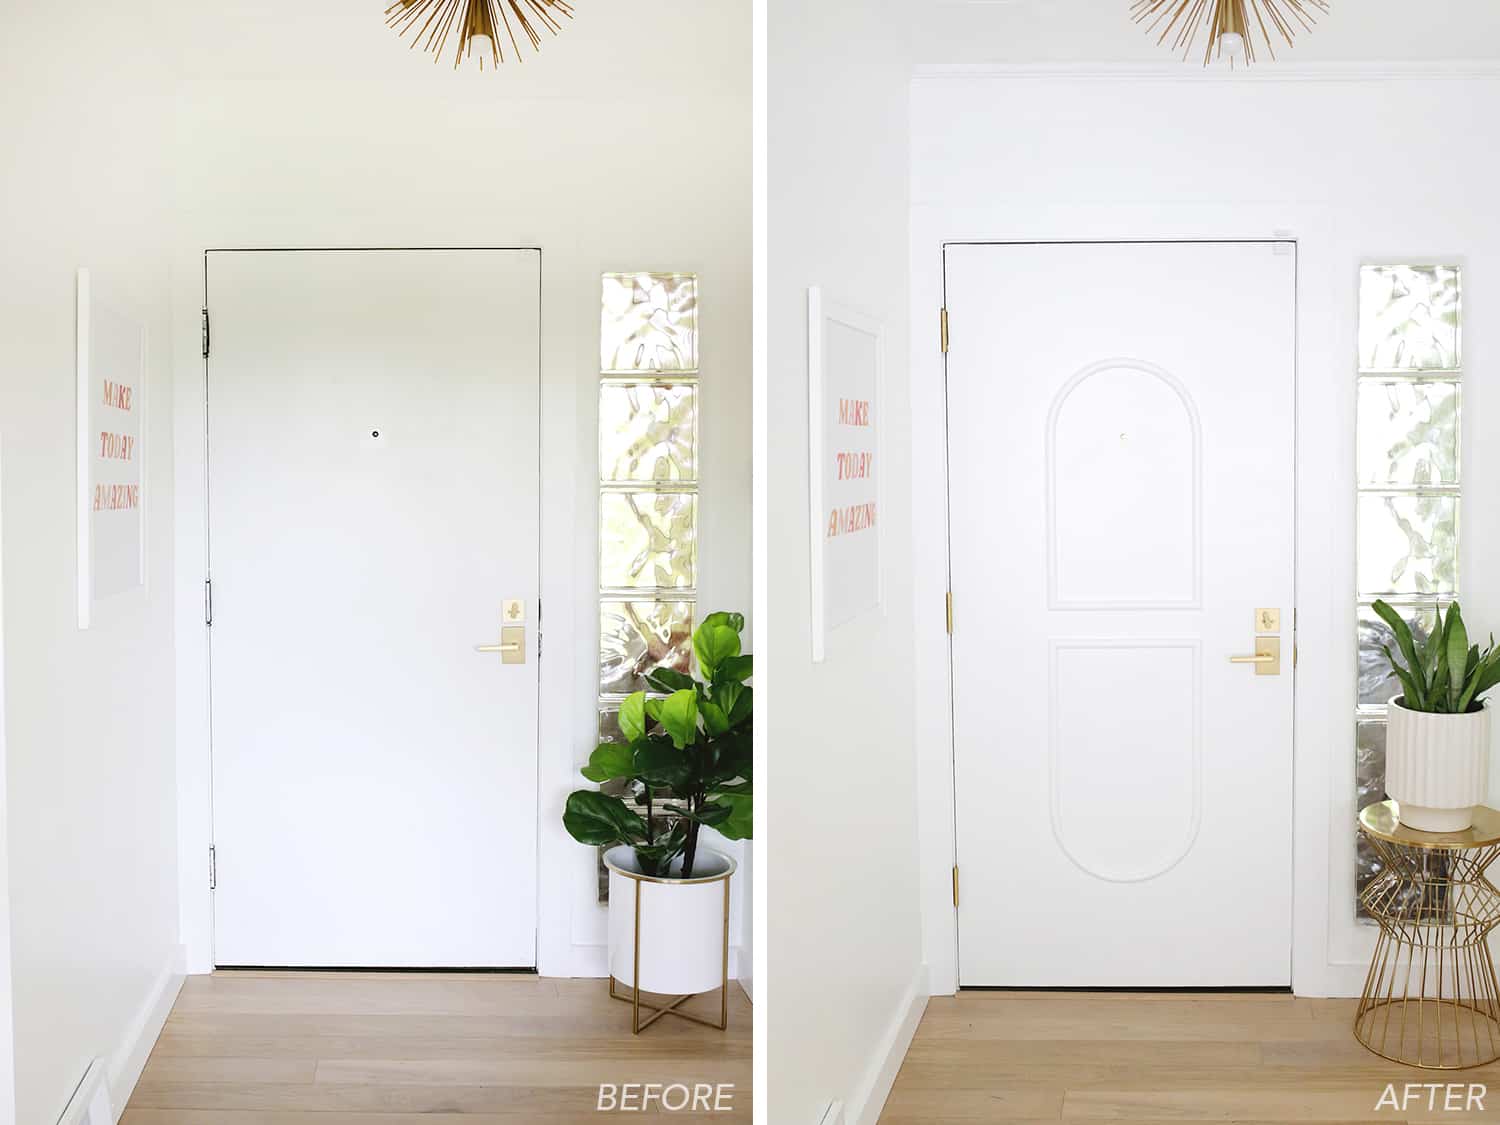
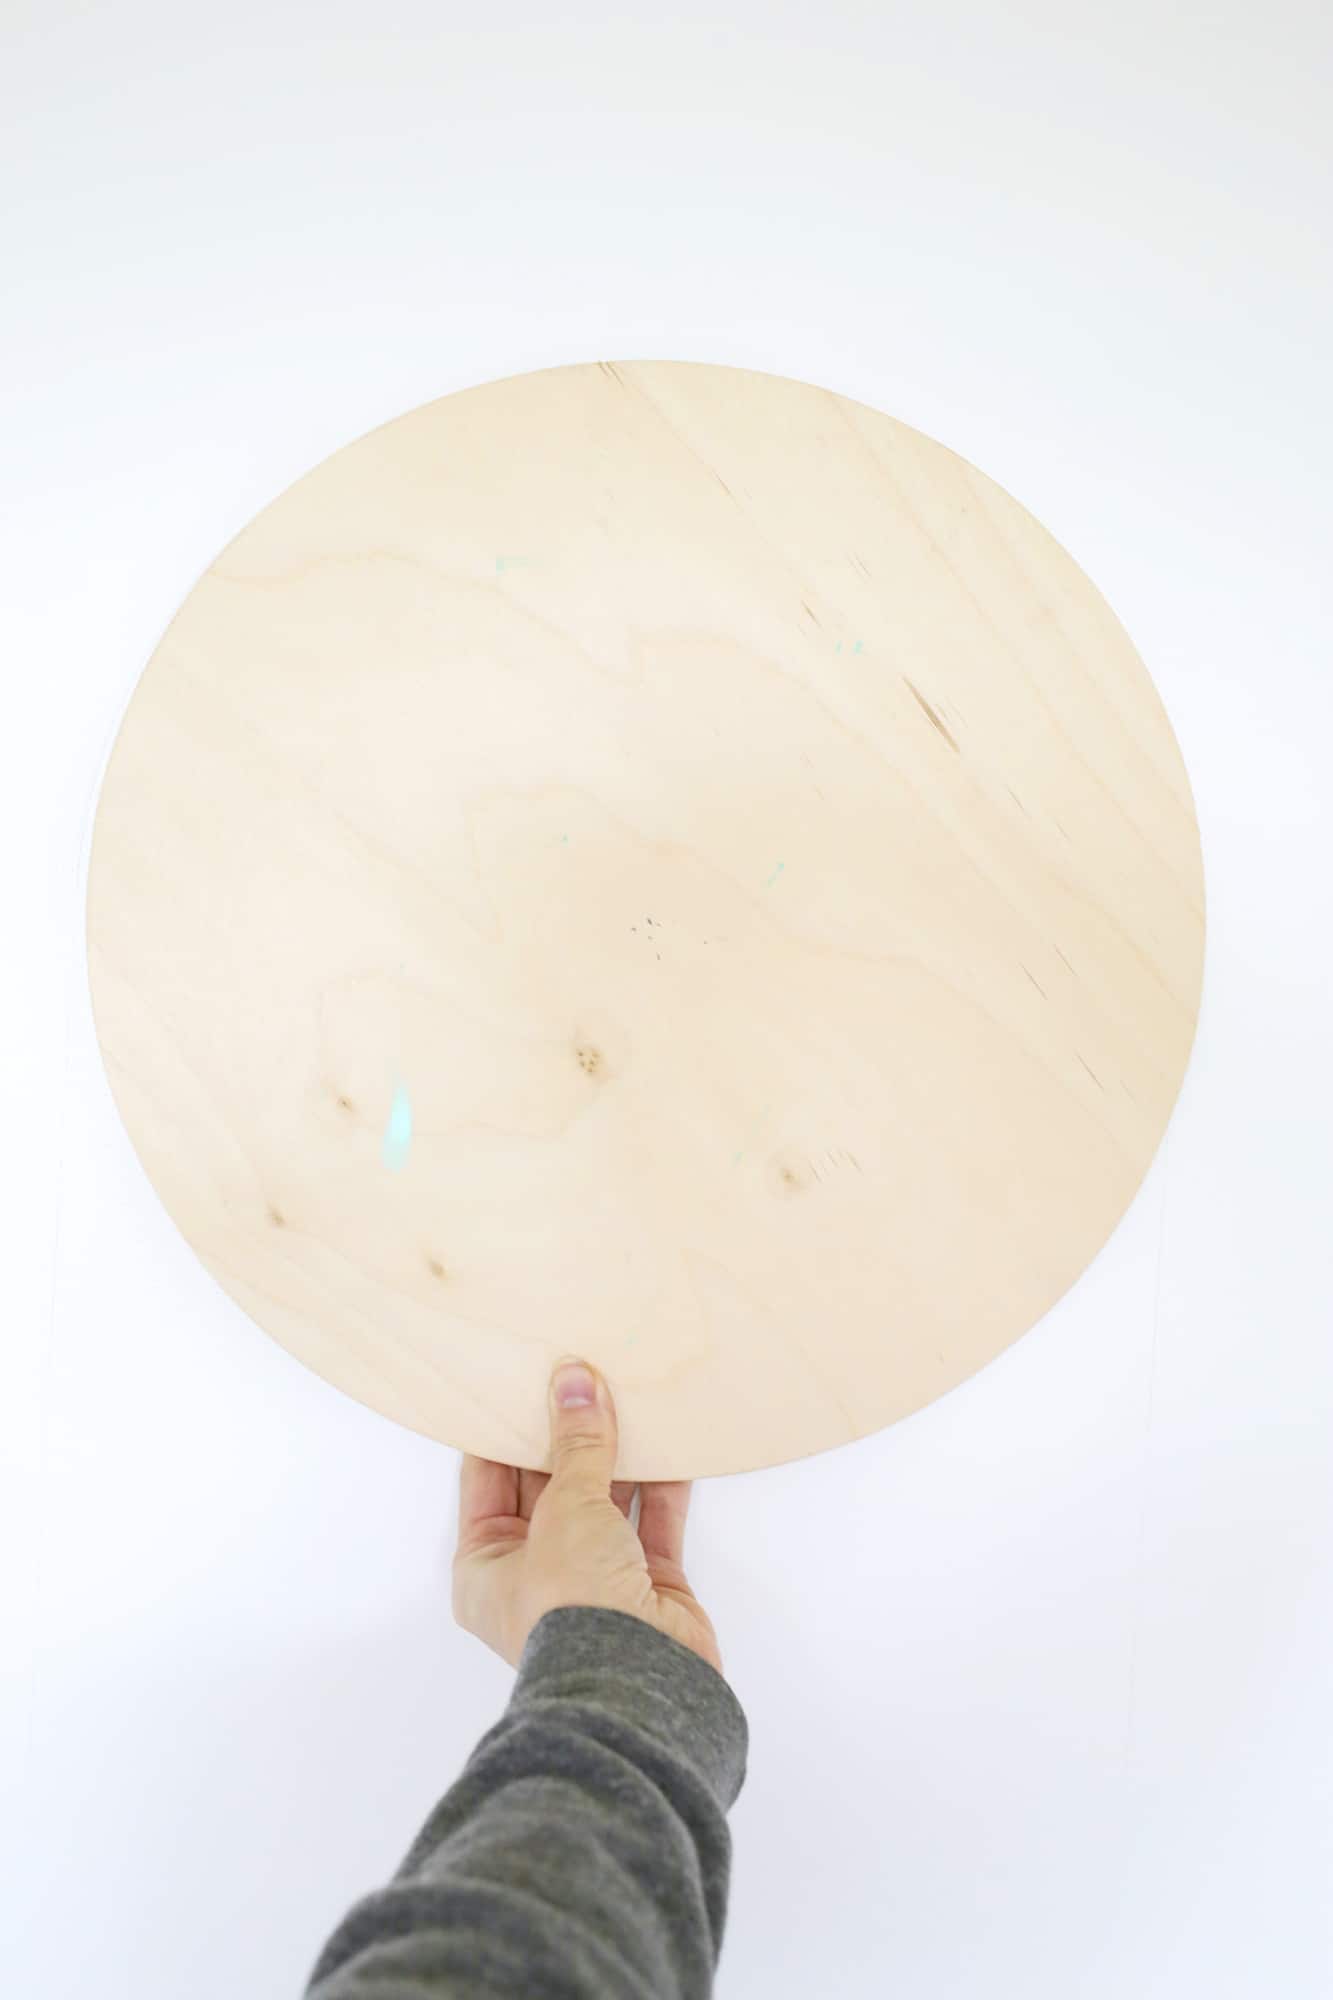
- You can decide where you want the arches to fall on your doorway, but I wanted the peephole of my door to be framed by the arch so I took a wooden 14″ wide circle I had and used it to trace a half circle above the peephole. You can use a large compass or a circular object to trace like I did, but just remember you are tracing the inside edge of your arched circle, so the overall width will be 2″ wider than your traced circle (each side will add 1″ of trim).
- Once I had my half circle traced, I added some straight lines down the sides and decided where I wanted the “pill” shape to cut in half in the middle (use a level to make sure all your lines are level and straight as you trace). Measure your half arch at the top of your shape and cut a piece of flexible molding to that length. Find the middle of your arch and of your molding strip and nail your strip centered above your arch as you see above. Then, using a friend for help, continue to bend and arch the molding to follow your traced line and nail it in every 2-3″ as you go.
- Make sure your nail heads are sinking in past the trim so you can fill those holes later to make them disappear… use a nail setter to drive them in further if you need to (this set is really handy). Repeat with the other side of trim so you have your curved arch ready to go.
- Find where the mirror image of your arch should go on the bottom of the door (you can measure how far your top one is from the top of the door and use that same measurement for the bottom placement) and trace your half circle down there as well. Double check with a long ruler and level that your arches are directly beneath each other! I assumed from my measurements that mine were and I had to rip the bottom out and redo it as they were slightly, but noticeably, off.
- Now it’s time to add your straight pieces! Measure how long you want your sides to be (mine were 18″ long) and cut your four side pieces that meet the arch with a normal straight across cut (or see next step for a perfected tweak if needed) and the other side at the appropriate facing 45° angle to match up with the final middle horizontal piece at the end. Use a level to ensure they are straight and nail into your door.
- You can cut your trim where it meets the arch at a regular 0° angle (so no angle at all), but I found that it’s really hard to get the flexible arch to bend exactly so it fits to that angle (you can see it meets together at a slight angle in the photo above). I cut a few test scrap pieces at different angles until I found that cutting the straight trim at a small 7° angle was just enough to fit perfectly with my flexible molding. If you aren’t using a miter saw where you can change the angle slightly like that, then just cut it at no angle and you can fill any gap between them with wood filler.
- And now for the final middle pieces! Measure how wide the two pieces should be and cut both sides with mirroring 45° angles. Use a level to ensure they are straight and nail into place.
- And now it’s time to fill your nail holes with wood filler, sand then down when dry and calk the sides of your seams with caulk (optional but will make it all look seamless so I highly suggest that). Once it’s all sanded and dry you can paint the trim to match the door (love this rounded brush for painting anything rounded like this). This flexible molding had a bit of a harder time sticking to regular paint, so I would suggest a coat of this first on the trim so it adheres more evenly and requires less coats overall. A few coats of paint and you’re done!


Love this DIY! I’m using it for plain cabinet fronts, but am having trouble sourcing the straight half round molding. The link for it is for flexible molding. We’re going to try it with all flexible molding this time but have plans to do this elsewhere if it turns out okay 🙂
Love this! Curious why you didn’t use the flexible molding for the entirety of it…or at least going down the sides? If it’s 8 feet long could you have just done a lot of it with the flexible molding? I totally want to do this to my doors!!
Wow, love how custom and chic this looks! What a subtle way of adding some dimension and interest.
This is brilliant! I love how it looks and your directions make it sound doable.
Thank you! I love it too!
Laura
This might be a dumb question, but… This is only for wooden doors, right? I guess most non-wooden ones don’t have totally flat surfaces.
Hi! Not a dumb question. It could be possible to attach this to a metal or non wooden door, but you’d probably have to do some testing with different epoxy glues (or maybe construction adhesive from a tube) and have your design somehow clamped in place to dry if you can’t nail it in. So it may be possible but there are some challenges if you can’t nail or screw it in!
Laura