 Toddlers and naps go together like peanut butter and jelly, but you know what happens if they don’t get their nap? Chaos! You are in for a loooong second half of the day if a toddler skips their nap or doesn’t sleep well. So it’s important to try and give them whatever they need to have successful nap times. Our toddler Lola goes to a Parents Day Out program near our house twice a week to play with other kids and do songs and crafts and they also do nap time there as well.
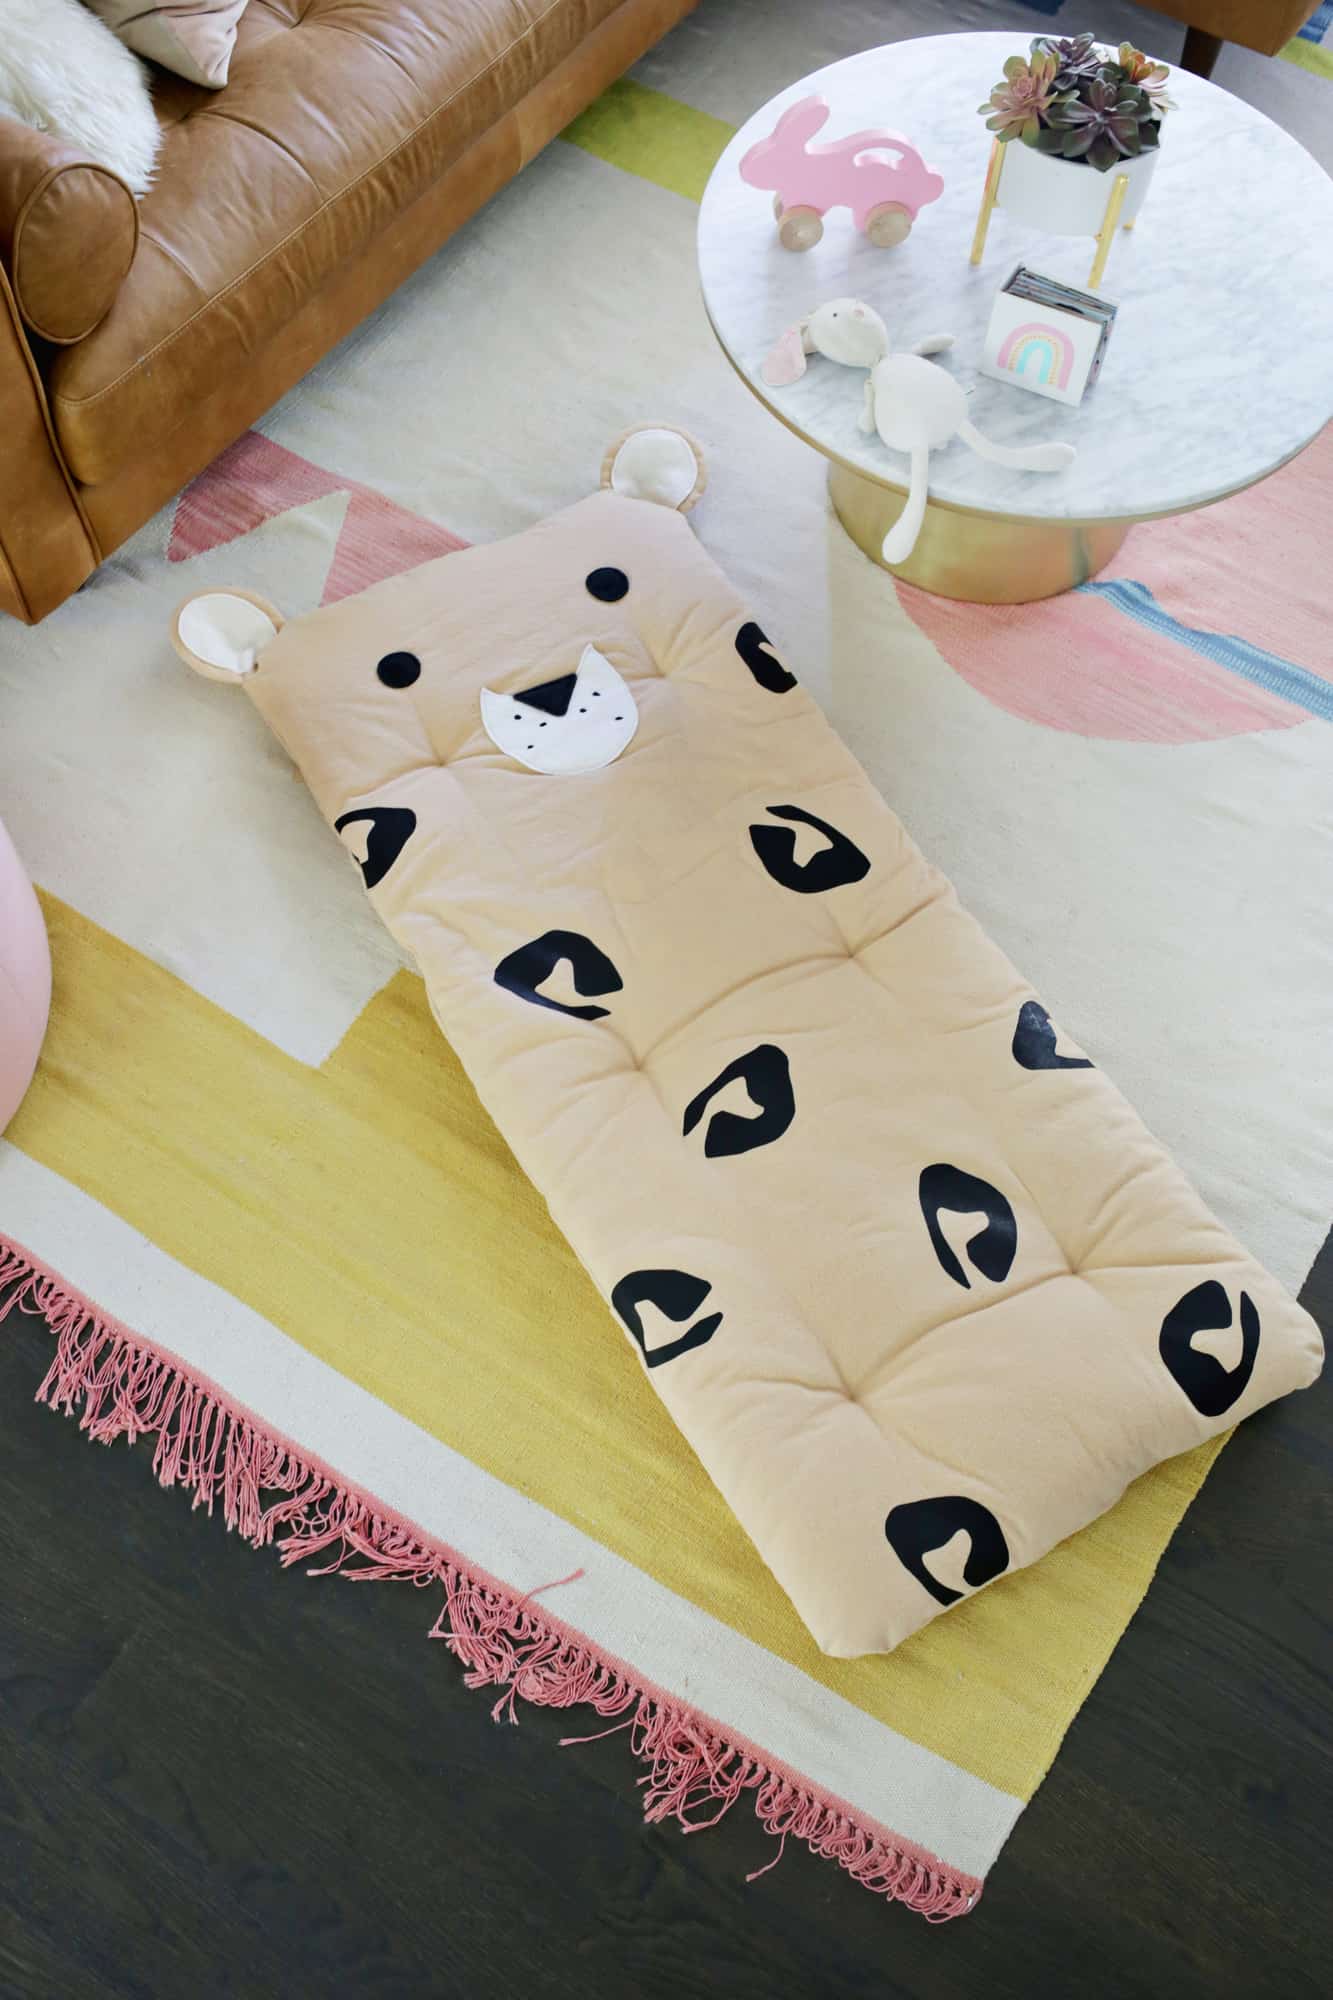
So I wanted to make her a fun nap mat to take along with her so she would have a comfy place to lie down and snooze before we pick her up in the afternoon. While there are a million different animals you could make a nap mat look like, I decided to make a leopard version since we love cats big and small in our house. It only took one trip to JOANN to get all the supplies that I needed to make my nap mat since they have all the fabric, batting, and decorative options I needed to make my little nap mat dream a reality. Shopping for projects is always easier when you can get everything you need in one spot so it’s a big time saver for me as well!
Related: For more kids activities and printables check out Childhood Magic!
 Supplies:
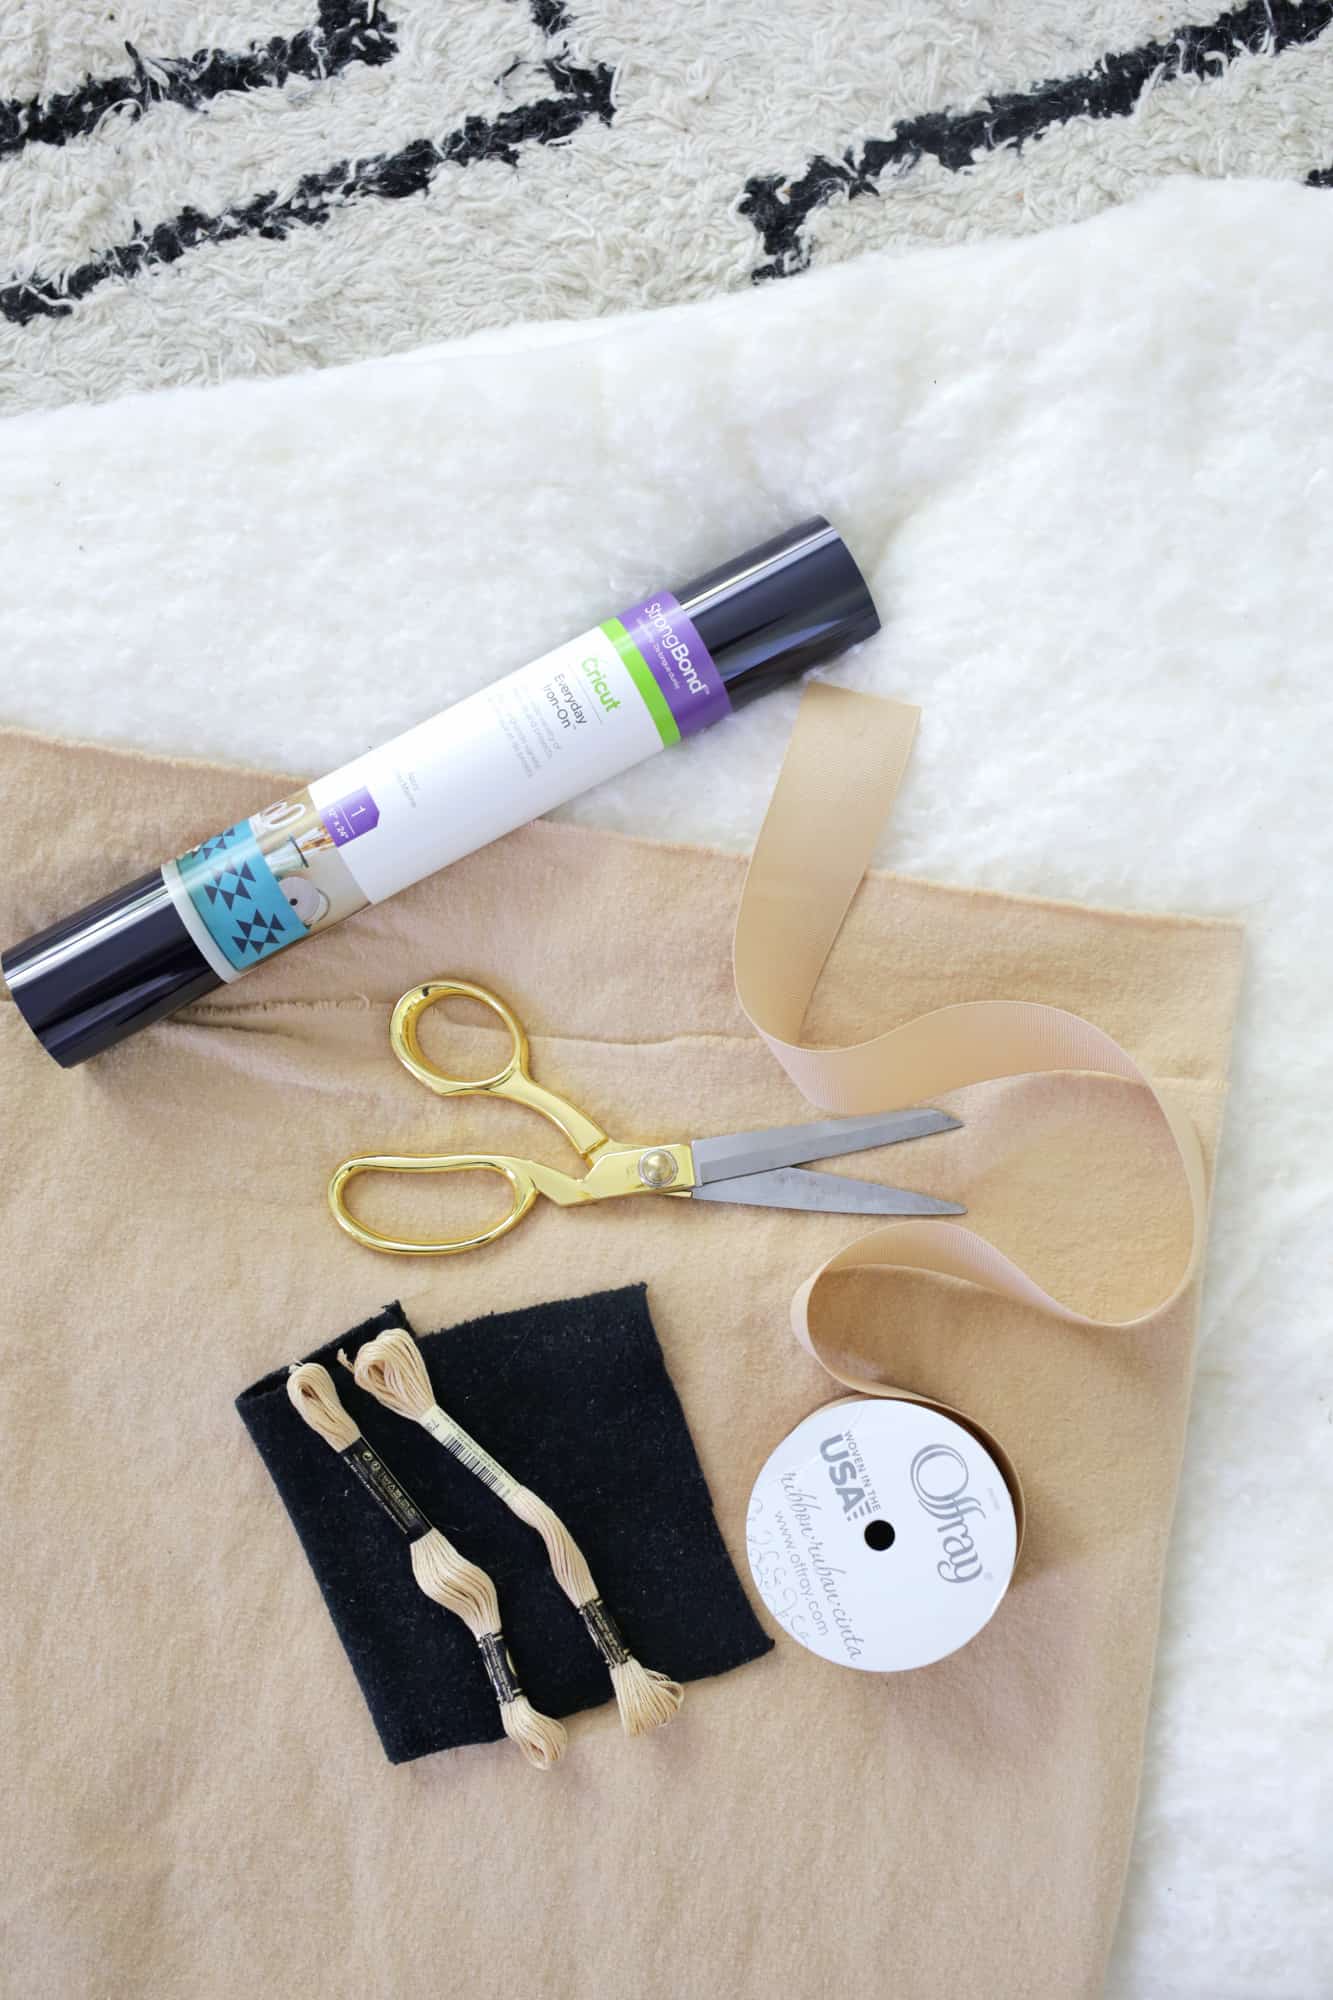
-batting for the inside of mat (you can use something like this and cut or fold as many layers as you want for desired thickness)
-flannel for leopard body and ears (I got 4 yards of this in the latte color)
-1/8 yard of anti-pill fleece fabric in black and white
-embroidery thread in tan and black
–iron-on vinyl in black
–1.5″ grosgrain ribbon (in oatmeal)
-straight pins
-fabric scissors
–template for ears, nose, eyes, muzzle, and spots
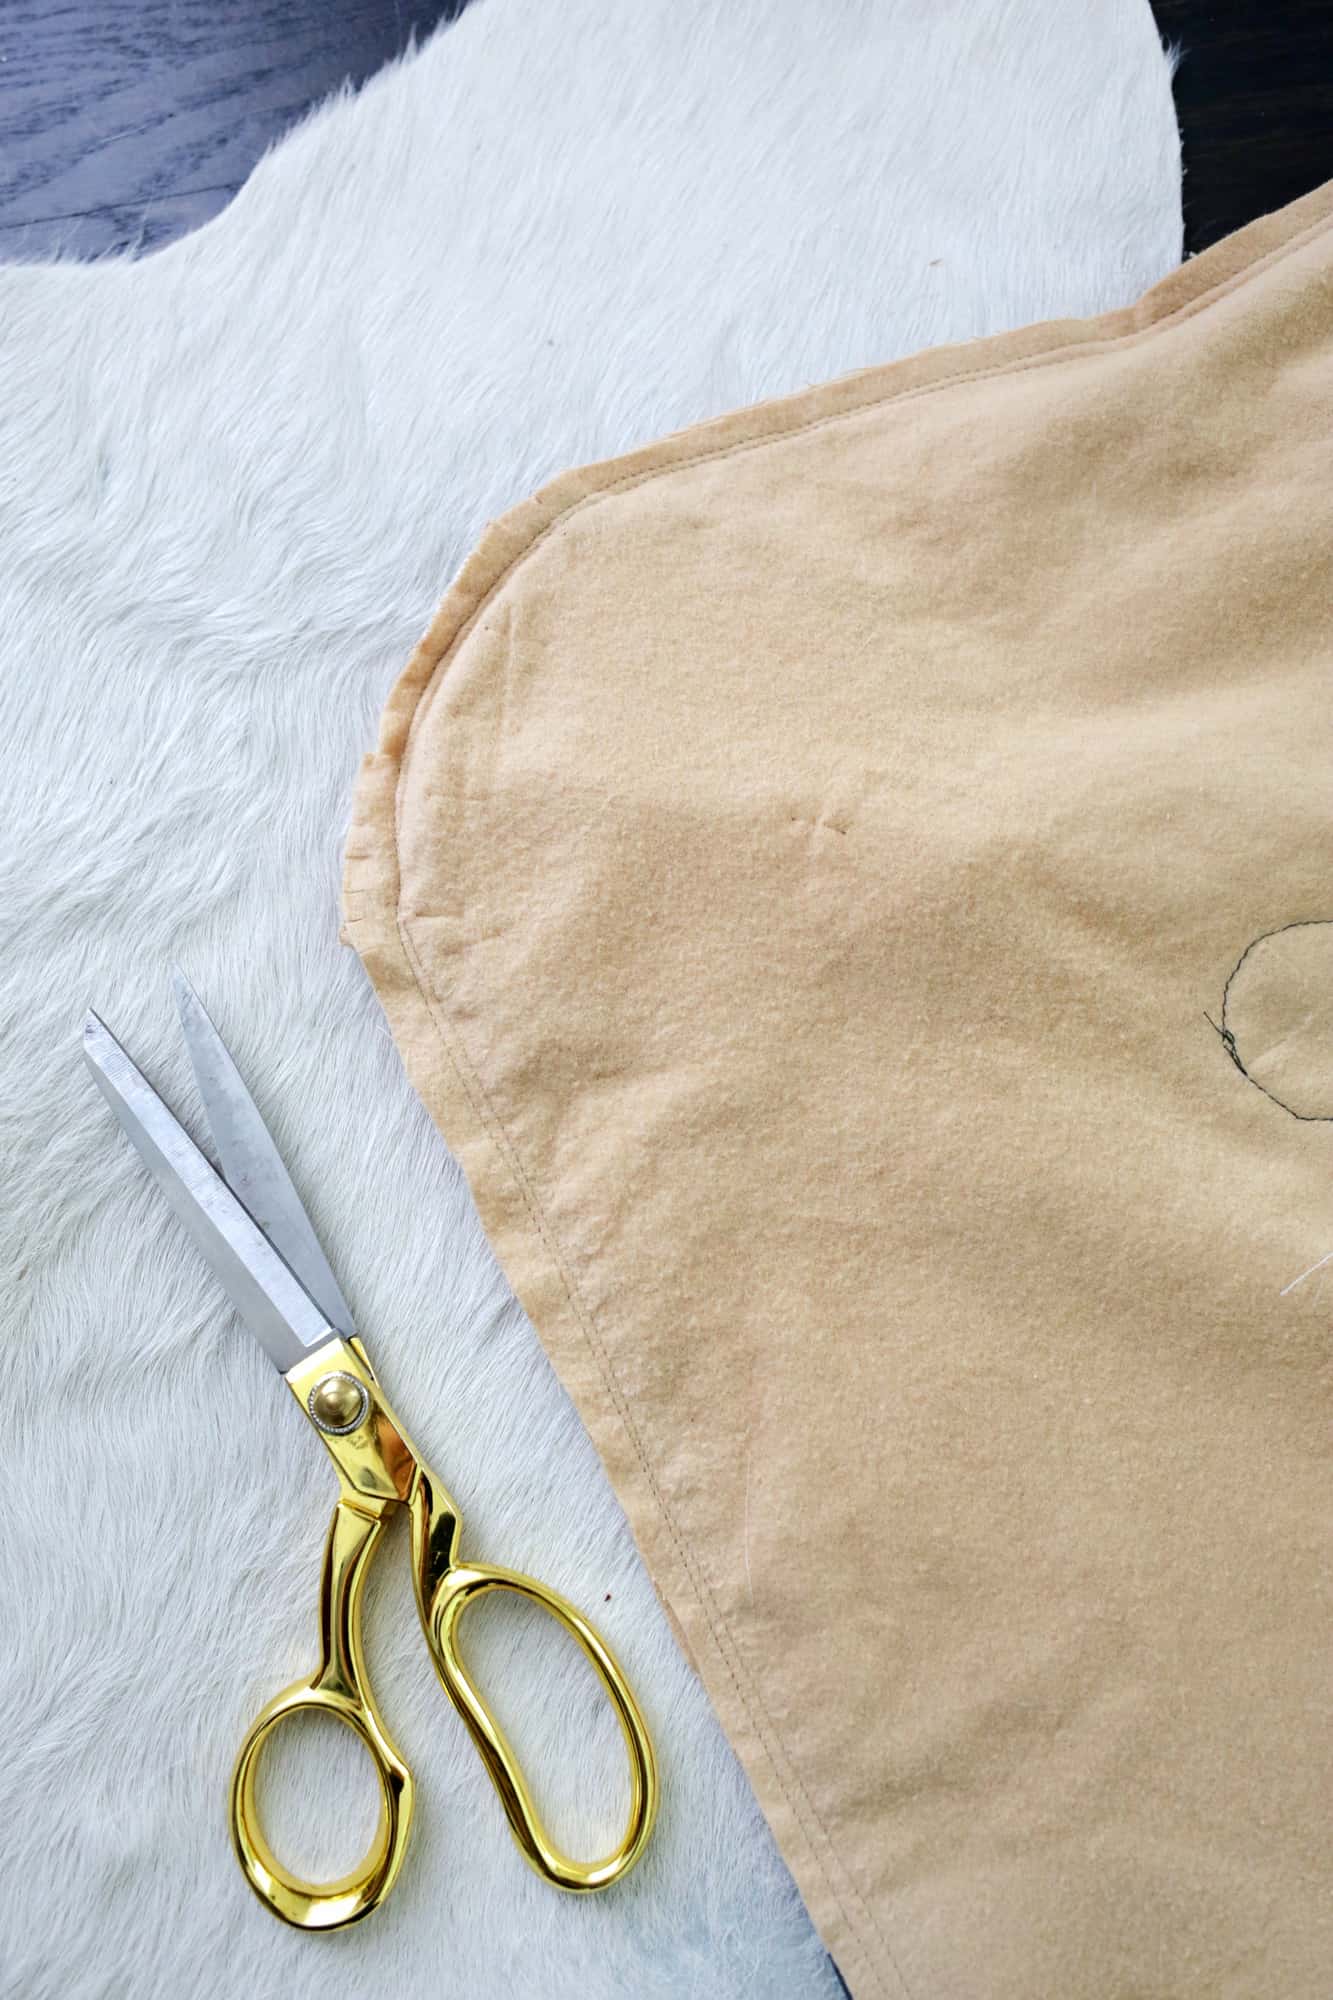
 Prewash your fabric on the hottest setting allowed for the material. Cut a piece of fabric for the front that is 25″x56″. Cut two more panels of fabric for the back that are 16″x56″ and place them onto your first piece of fabric so that the edges align and they overlap in the middle. Use a bowl to trace rounded corners at each corner and cut the curve with your fabric scissors.
 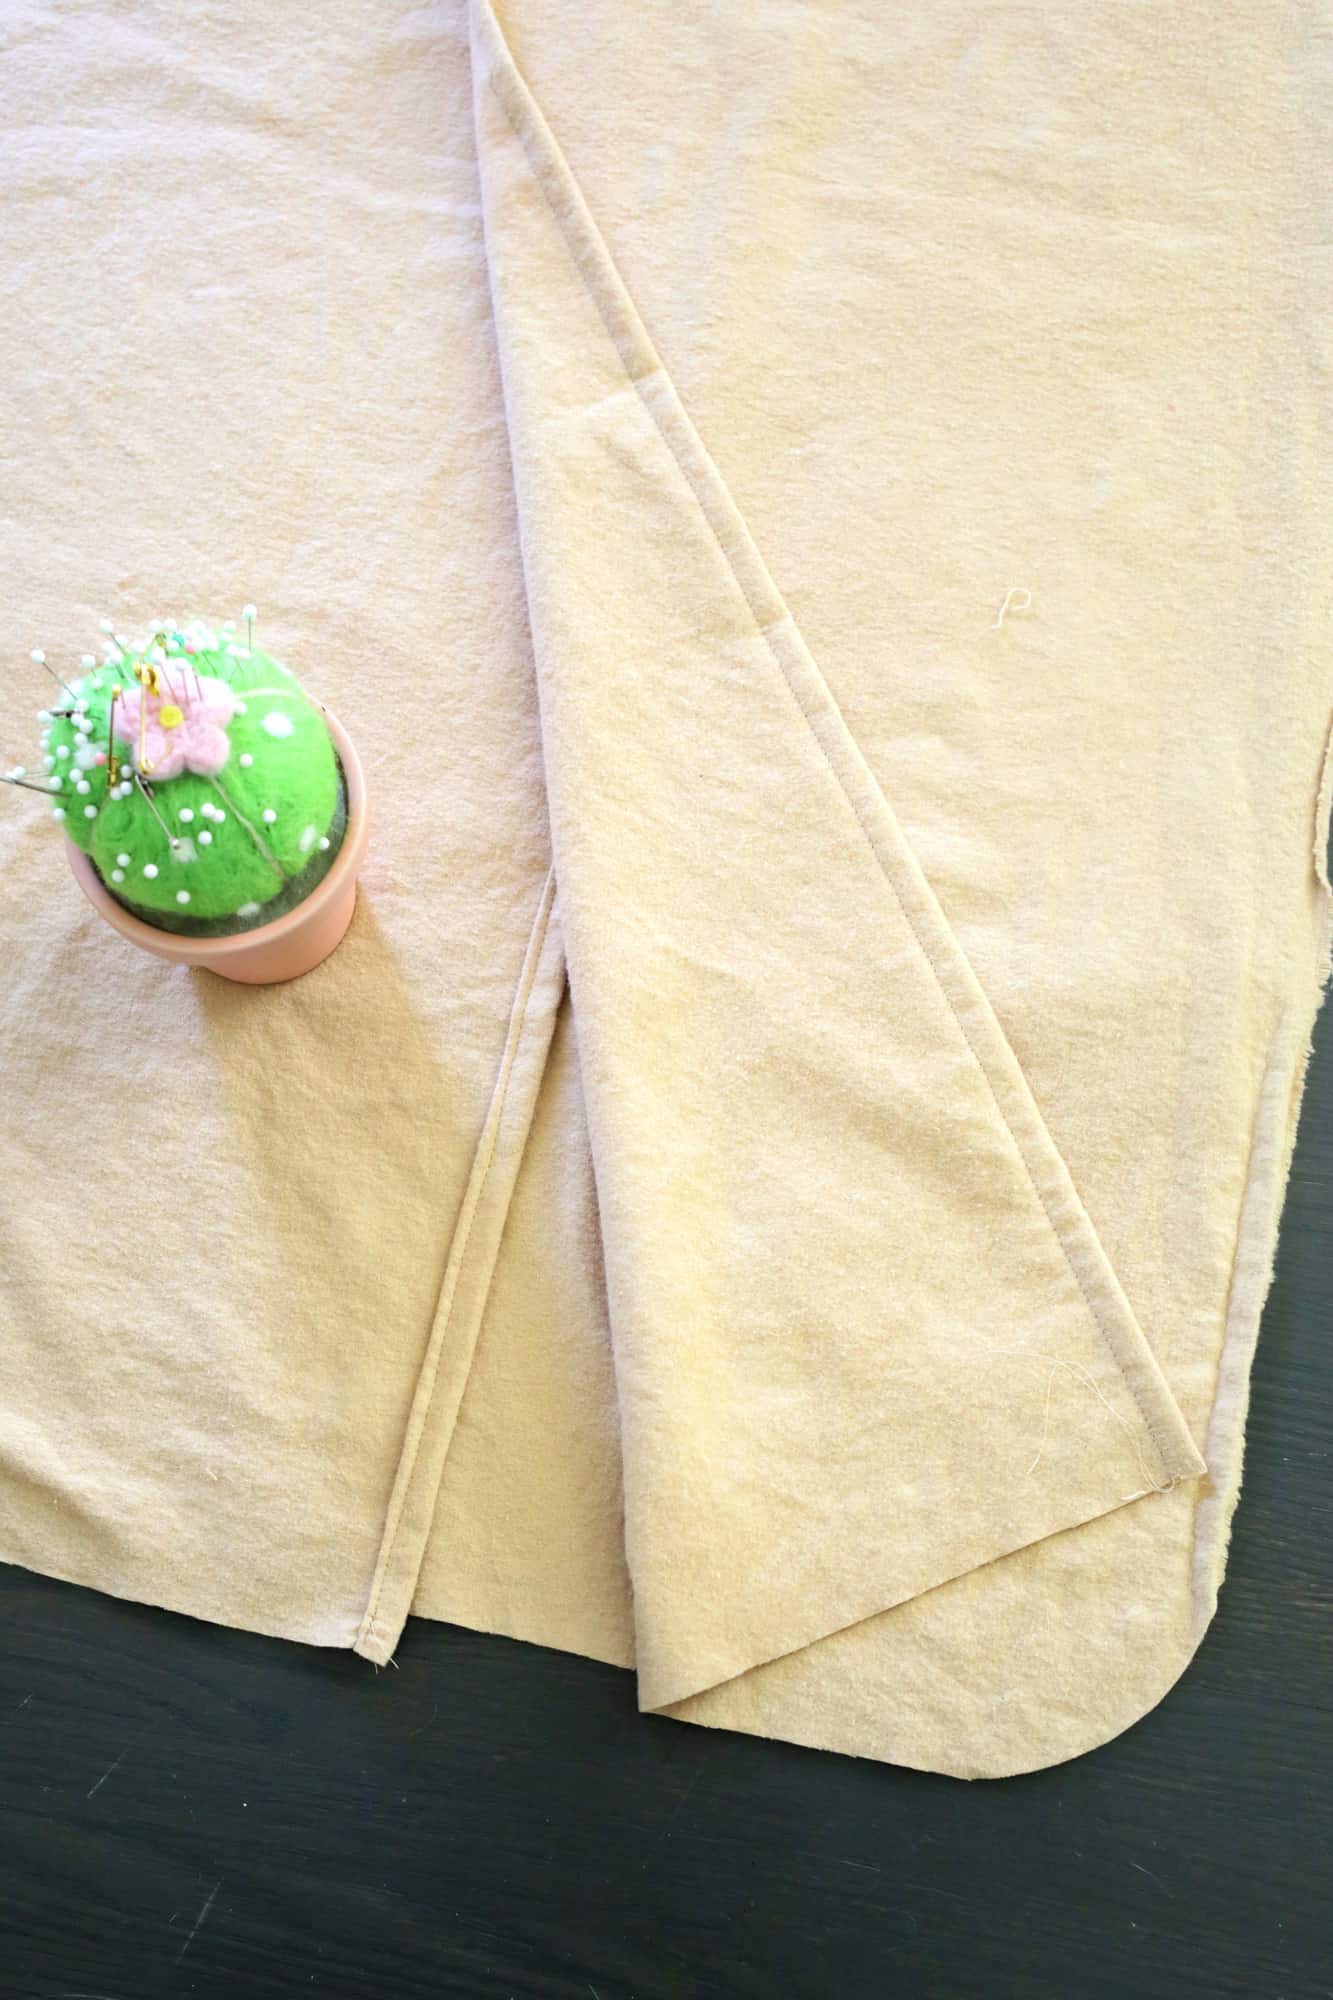 On the two back panels, fold over the middle edge 1/2″ two times to make a hem and sew the hem down with a 1/4″ seam allowance. Now before we can put our two panels together with the batting between, we need to decorate the front panel!
 Cut out your ear pieces (the larger one in tan and the smaller one in white) and sew the white middles (with a 1/4″ seam allowance) onto the middle of a tan ear piece. Then place the other side of your tan ear overtop so the white is sandwiched between (right sides together) and sew all the way around the edge with a 1/2″ seam allowance. Clip around the edge with scissors so the curve will lay flat when opened out and turn your ear right side out.
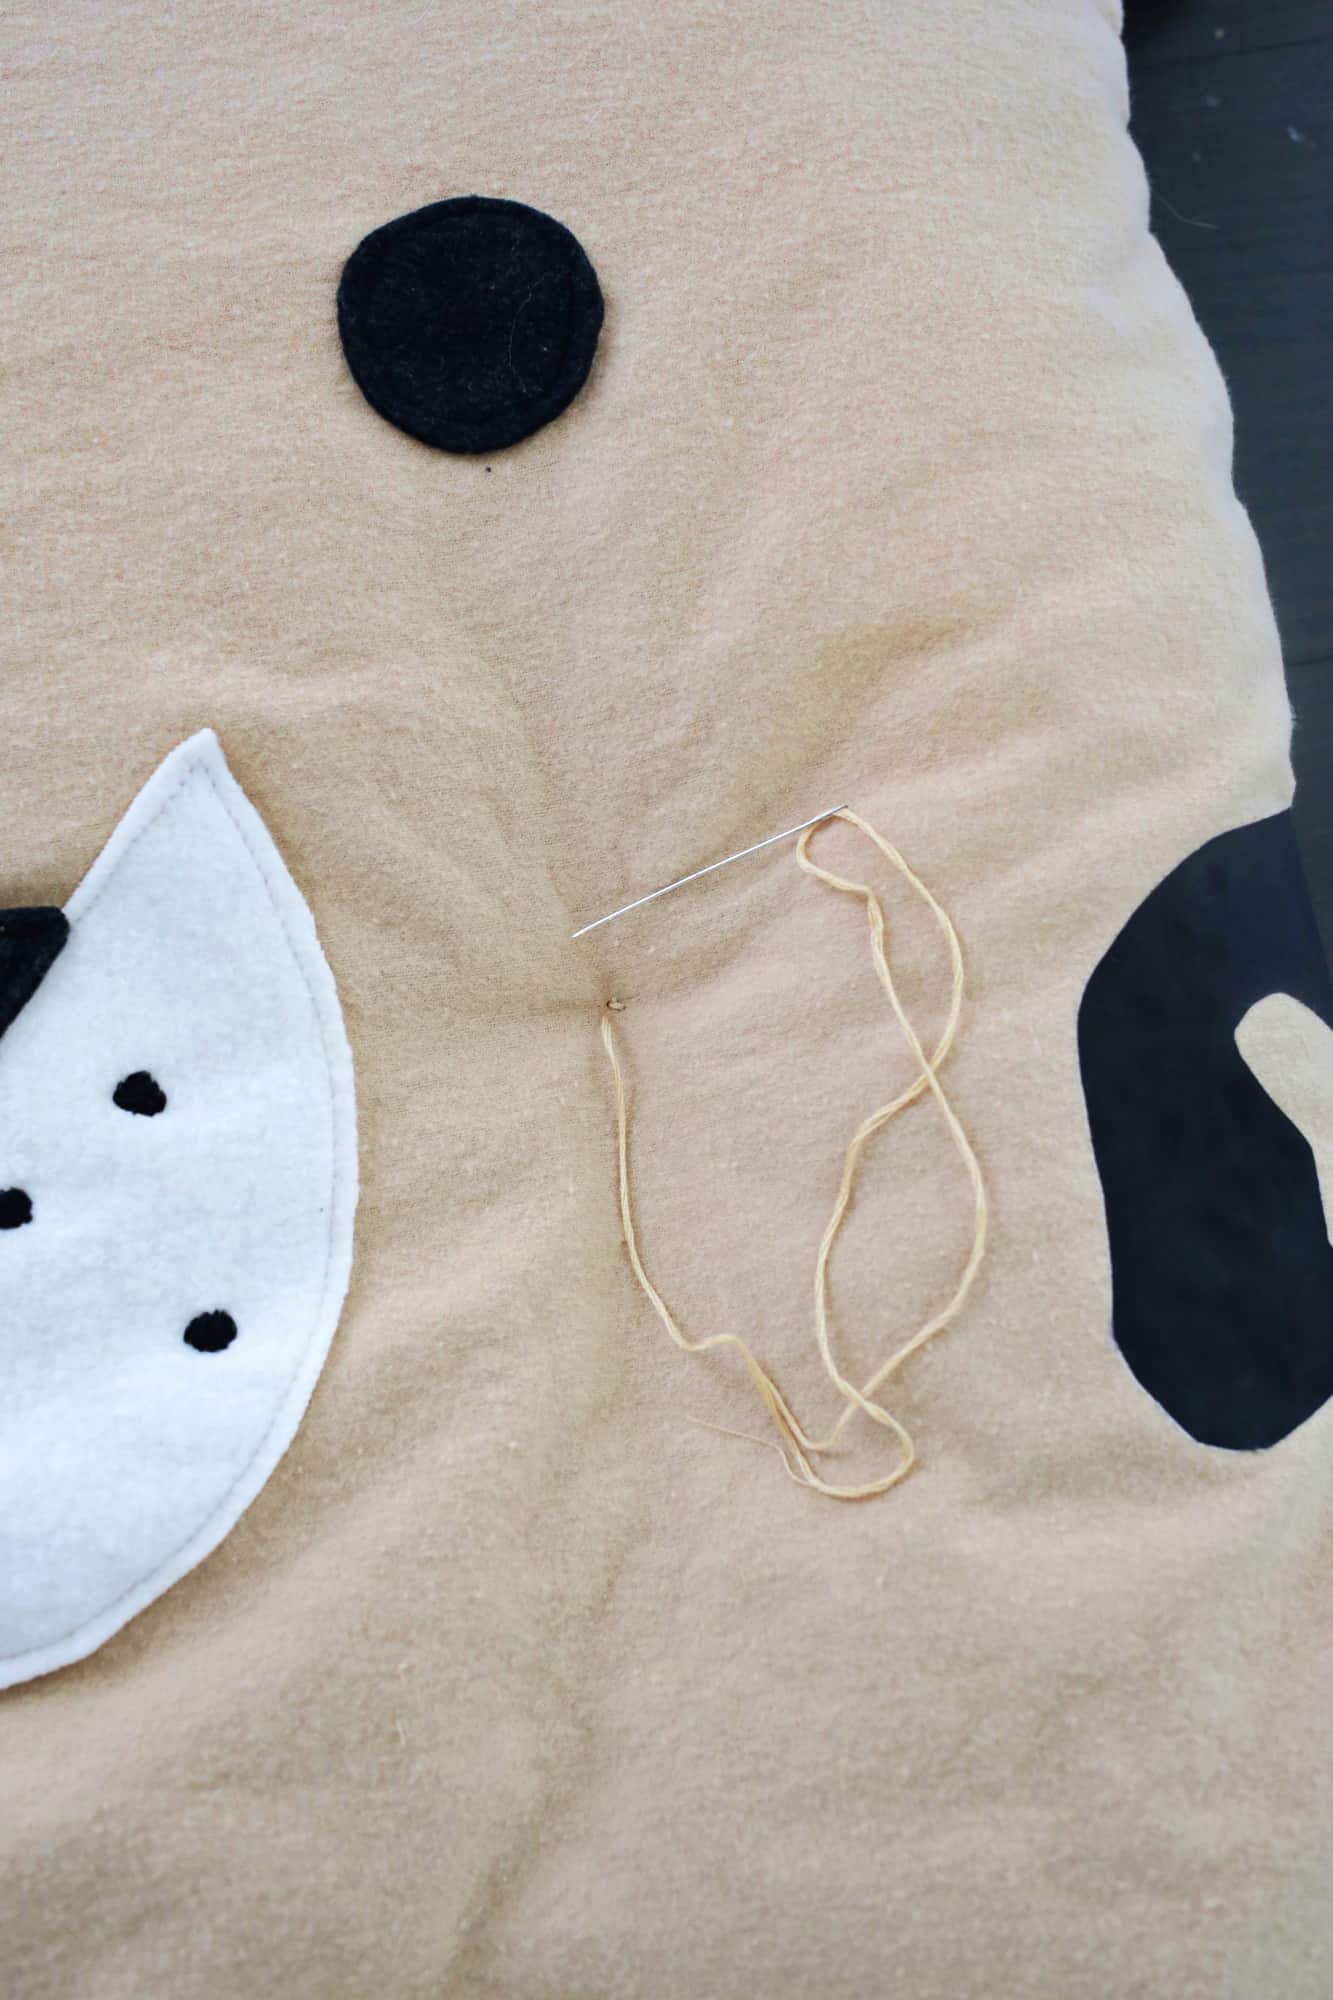
Pin your white muzzle in place and sew around the outside with a 1/4″ seam allowance to secure. Place your black nose and eyes, pin in place, and sew those down as well.
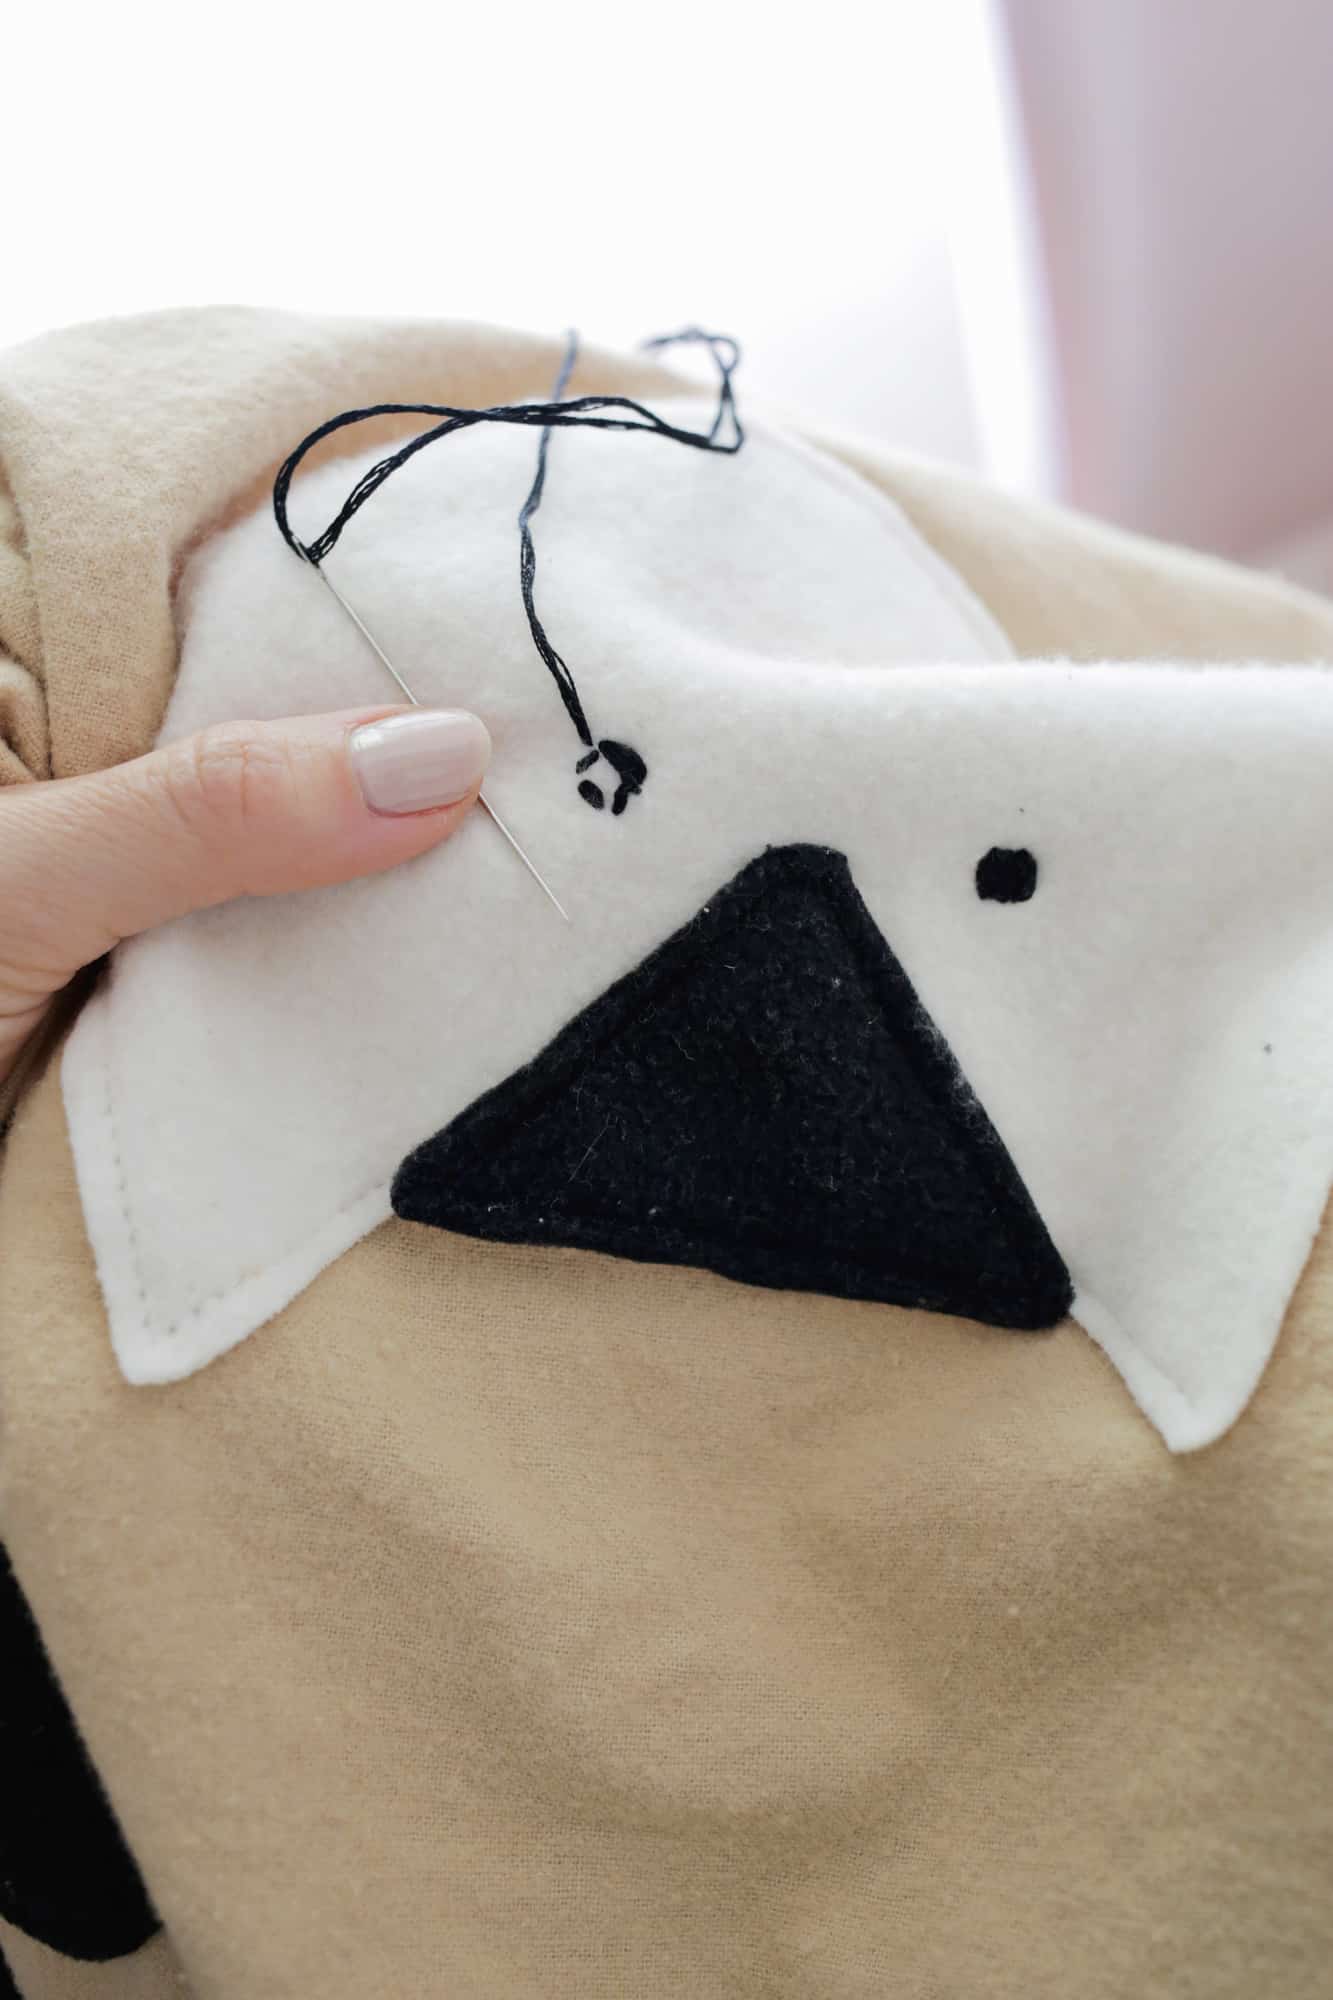 To make dots on his muzzle, I used embroidery thread to stitch the outline of a circle and then just sewed lines back and forth until I filled the circle in.
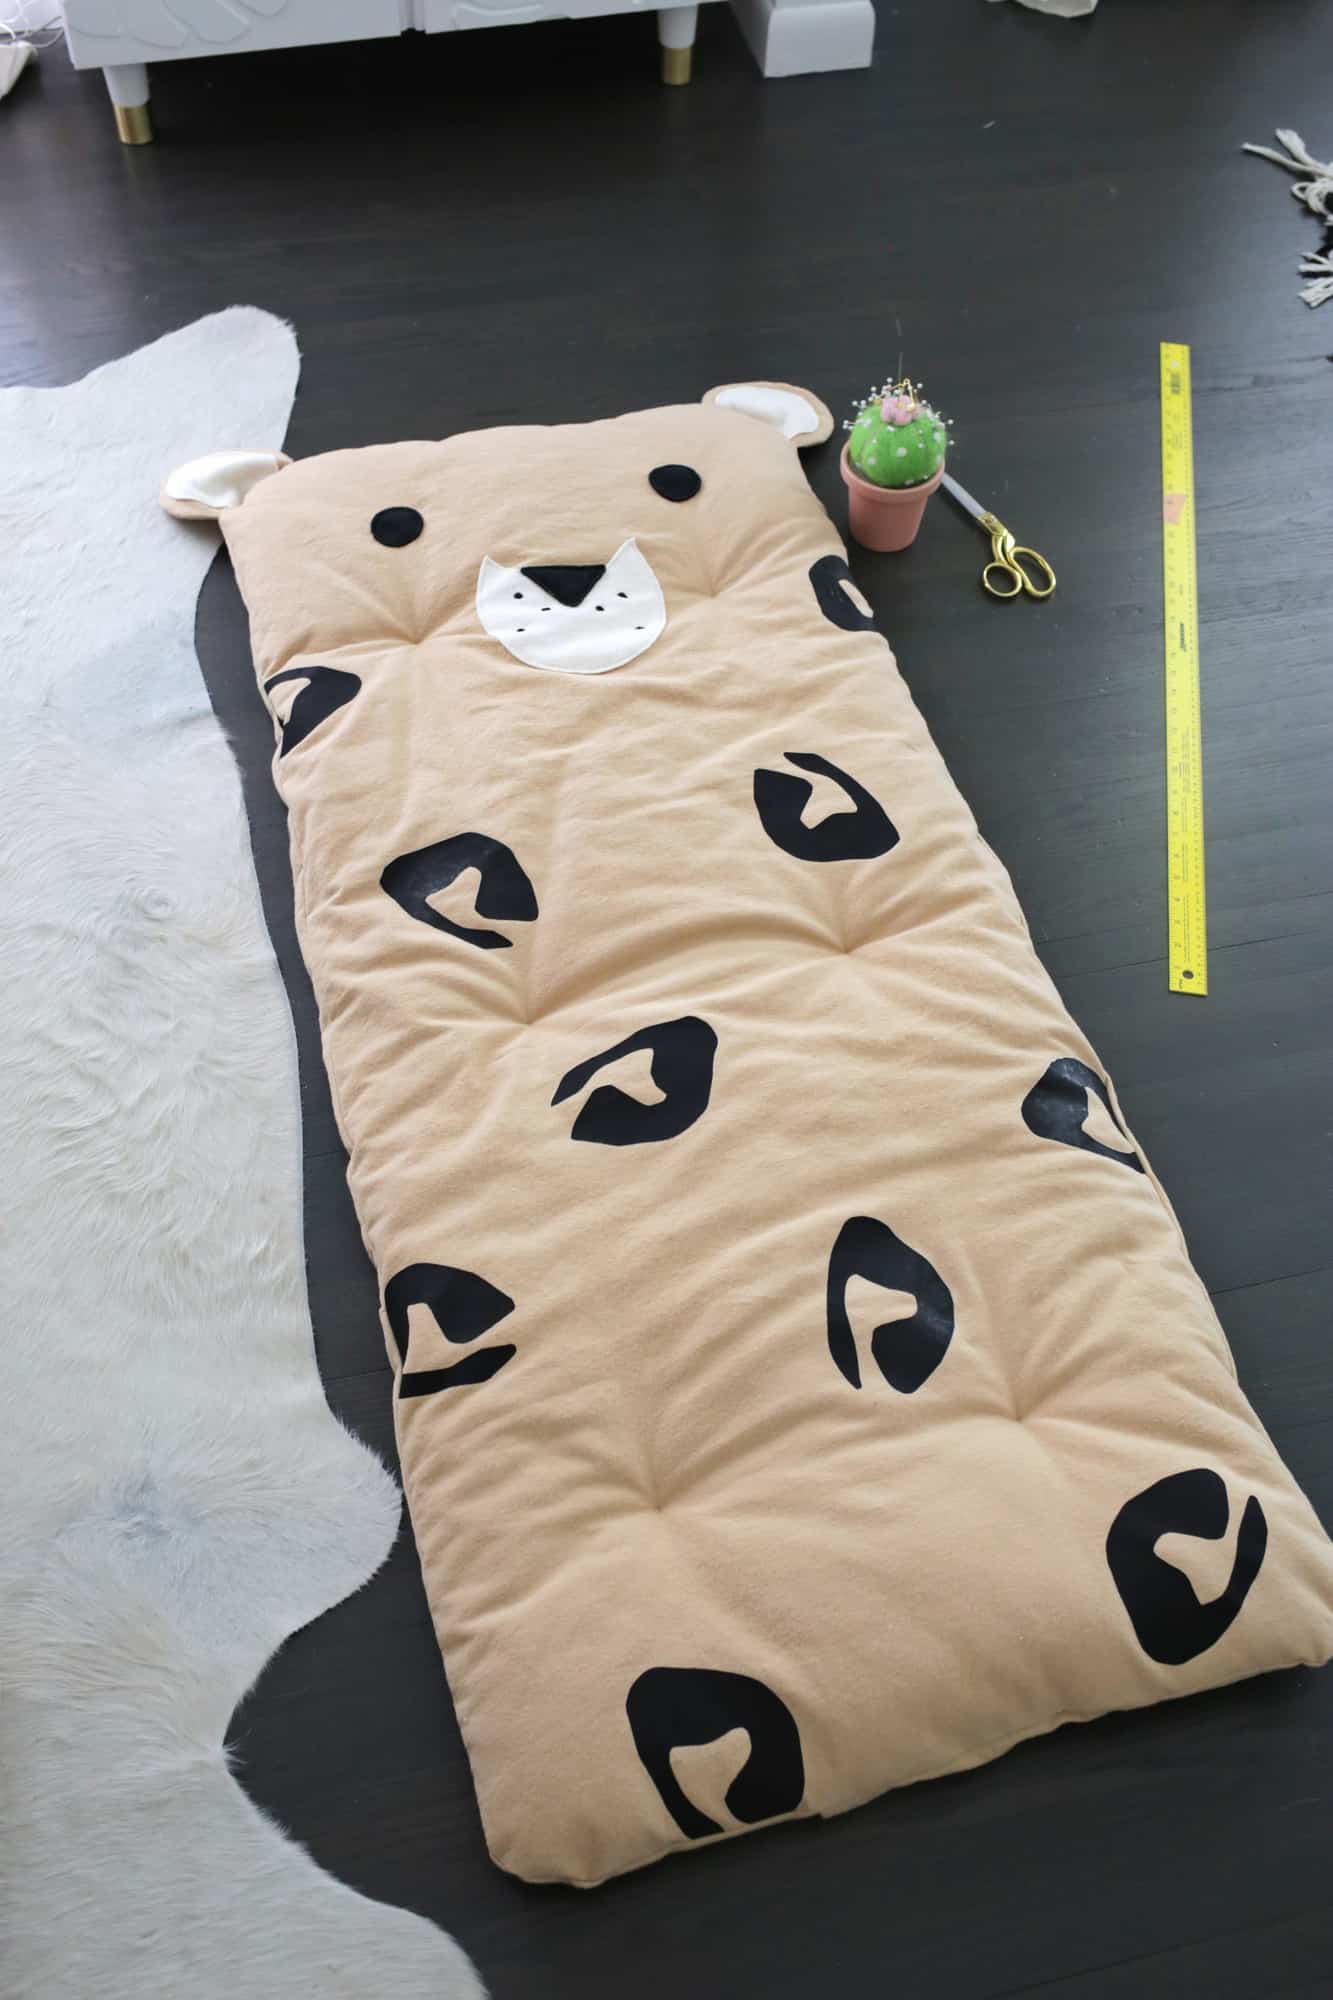
 Now it’s time for the spots! I cut out 10 spots and use pieces of tape to keep them in place while I ironed on one at a time. I experimented with some scrap pieces of vinyl and flannel to make sure it would work well and I’m glad I did, as I realized that it needed a lower temperature and less time with the flannel or it would start to melt and curl. So I would also suggest doing some test pieces before ironing your main spots. I found it easiest to put an ironing board on the floor so I could just move the fabric onto the board a little bit at a time without disrupting all the other spots too much.
 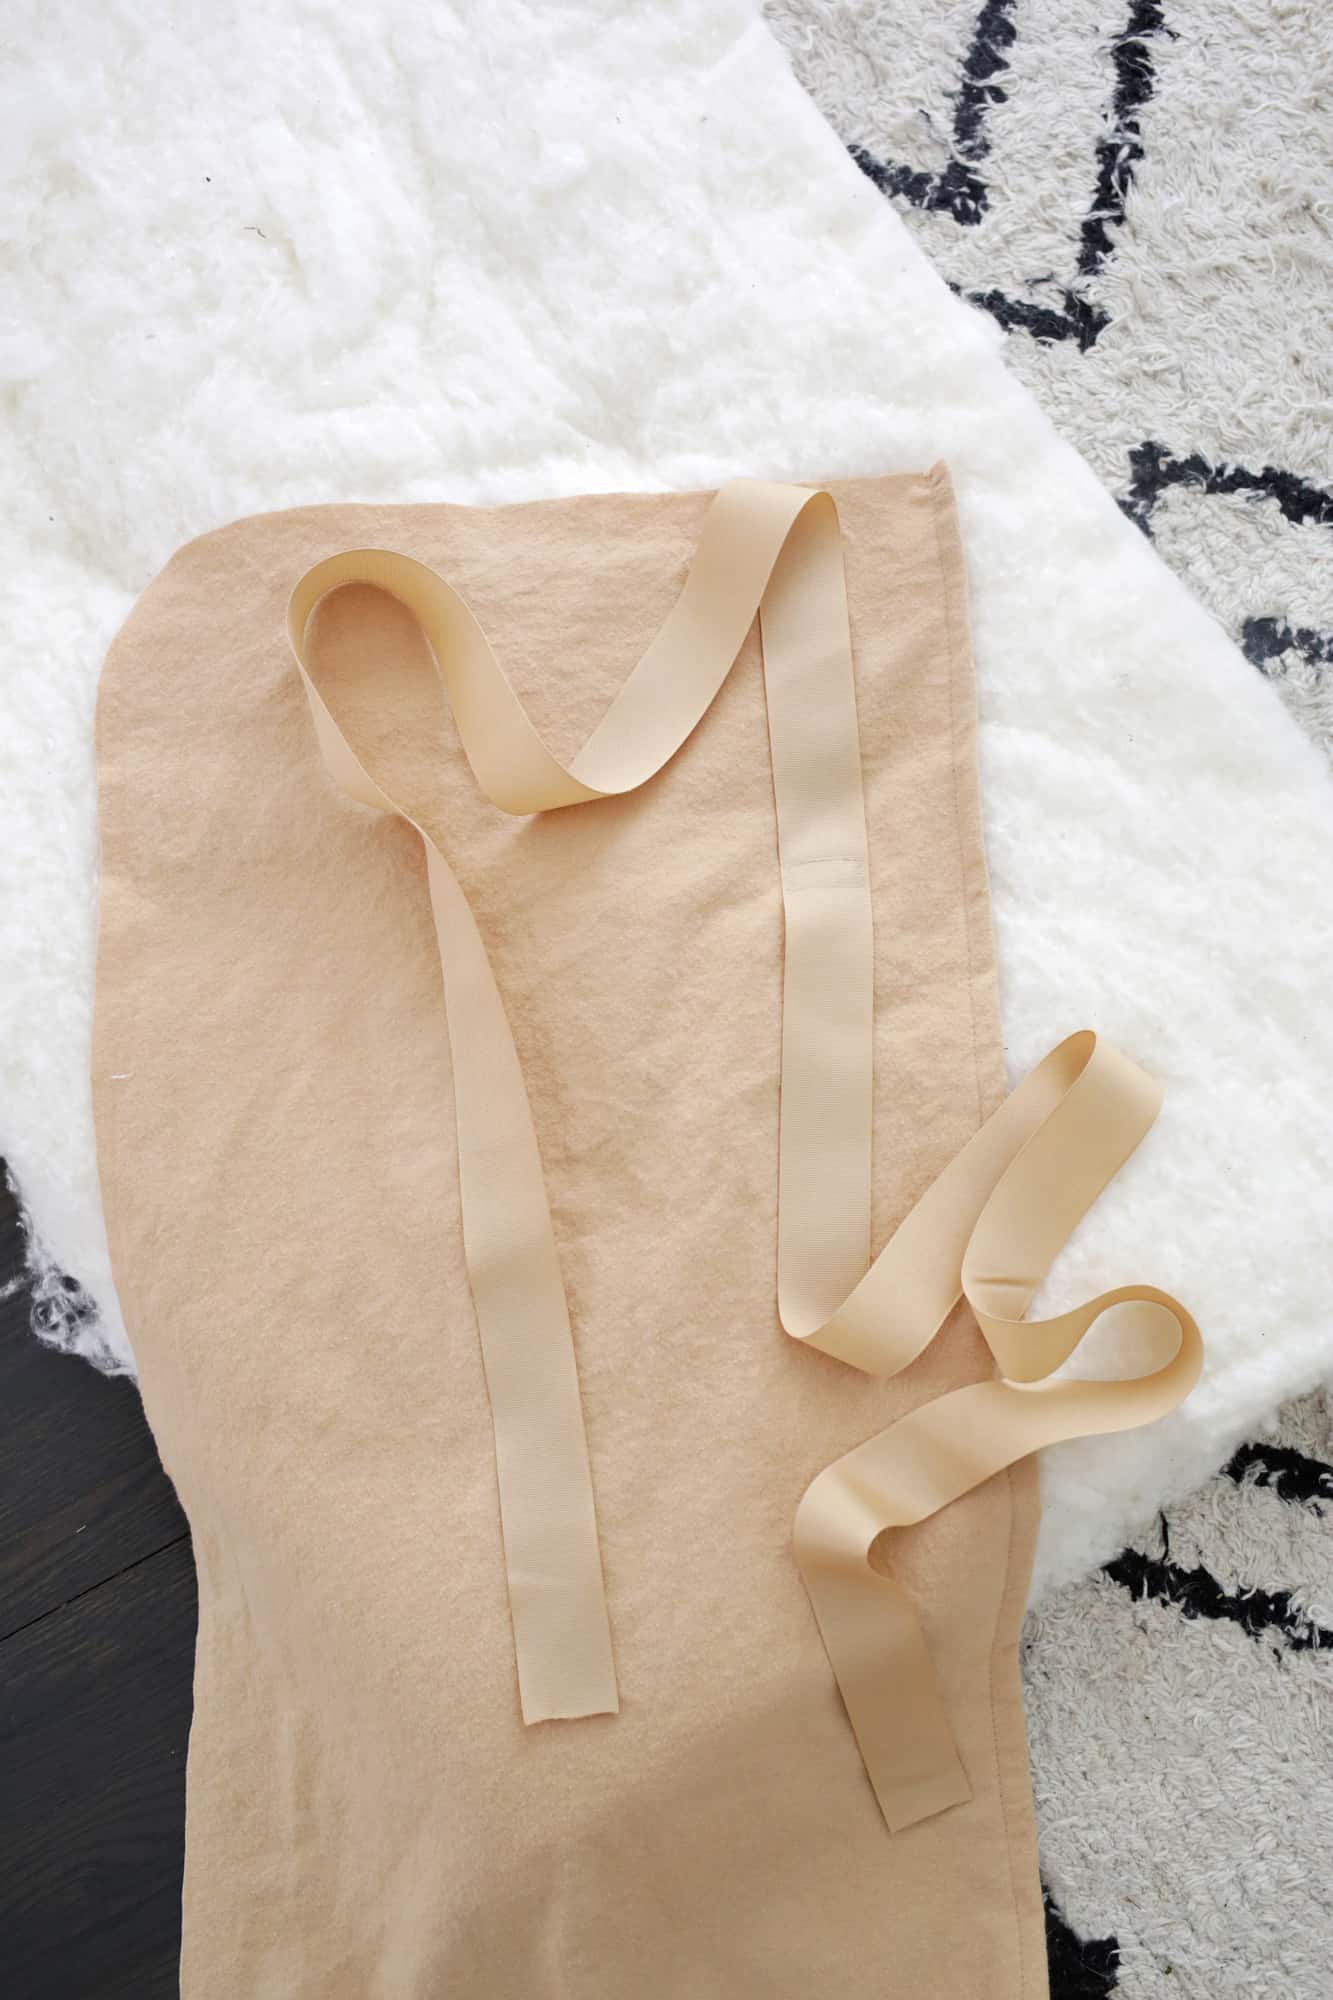 Since I want to be able to roll the mat up and tie it closed, I added a 60″ long grosgrain ribbon to the front side near the top of one of the 16×56″ panels and placed it 12″ in from the edge so that it would sit in the middle when the panels were attached. I sewed a rectangle shape to attach it at the middle point of the ribbon, but even just one simple line across would work too. Once it’s attached, fold it up several times and pin together so it doesn’t get in the way while you finish the rest of your sewing.
 OK, time to assemble! Pin each ear along the curves at the sides of the top so the front of the ear rests on the front panel.
 Leave your front panel face up and add your back panel that has the ribbon attached to it first (right sides together) and then the other panel on top. Pin all the way around the edges and sew with a 1/2″ seam allowance. Clip small cuts into your curves so the curves lay flat when turned around.
 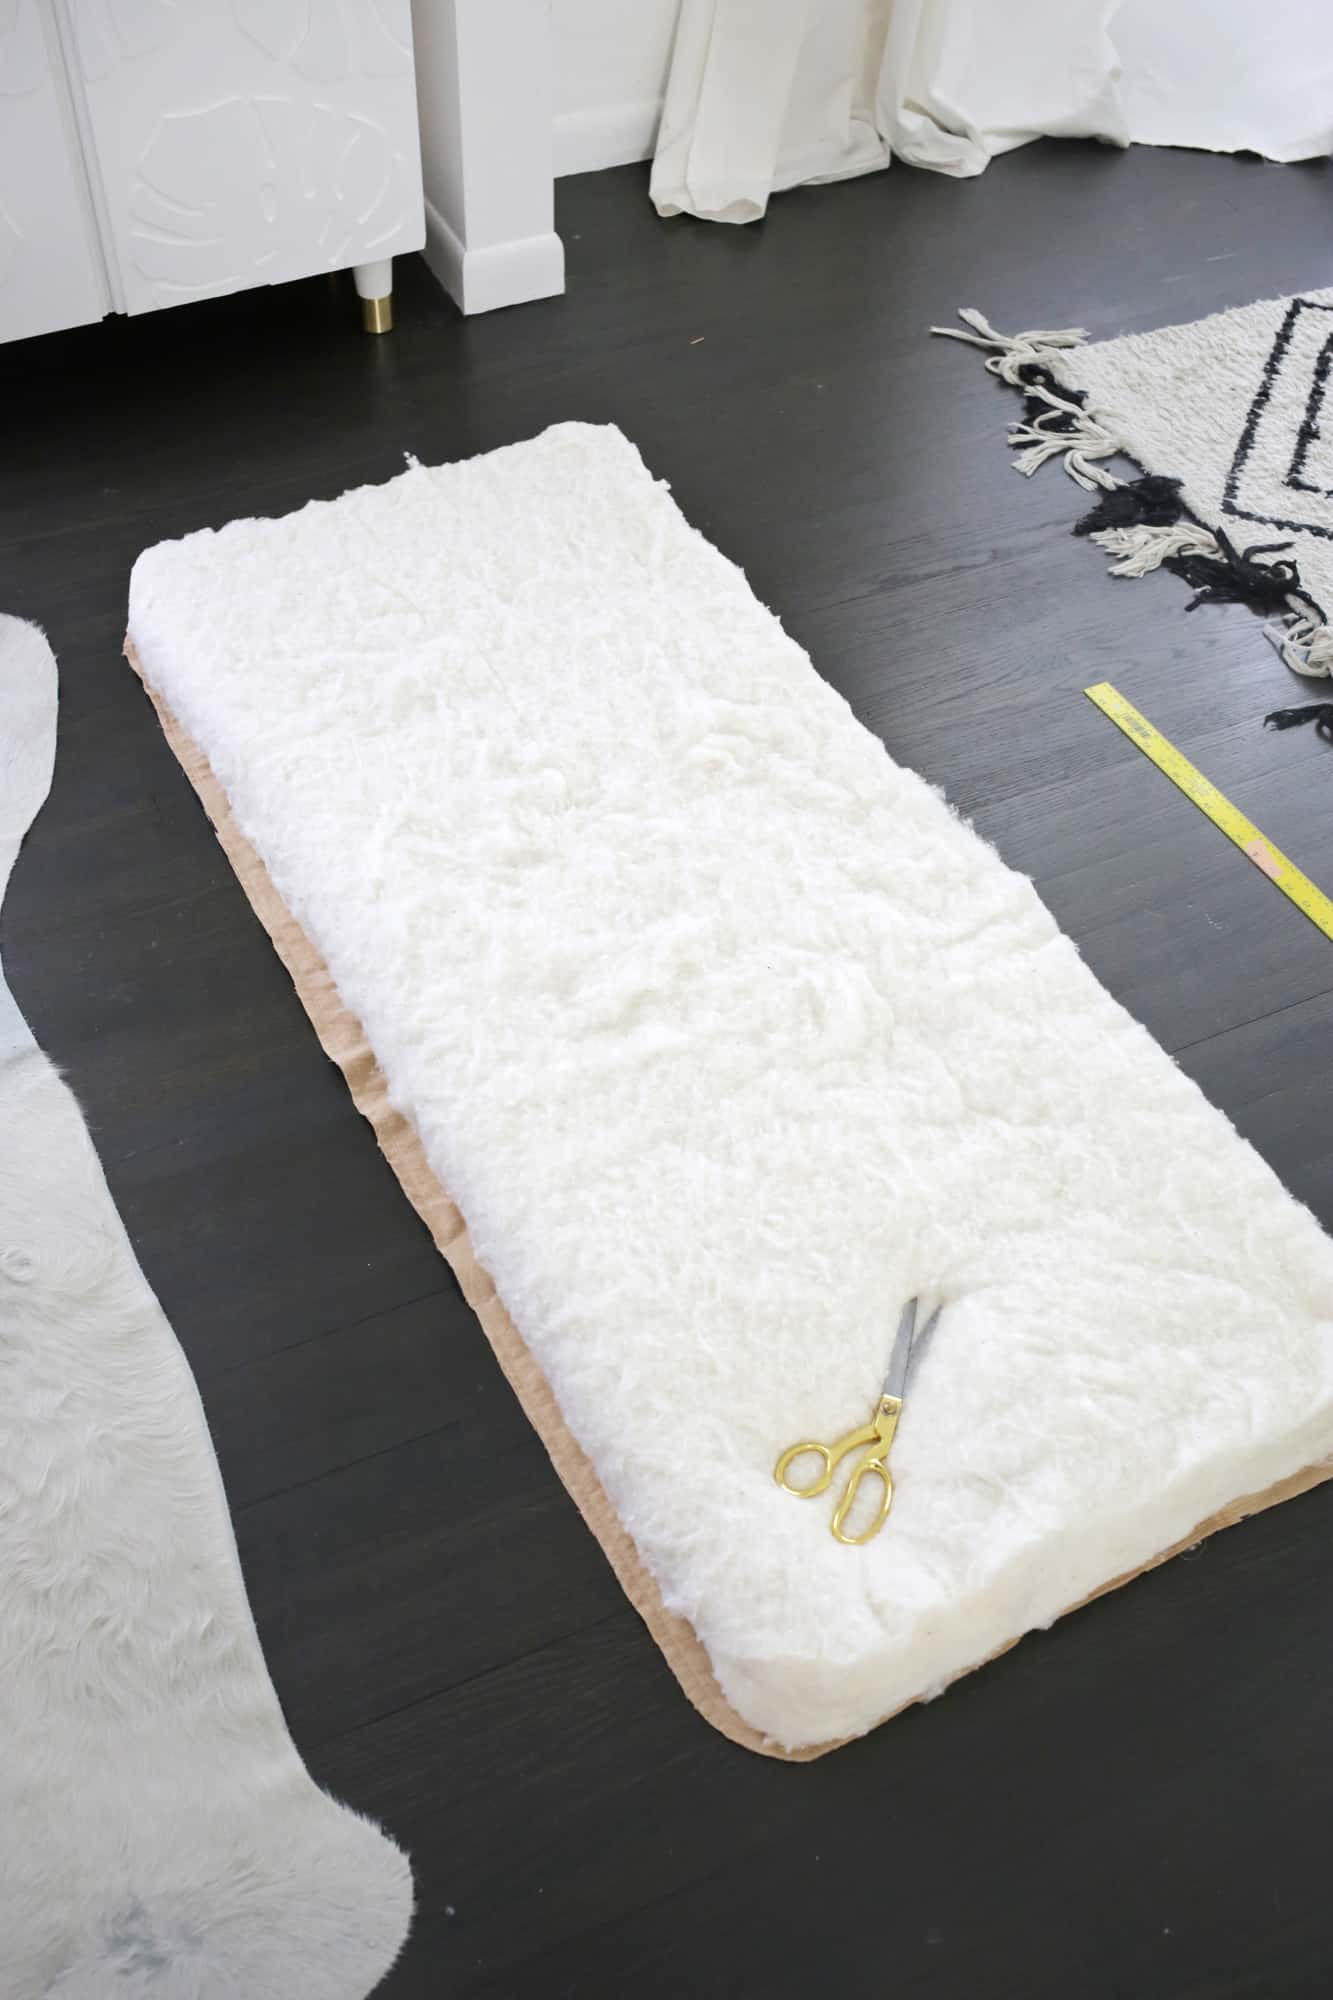 Before turning right side out, lay your fabric on the floor with the front panel on top and place your layers of batting on top (cut the batting layers to 23×54″ first and then round the corners so it mimics the fabric curve).
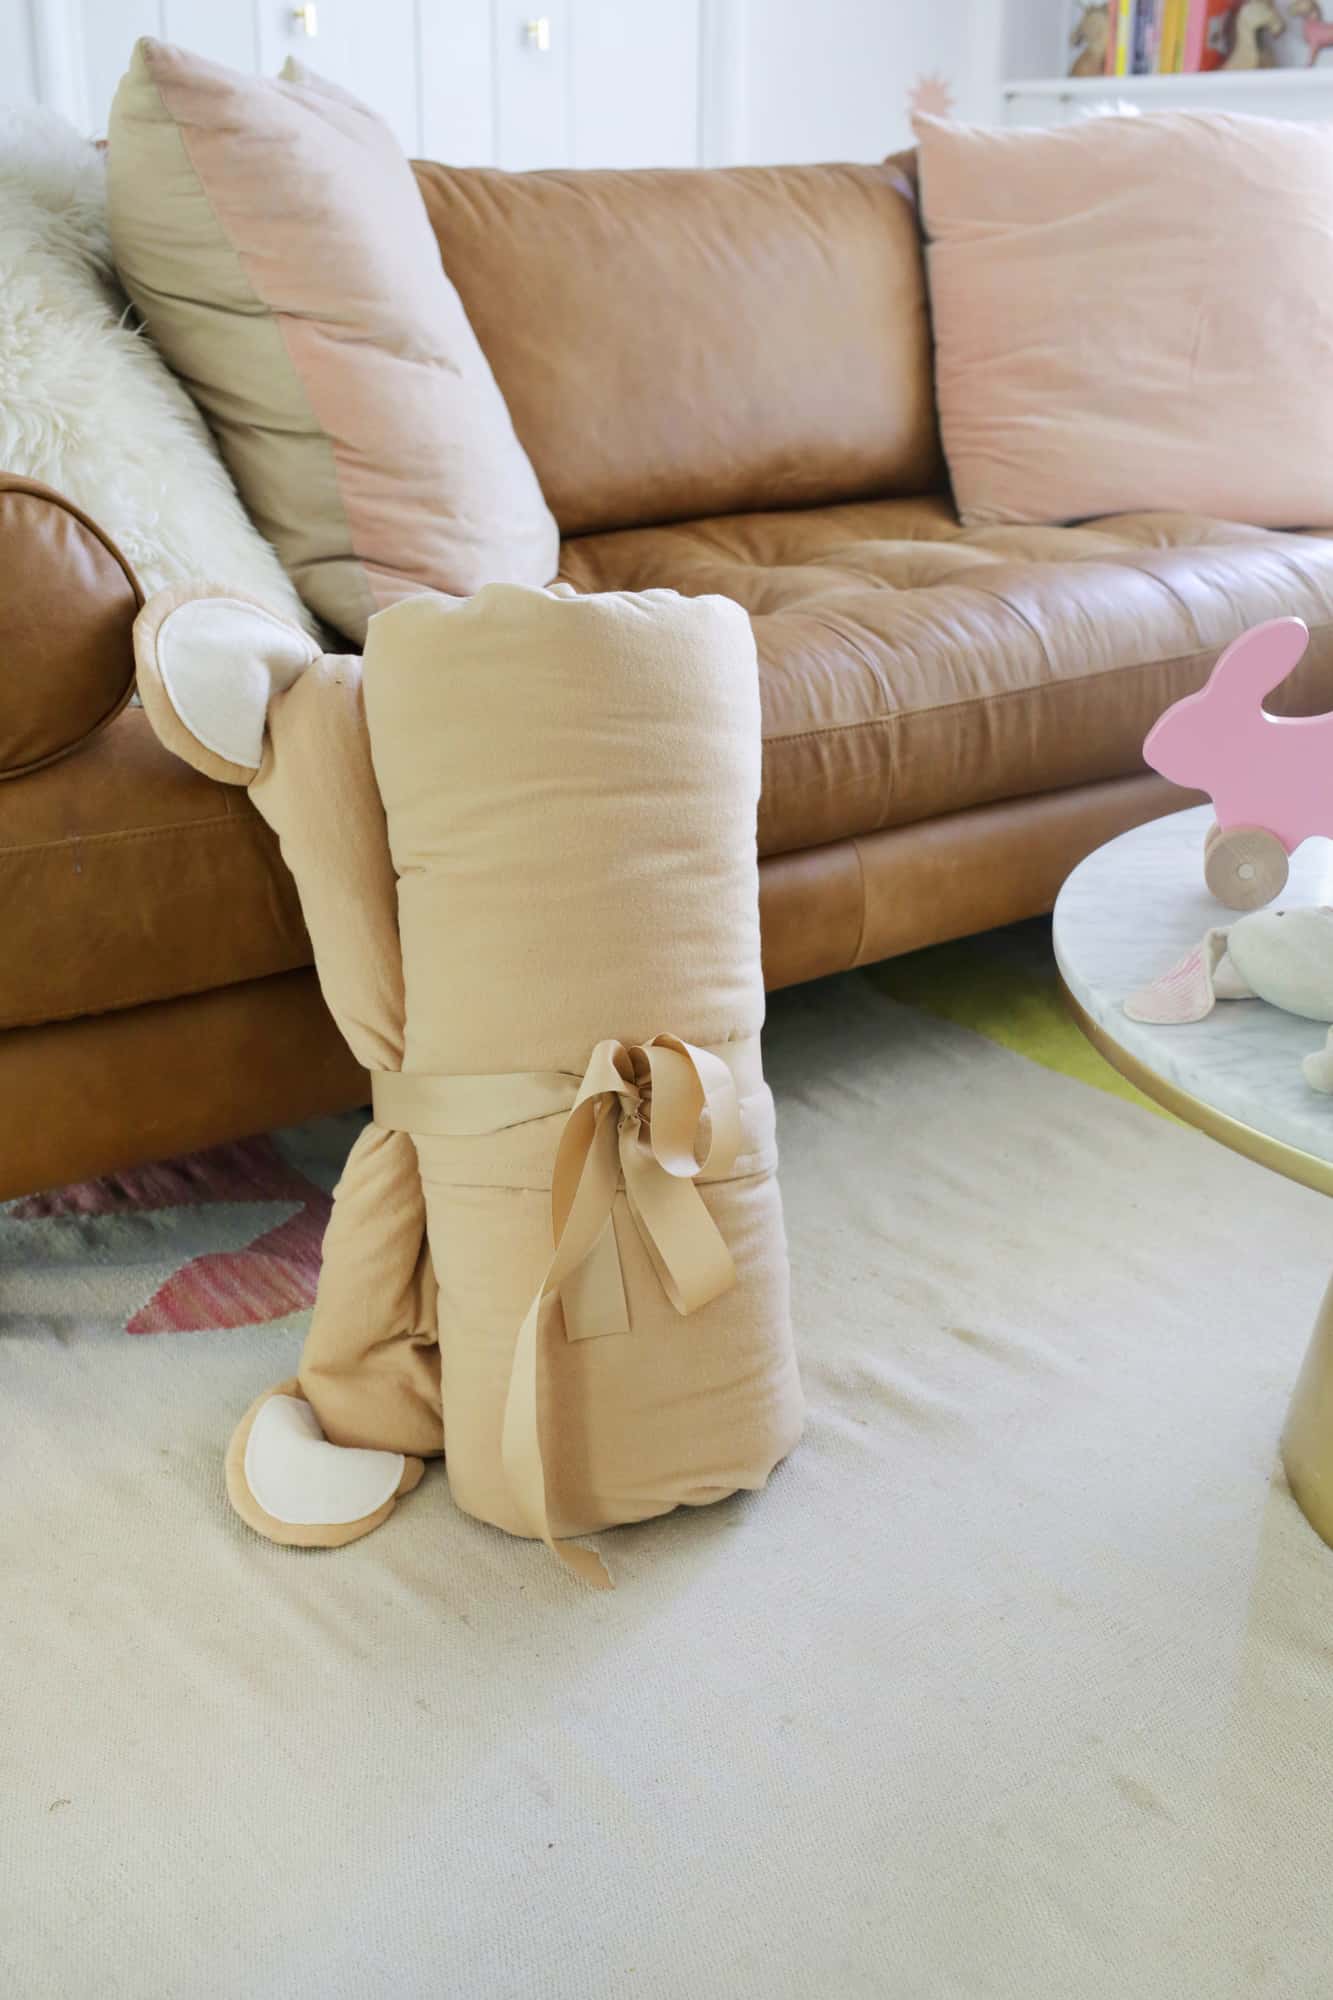
 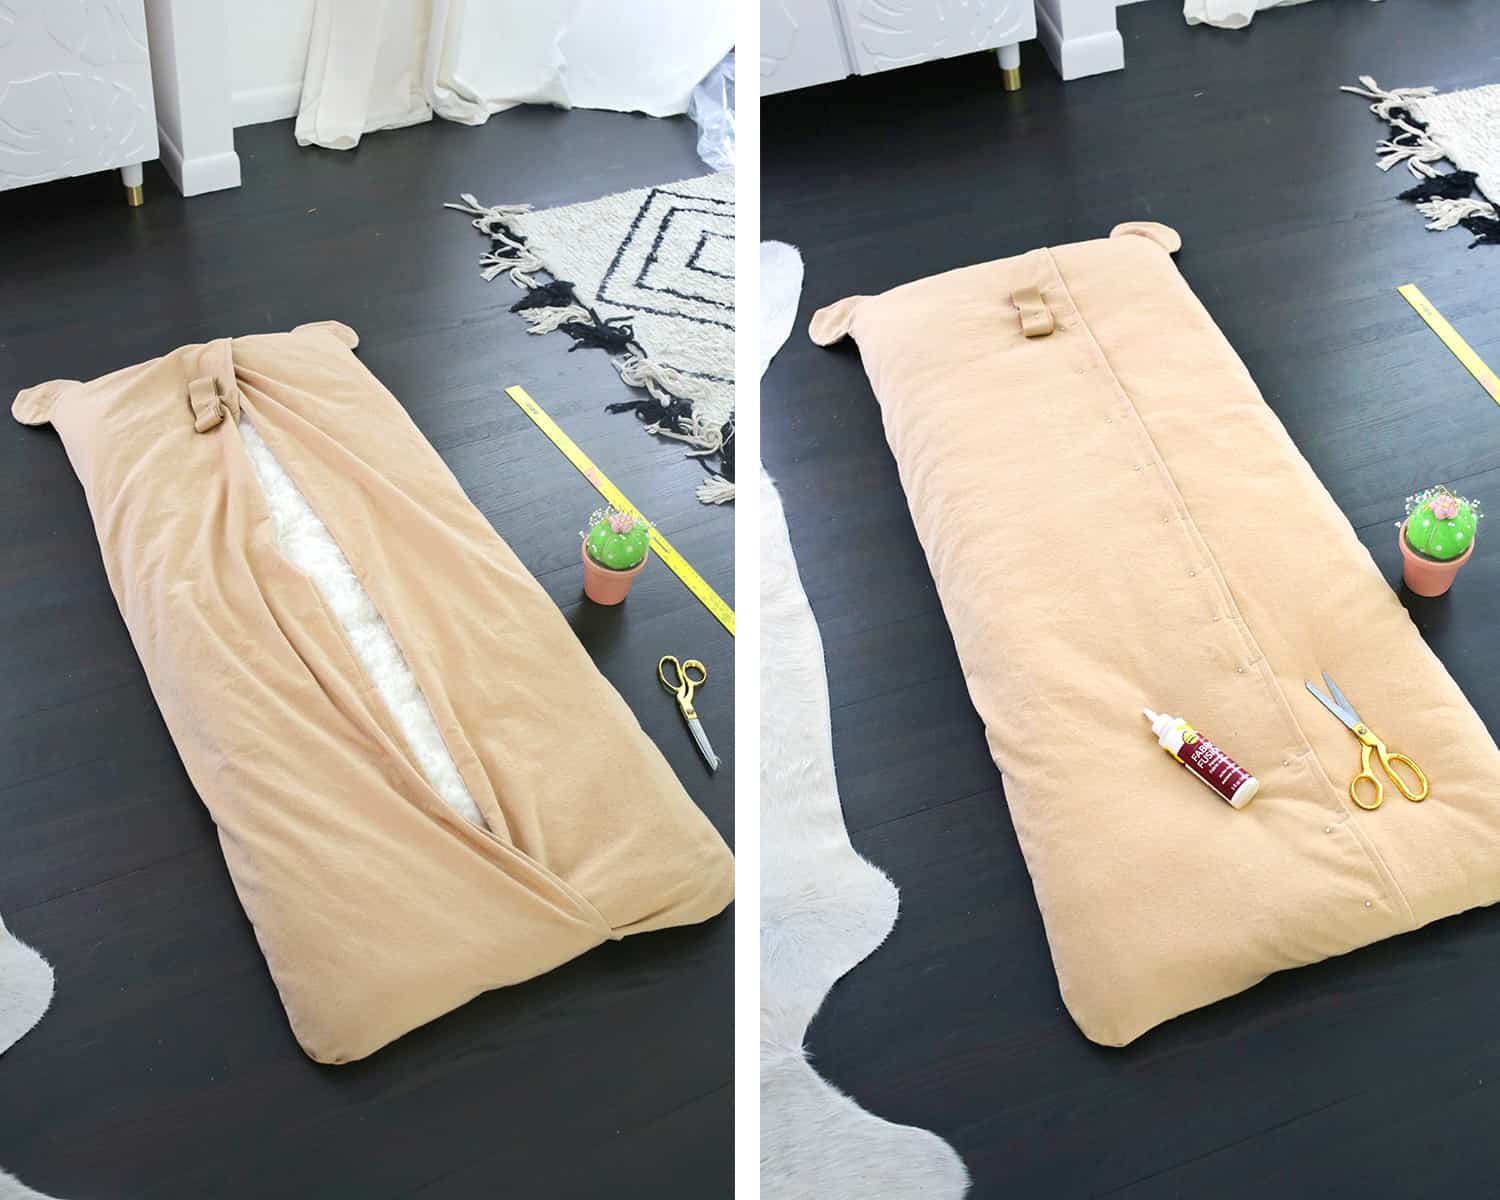 Fold up the sides from underneath so you envelop the batting and pin the back layers closed. Use fabric glue to glue your long panel seam closed. You could use velcro for this part or a super long zipper, but toddlers are great at opening zippers and velcro so glue seemed like a better way to close the large panel quickly (although you could also do a blind stitch the whole way down if you don’t want to use glue).
 To finish your mat and keep the stuffing from shifting around, I used embroidery thread to make six tufted spots so the batting would stay put while the mat is handled/washed. Just knot your thread and come up from the bottom in those areas going back and forth a few times and knotting again on the bottom side. Now your nap mat is ready to use!

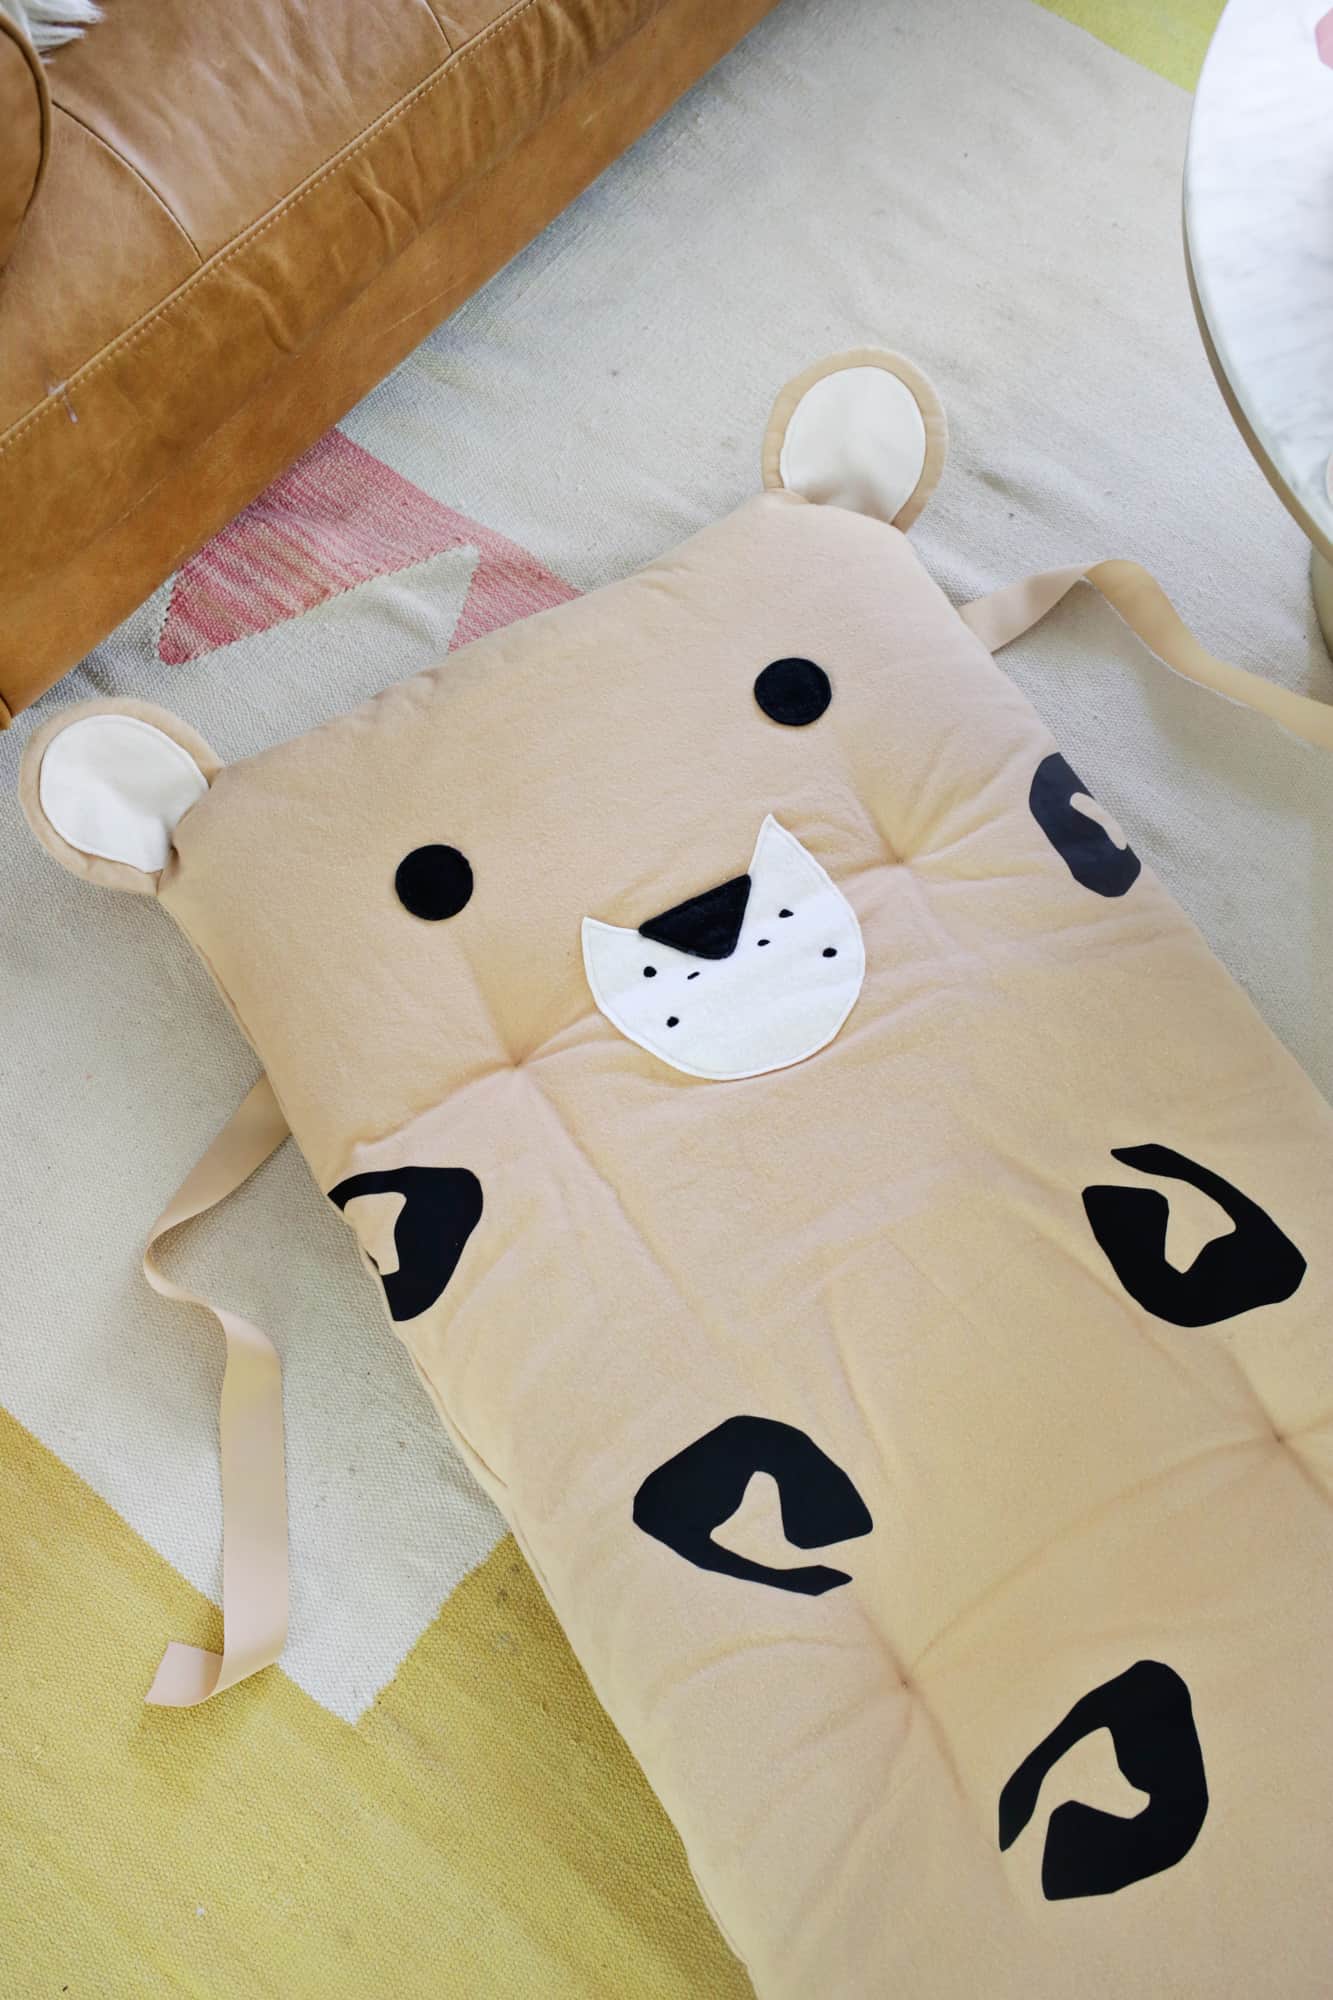
 I loooove how this turned out! It’s so sweet and just makes me smile when I look at it. I put a ton of batting in the middle, so it’s pretty plush for Lola (and I figured it would settle a bit over time) and I can’t wait for her to use it at school! We haven’t had to wash any nap mats yet since she sleeps in a sleep sack on top of her clothes (and that usually soaks up any leaks that may get through clothing during a nap), but it’s good to know I could wash this if needed. Just keep track of what the laundry instructions are for each of your materials so you know what wash temperature you’d need to wash this on and if it could go in the dryer. I thought it was funny that as soon as I was done with this, our cat immediately decided to take a nap on it—meaning it must be comfy, right? xo. Laura

Such a lovely project, thank you for the tutorial! This is one of the cutest and comfiest play mats I’ve seen! <3
Oh man, this is too cute!! I love your tutorials so much, do you think you might venture into making a baby nest one day and posting a tutorial?? 😀
This is a super cute nap mat and a pretty good tutorial! I did use it to make my son a nap mat for daycare. It was pretty easy to follow but I would just like to point out one thing for anyone else who decides to make this. You’ll need to get more than 1/8 of a yard of the white fleece. That is only about 4” wide and the pattern for the muzzle is a little over 6” wide. I made it work by putting two pieces together and sewing a straight line. Then I put my pattern where the straight line ran down the center like the line that connects the nose to the mouth area. I also chose to add a blanket to my nap mat! It worked out really well.
This is so cute!! Perfect for the kiddos. Thanks for sharing!!
-Kate
https://daysofkate.com/
This is so so cute!!! I love it! Thanks for your tutorial.
Very cute tutorial! Thank you so much for sharing, I will try to create this tenderness!
brilliant! I love it so much. I would be glad to buy it 🙂 I hope I’ll build some confidence in the DIY field and dare to make this kind of projects!
I want this for myself!
Serious mom goals ????????
You’ve outdone yourself again, Laura! This is so stinkin’ cute! Lola is gonna love it!
Oh my gosh, this is adorable! Looks like something you’d find in Japan, haha! ❤️✨
Charmaine Ng | Architecture & Lifestyle Blog
http://charmainenyw.com