Sewing a button is one of those tasks that most people will need to do at some point in their lives. If you are not a “sewer” and the task of attaching anything with needle and thread seems daunting, have no fear!
Whether you are trying to sew a regular button with holes or a shank button, here are easy steps to sew your own button. Even if one pops off right before you head out the door, you’ll have the skills to get it back on in no time.
Learning to sew? Try these easy sewing projects!
- How to Hem Your Jeans (in 4 Easy Steps!)
- Boho Shower Curtain
- Oversized Scrunchie DIY
- Padded Headband DIY

Frequently Asked Questions
What’s the difference between a flat button and a shank button?
Regular flat buttons generally have two or four holes and lay flat with the stitching visible from the top, while shank buttons have a loop on the underside so all the stitching is hidden below the button. Shank buttons are also better when you have a thick buttonhole that needs some space under the button, like on a thick wool coat.
Do I have to use a special needle to sew on a button?
No special needle is required to sew on a button. If you are using a heavy thread, you will want to use a larger needle that has a bigger eye so you can thread the thread into the eye of the needle, but a regular hand sewing needle will work for almost all buttons.
Should I use a certain kind of thread to sew on a button?
For most button sewing, all-purpose thread will work just fine, although you may want a heavy-duty thread for heavy coat buttons that are used a lot to button and unbutton the coat. If your other buttons have a specific color or decorative thread that you would like to match, take your item to a sewing store and match the thread to what’s used on the rest of your garment.
STEPS TO SEW A FLAT BUTTON (TWO OR FOUR HOLE):
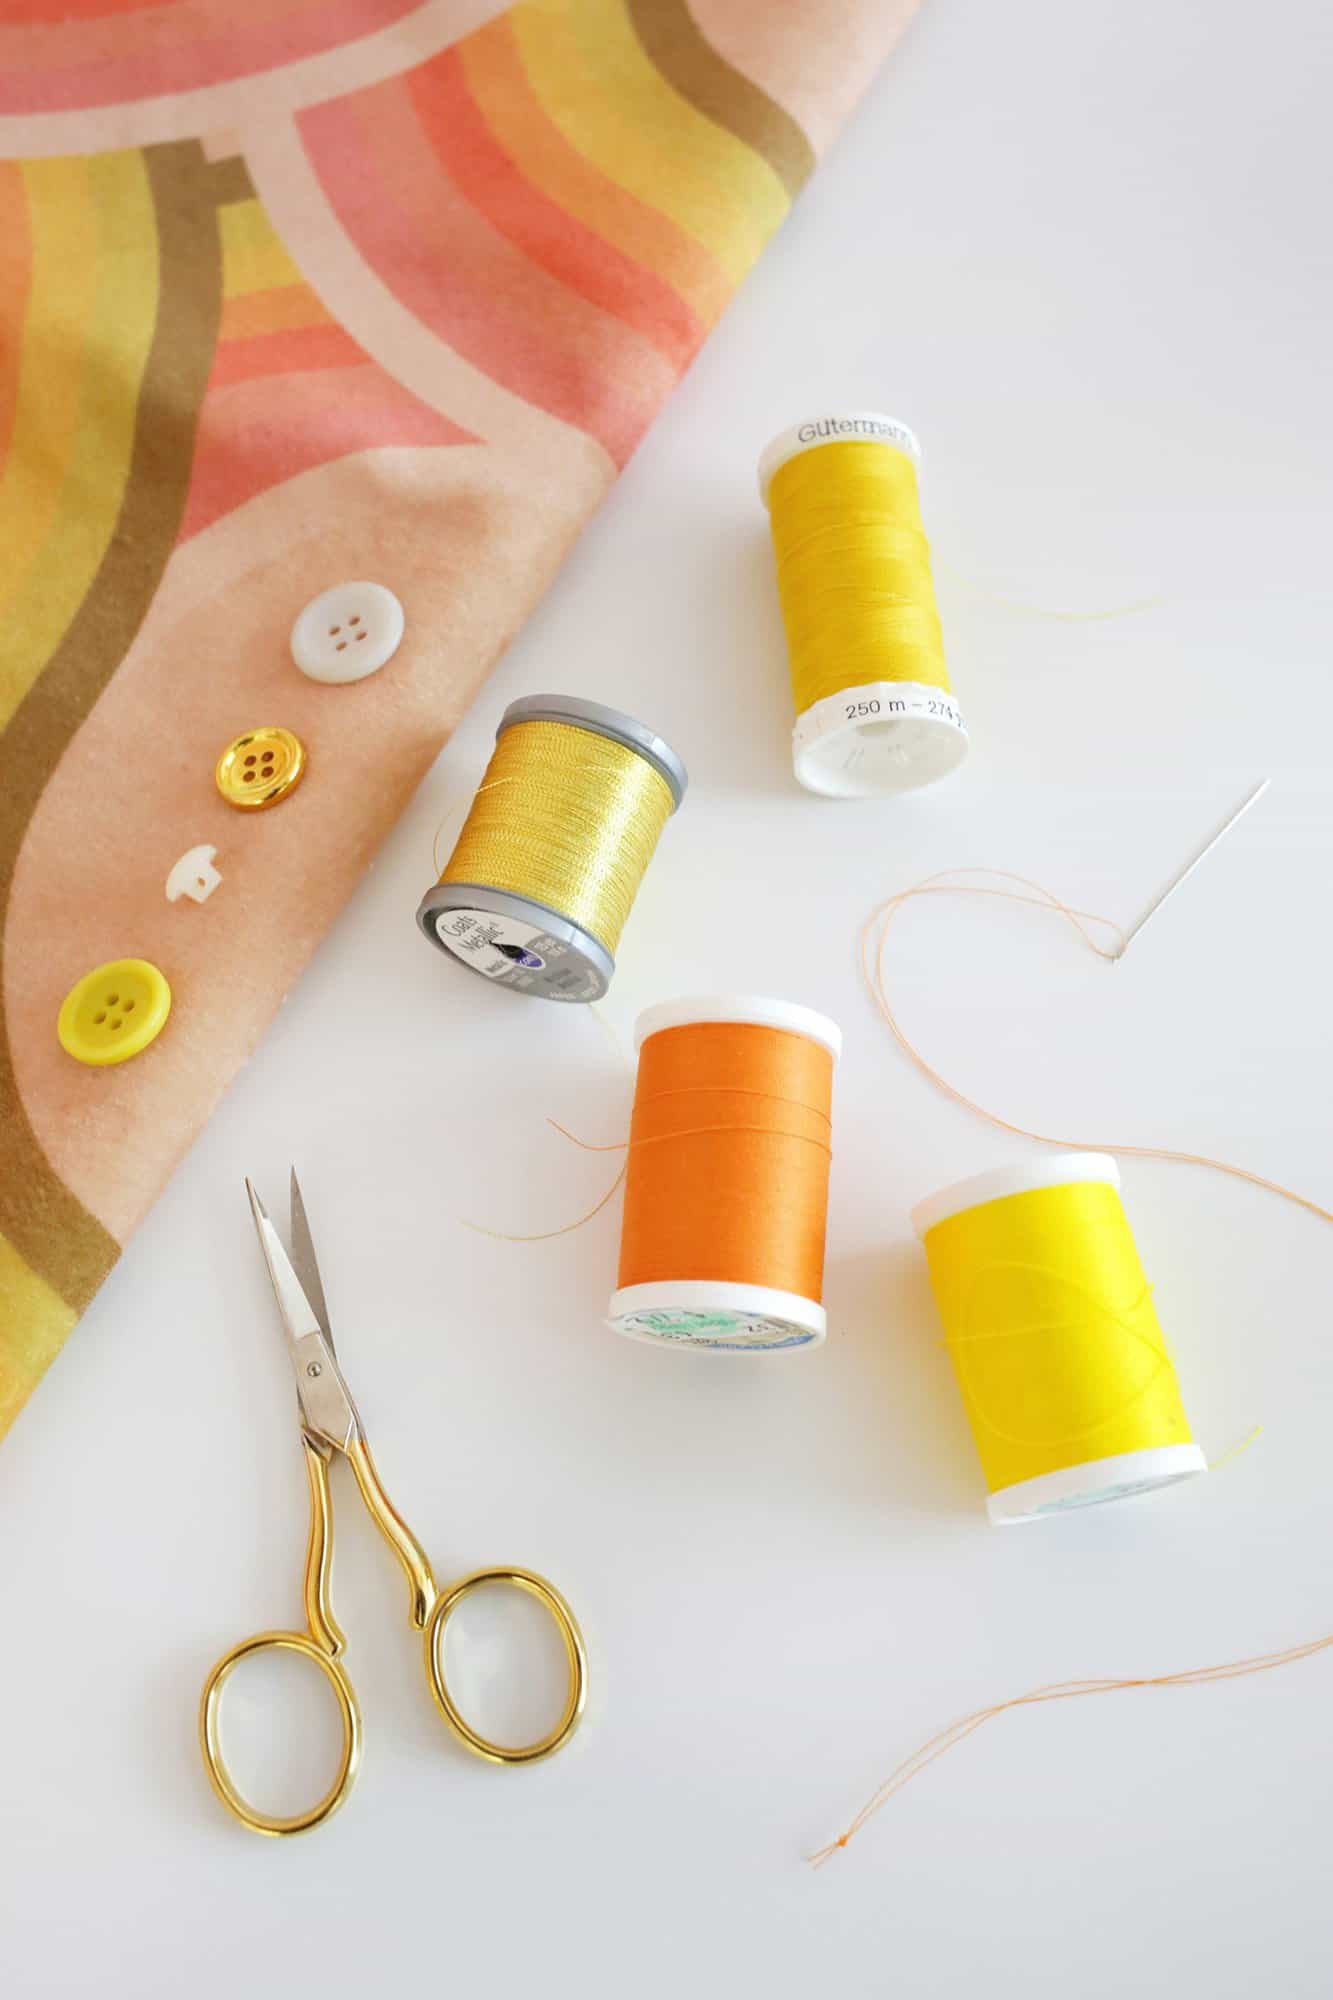
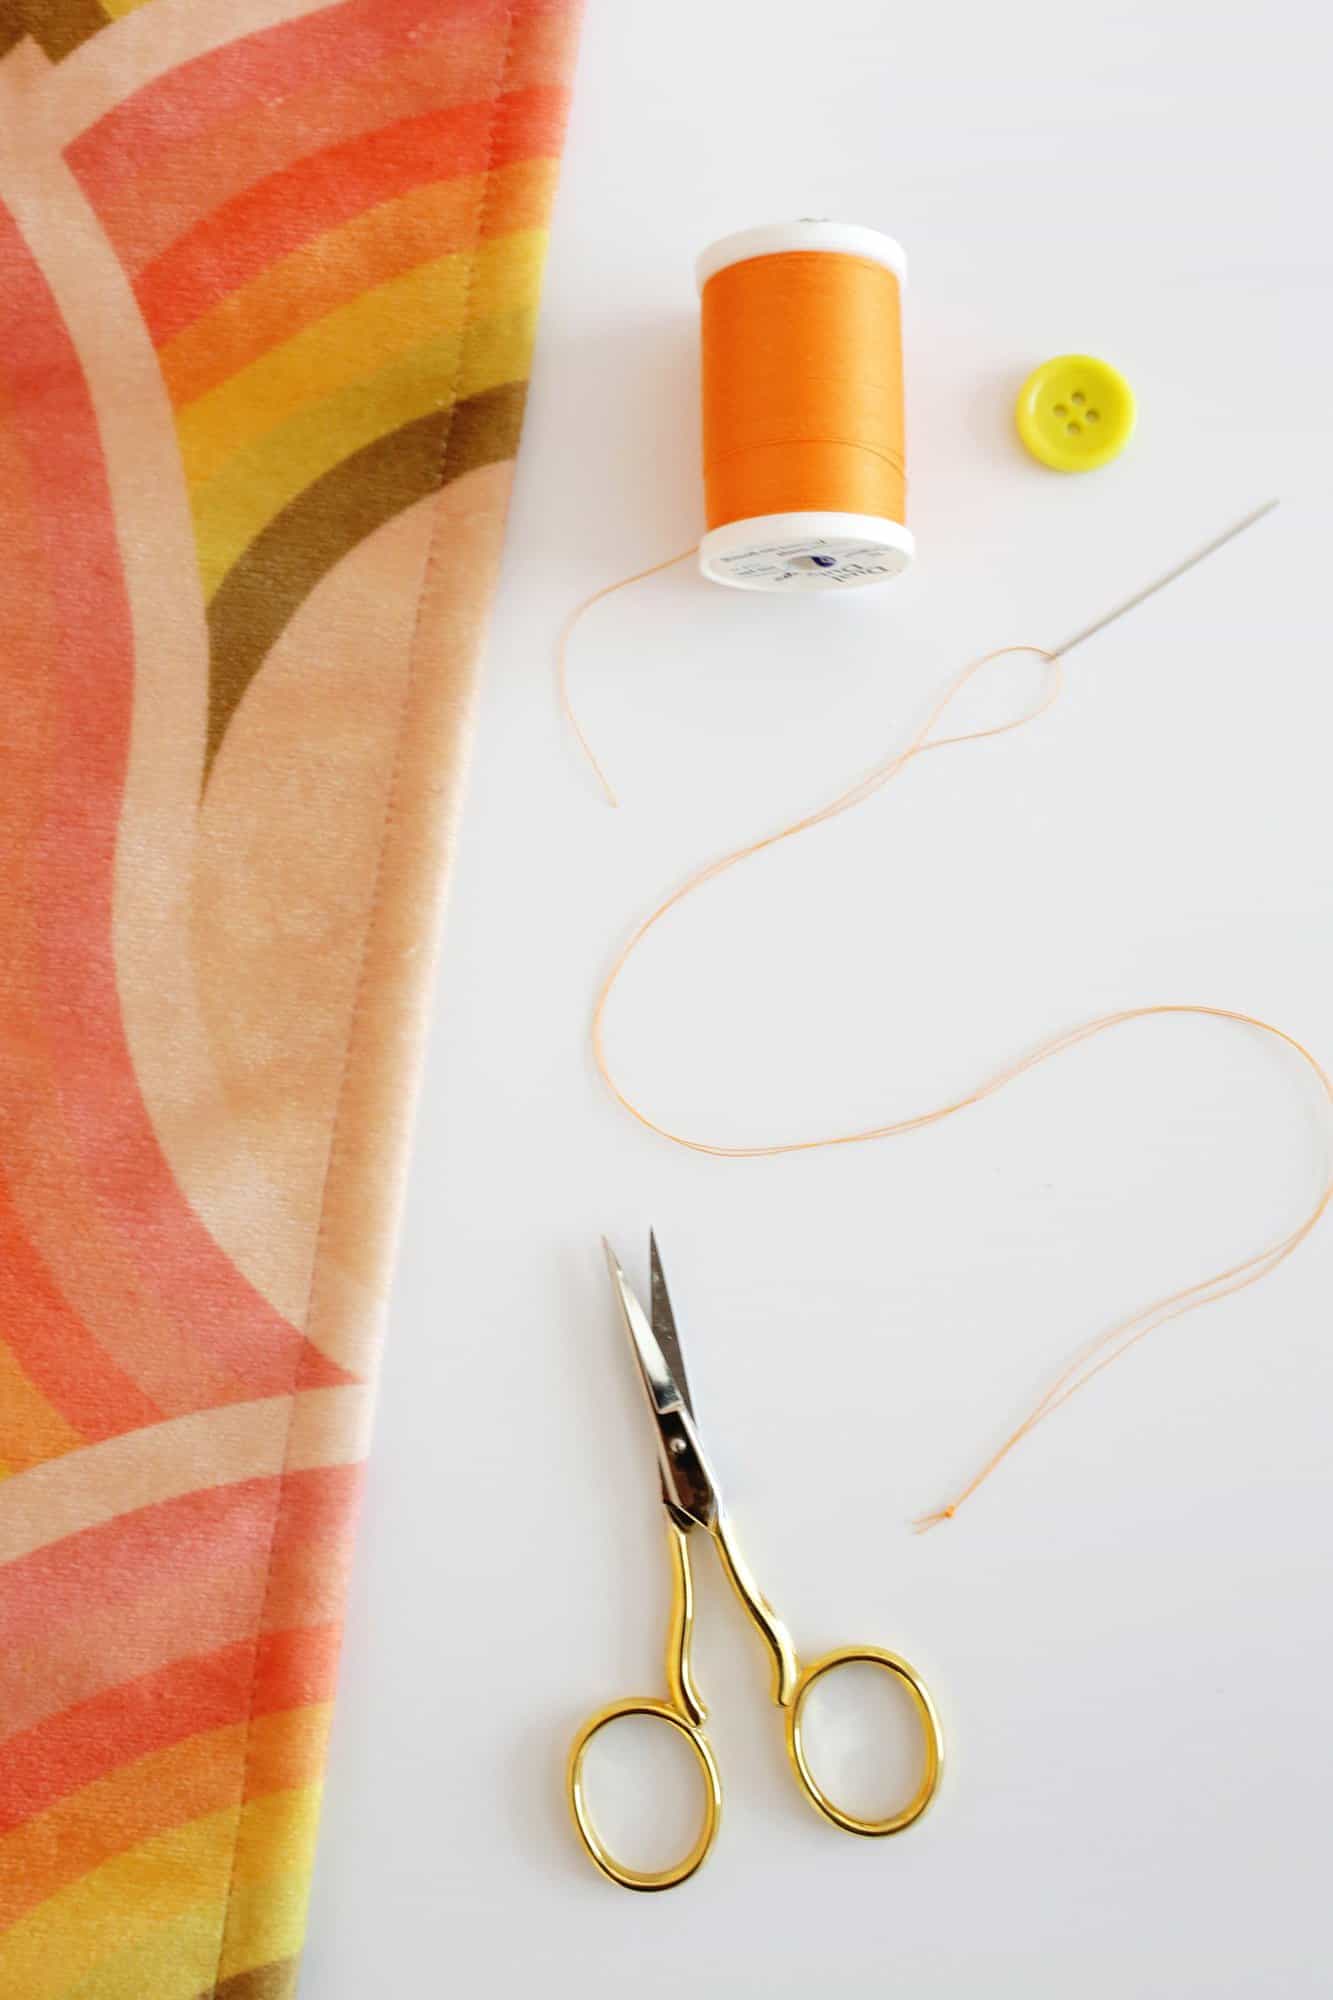
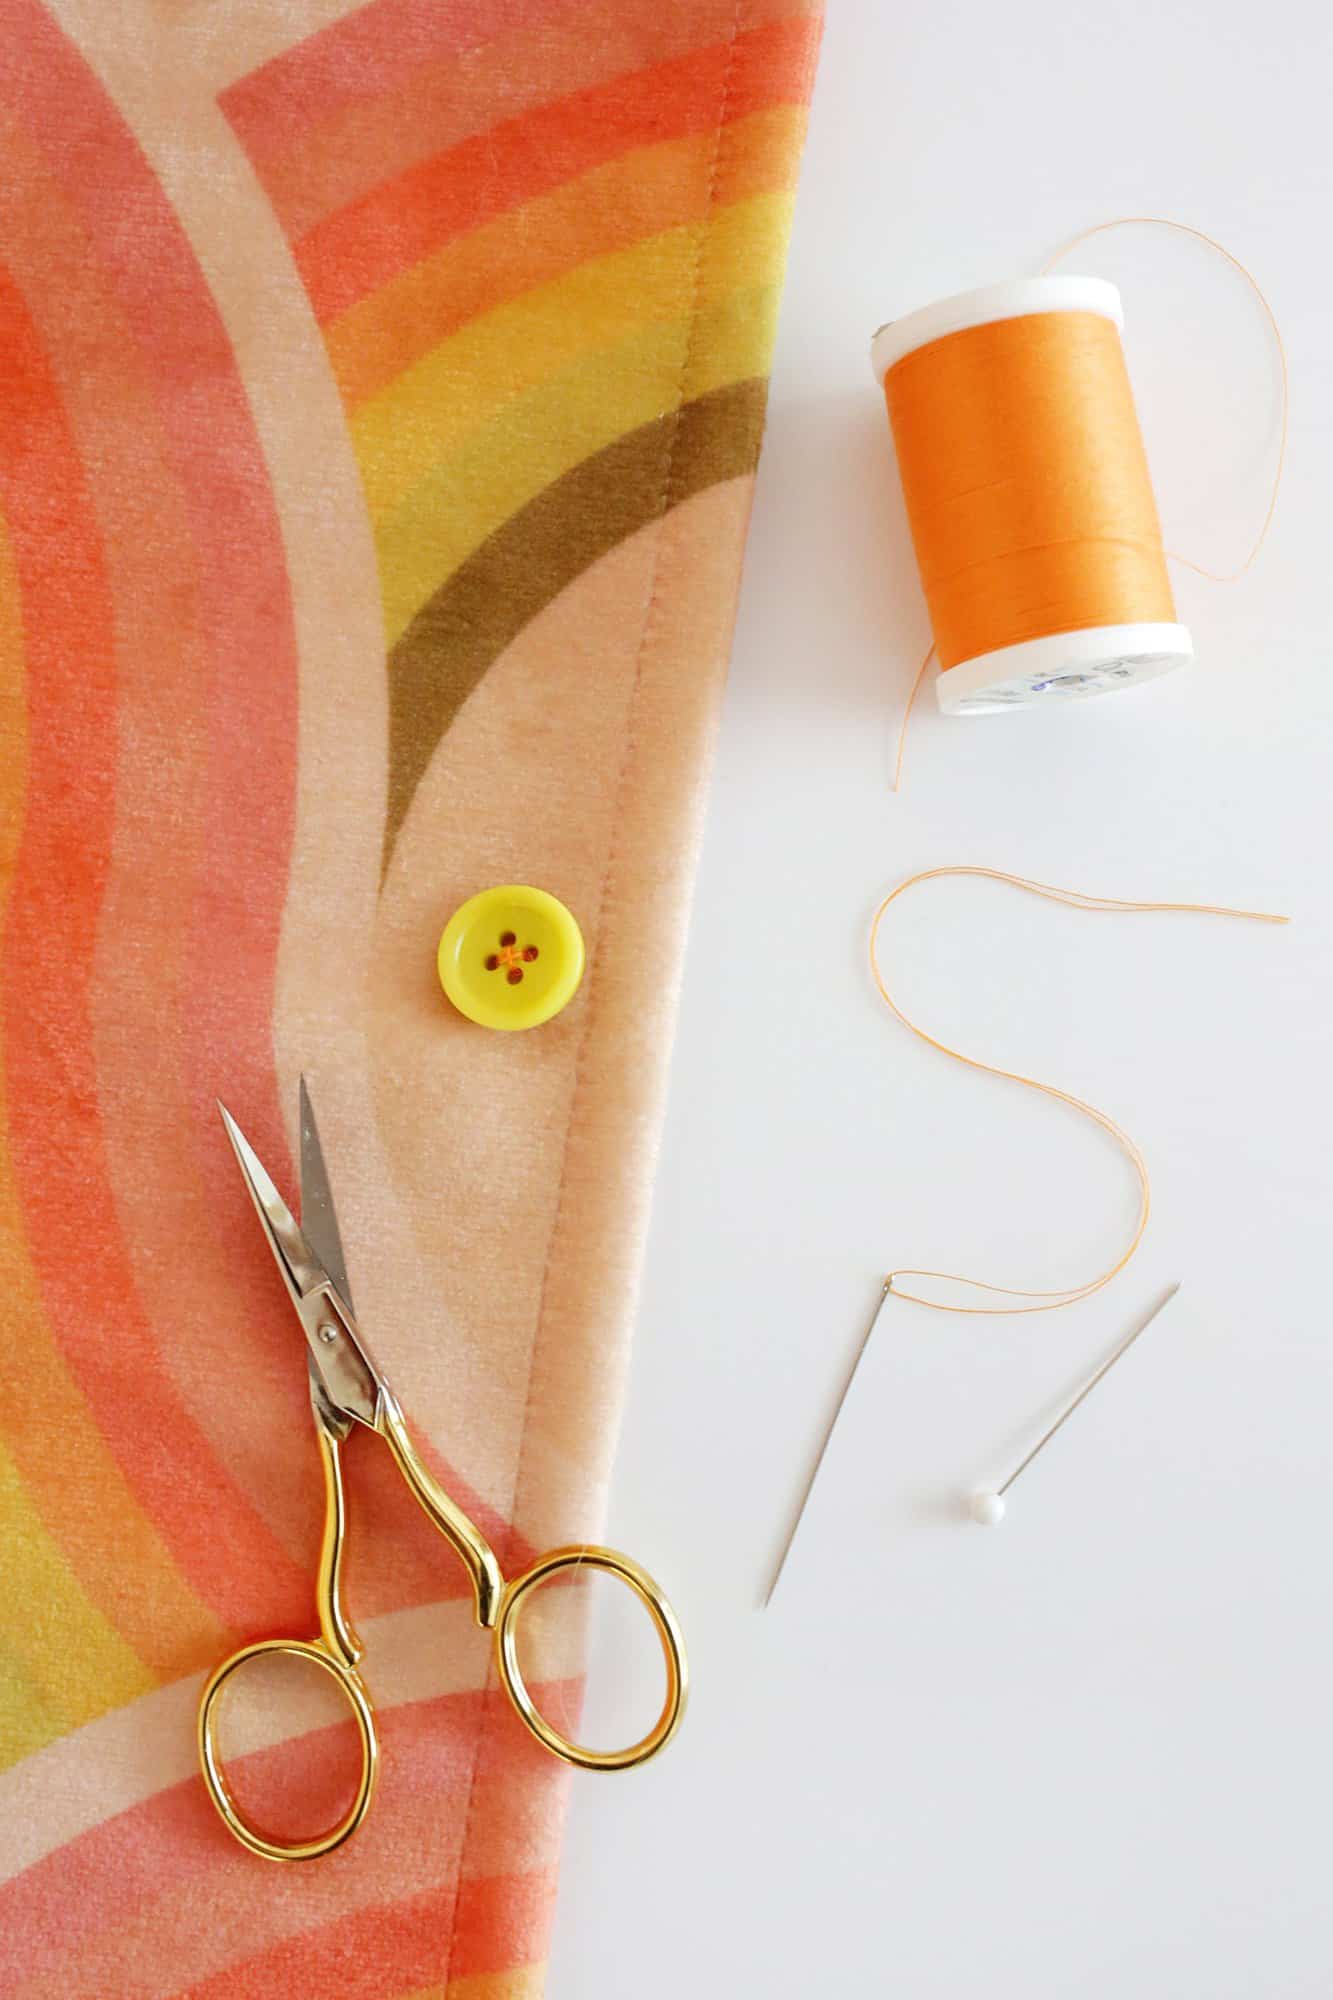
Supplies:
-button (a two- or four-hole button)
-thread (regular weight works for most things, but you can do a heavy weight for bigger coats, etc.)
-needle (a multi-pack like this has several options for different thread weights)
–straight pin
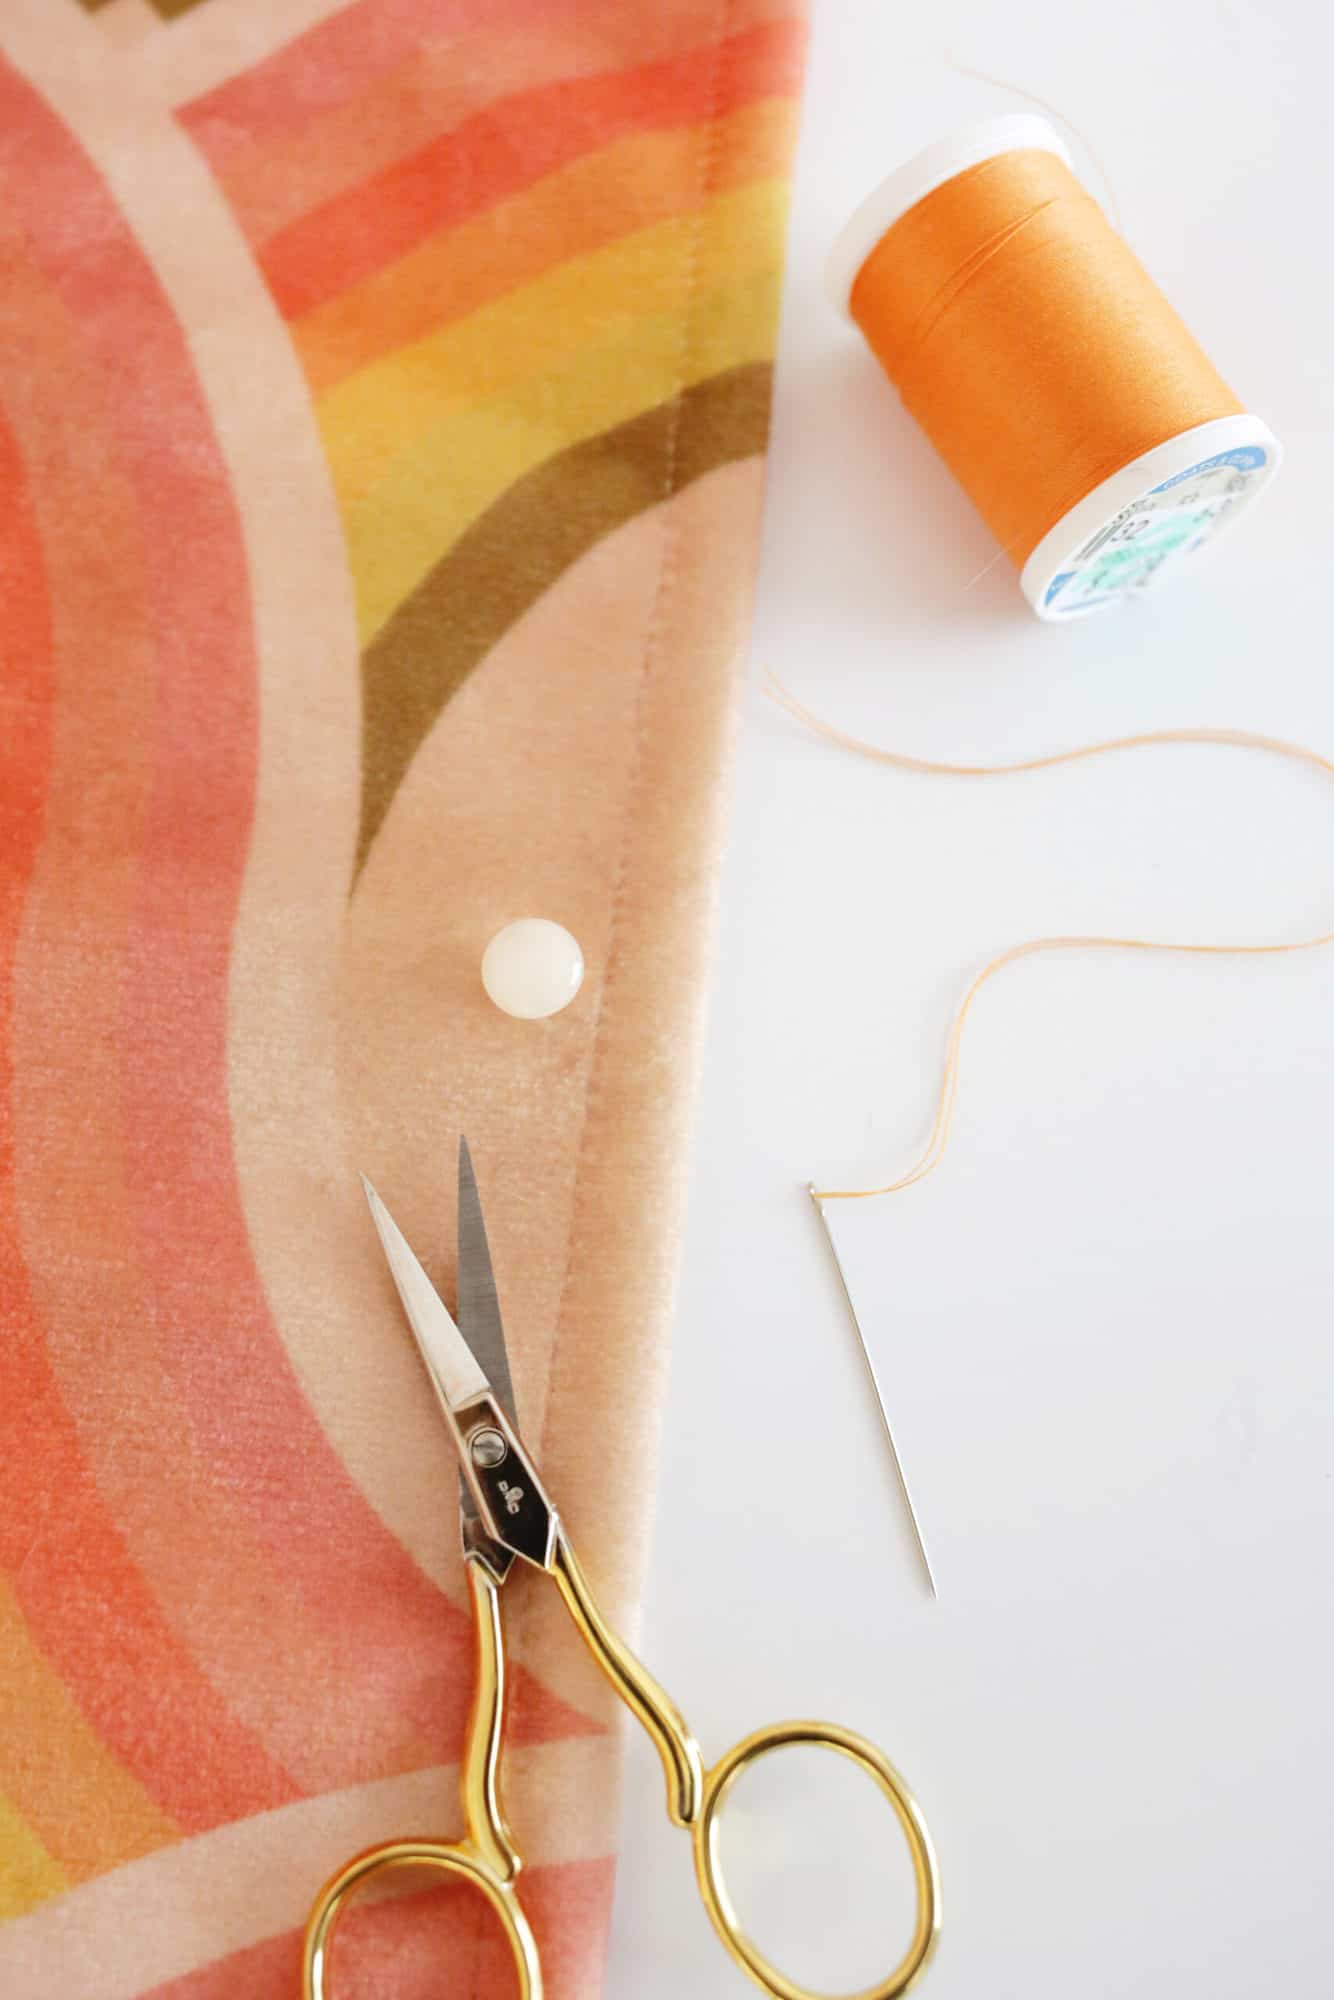
-scissors
–disappearing marking pen (optional)
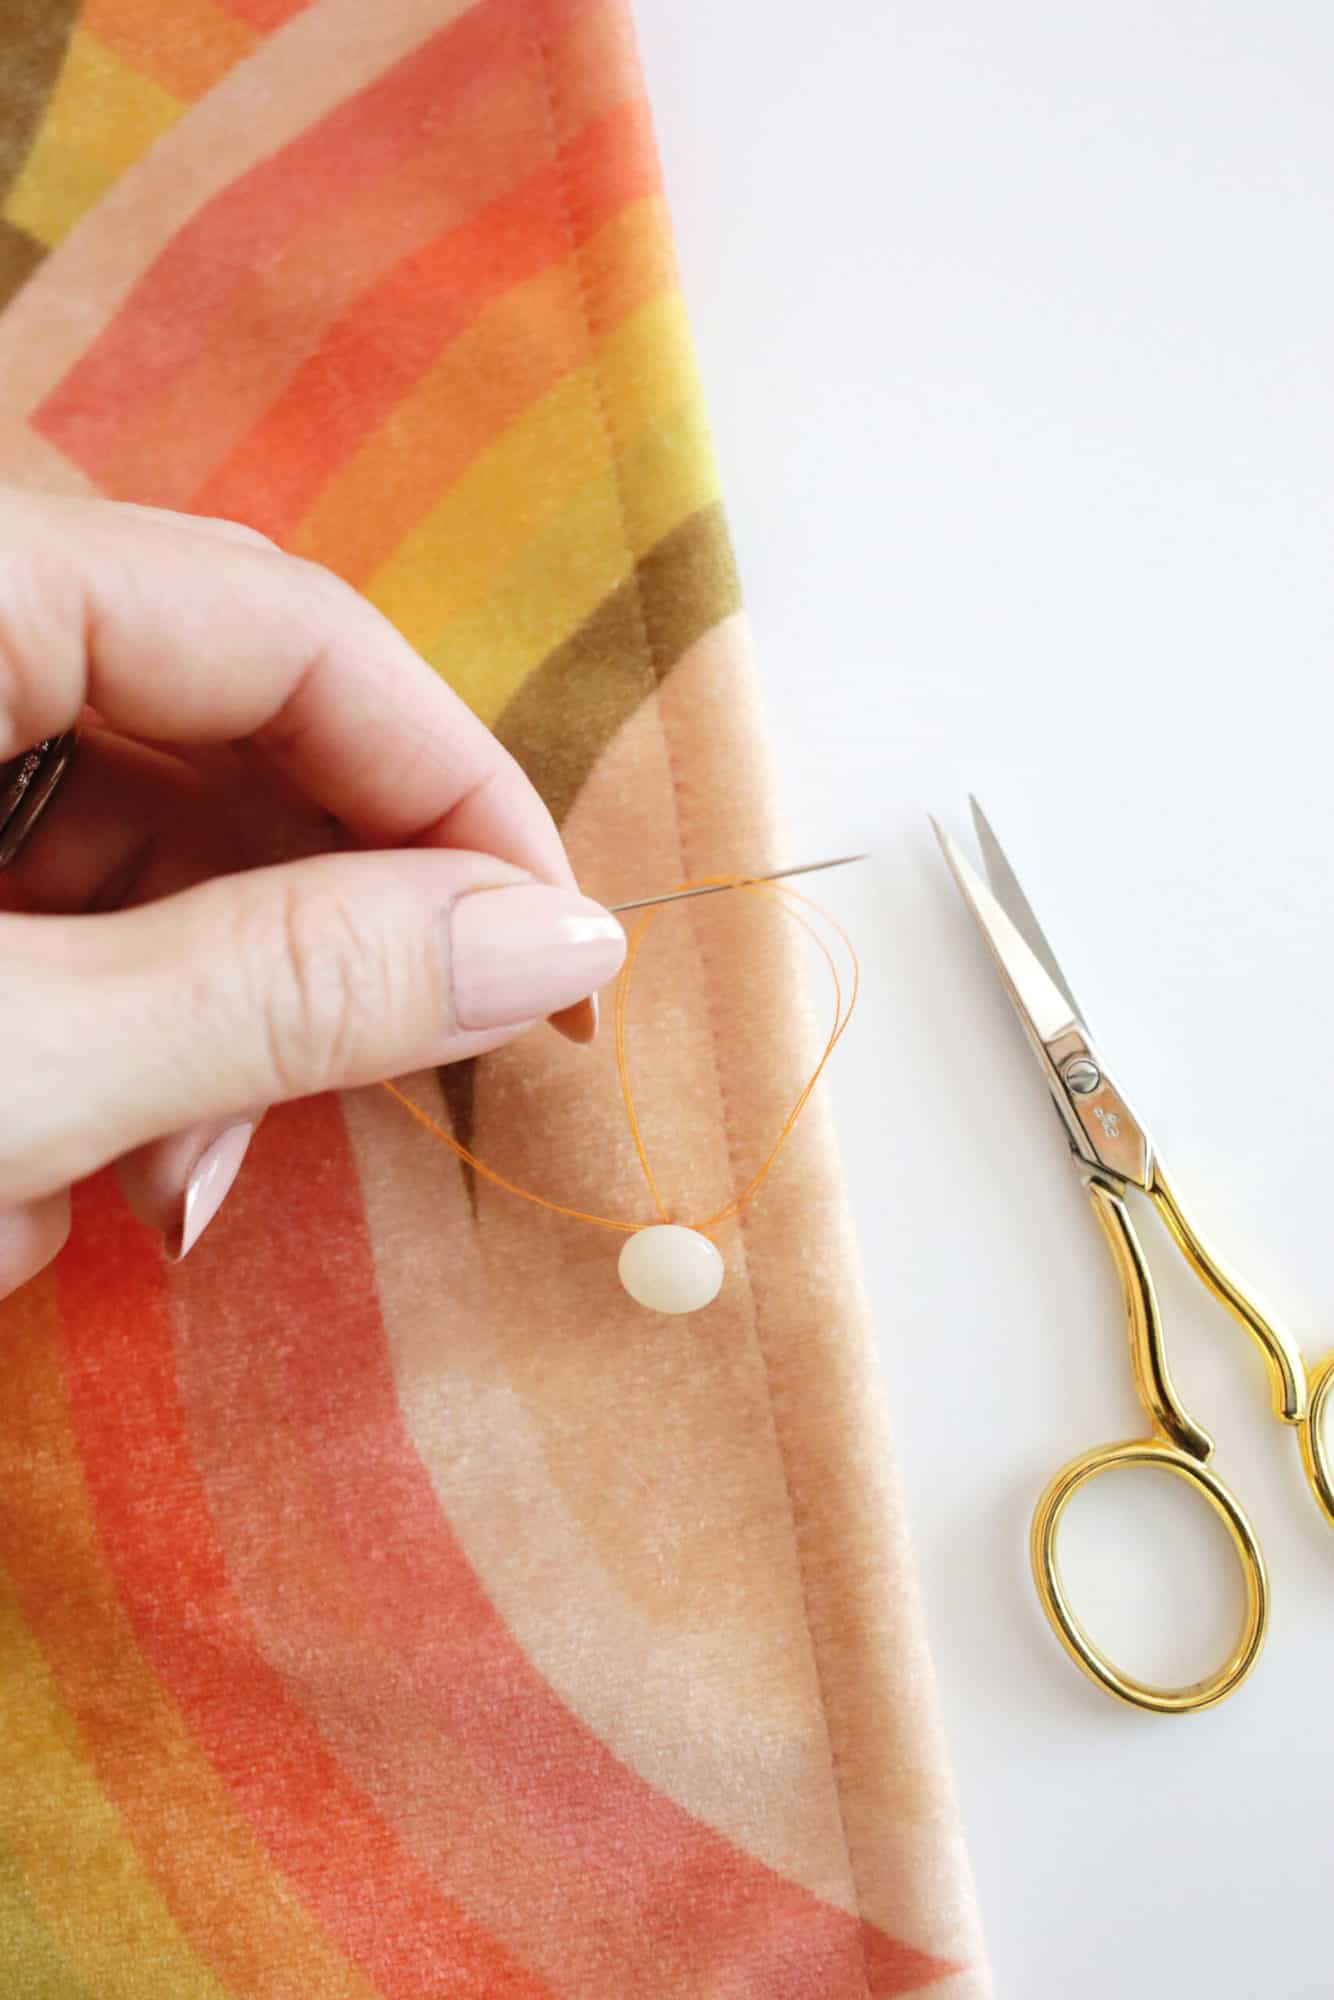
Thread the needle: Cut a piece of thread about 24″ long and thread it through a needle halfway so that both ends are equally as long (you can use a self-threading needle like this for easy threading). Keeping your strands together, tie a knot at the end to tie them together.
Click here to learn 4 easy ways to thread a needle.
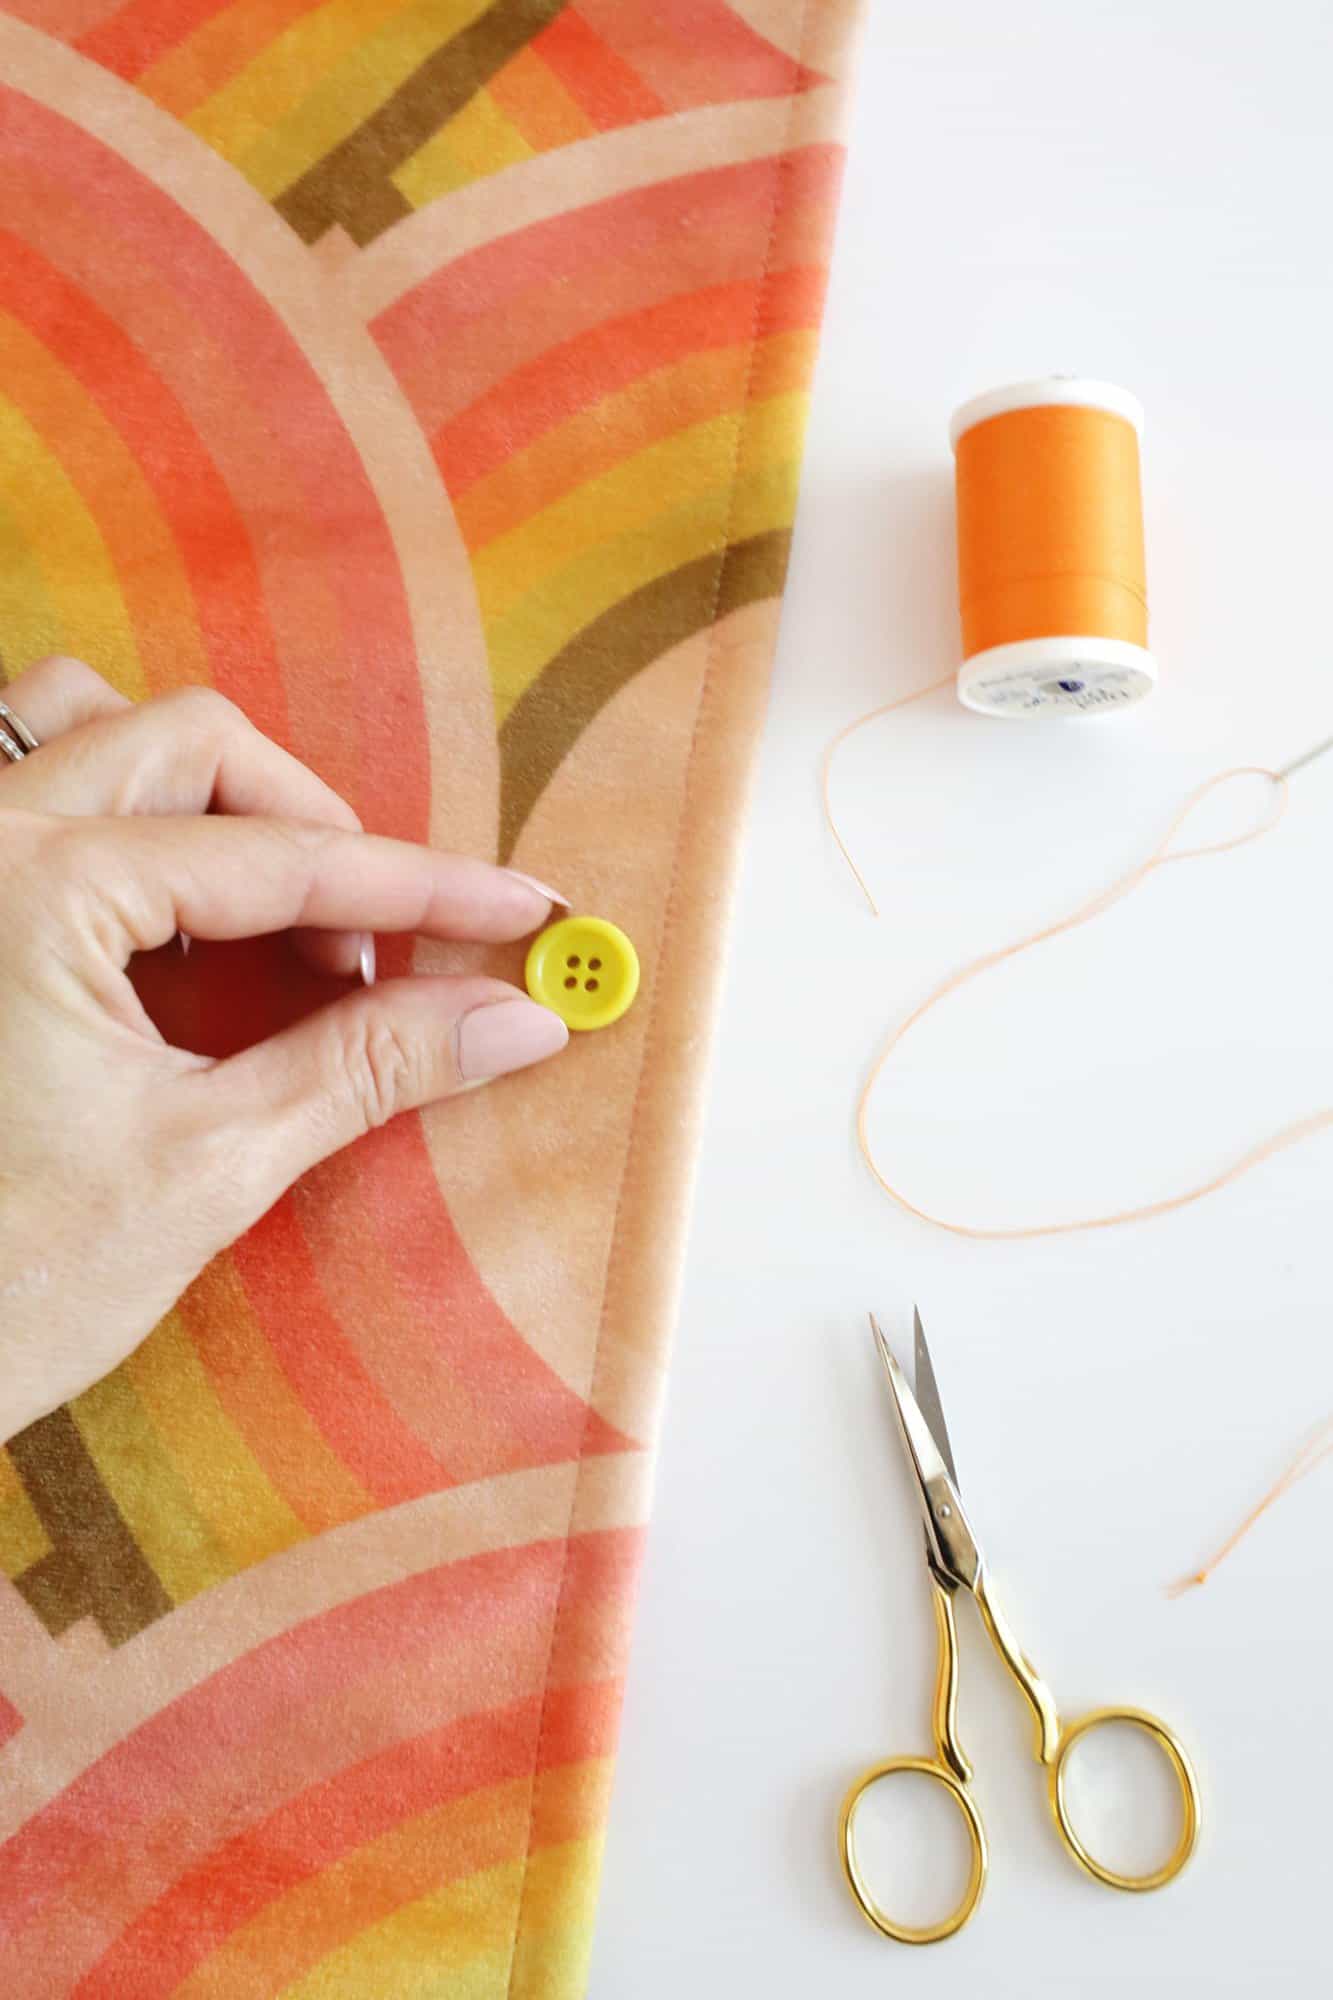
Position the button: Position the button where you want it on your garment (make sure the holes are facing the same direction as the other buttons nearby).
Check to see that it is the right spot for the buttonhole if it’s on a coat, shirt, or jacket. You can also use a disappearing marking pen to mark the spot if you wish.
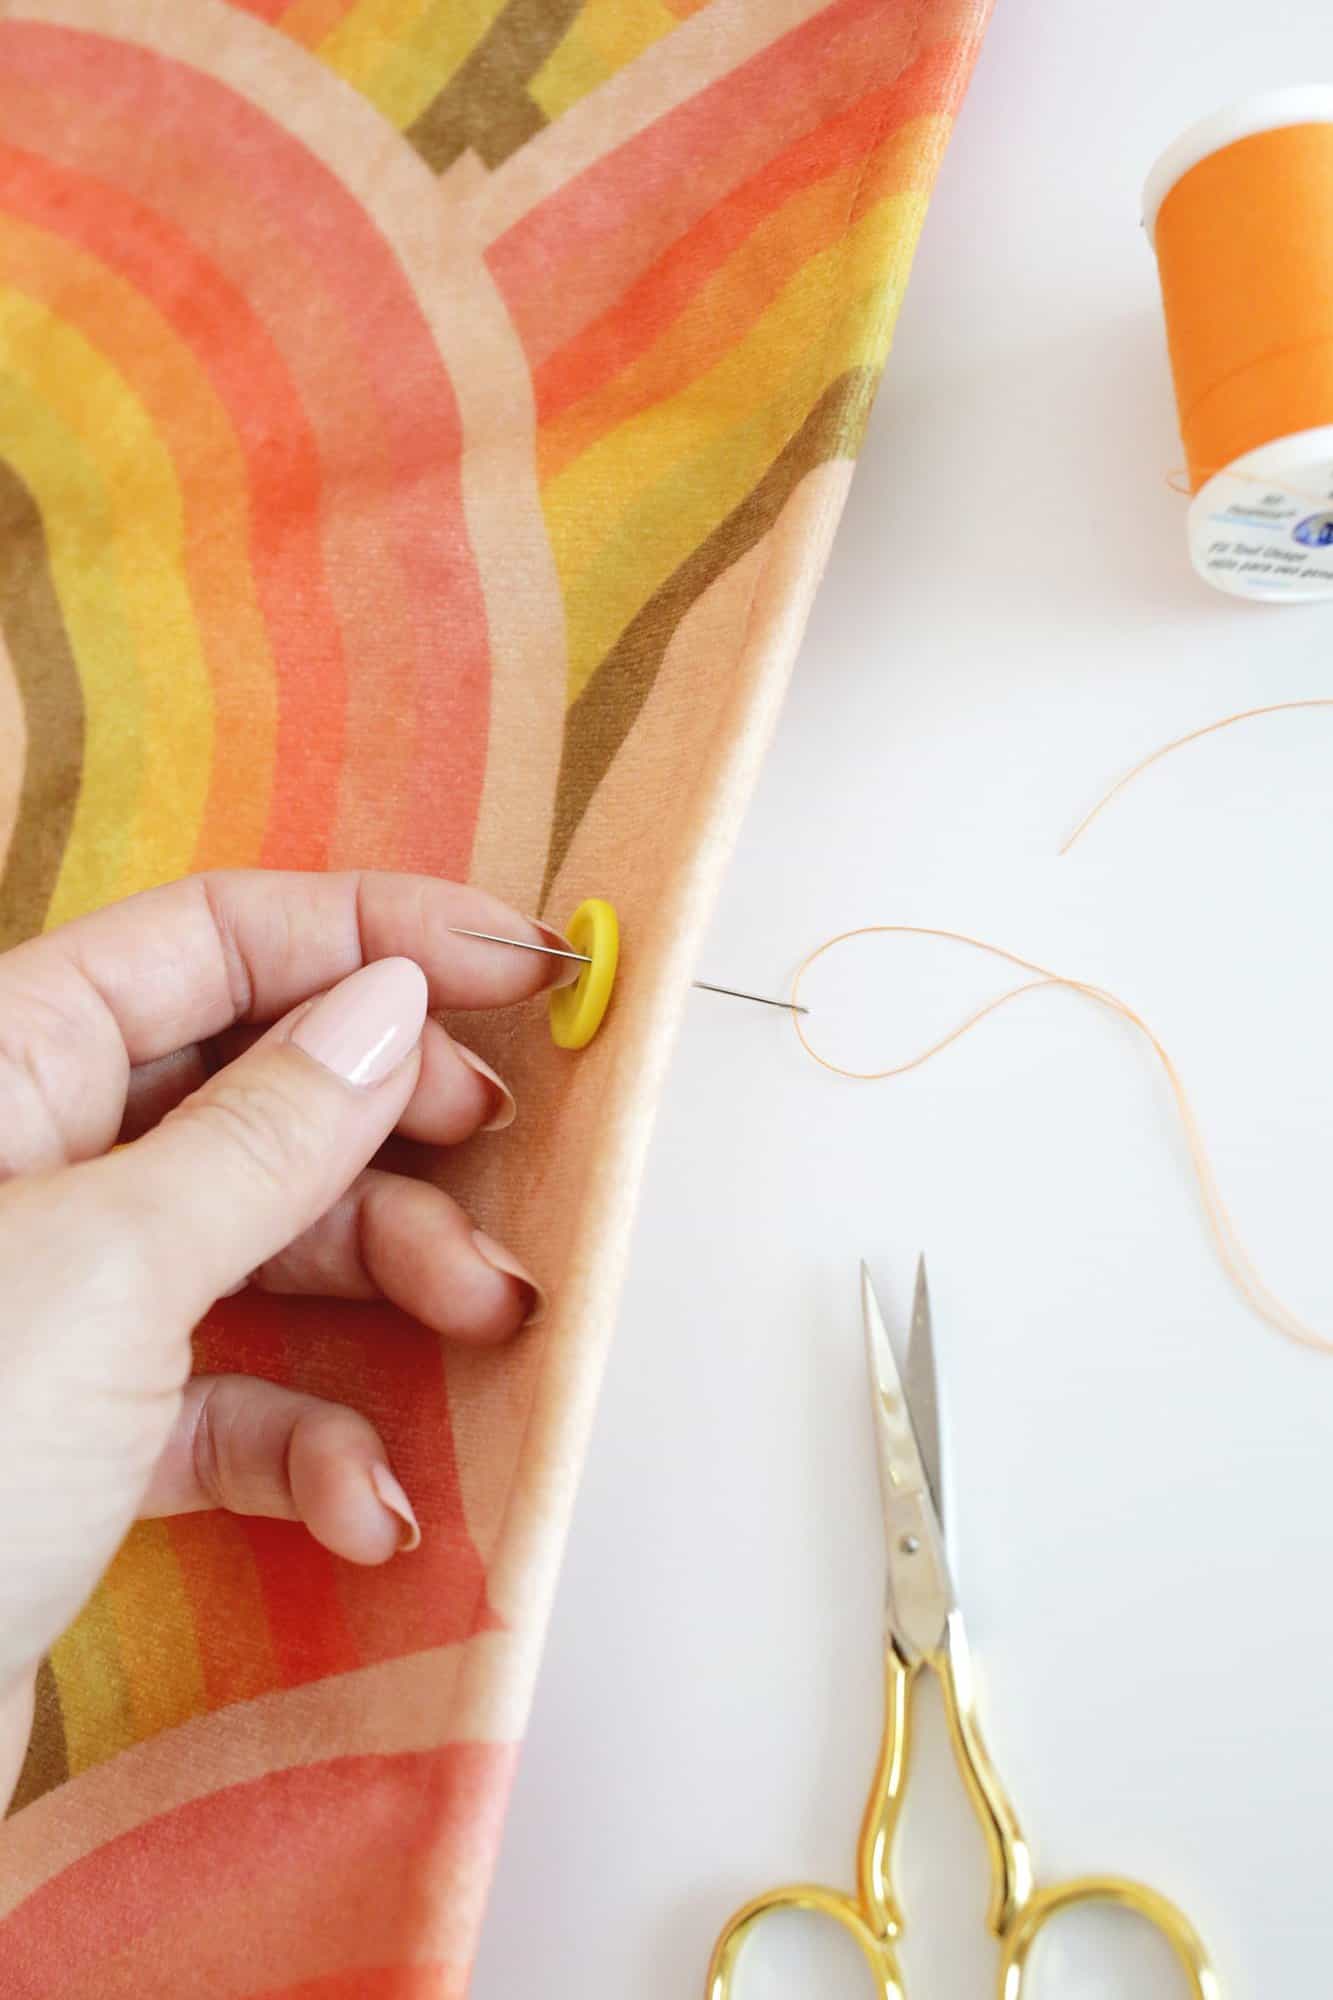
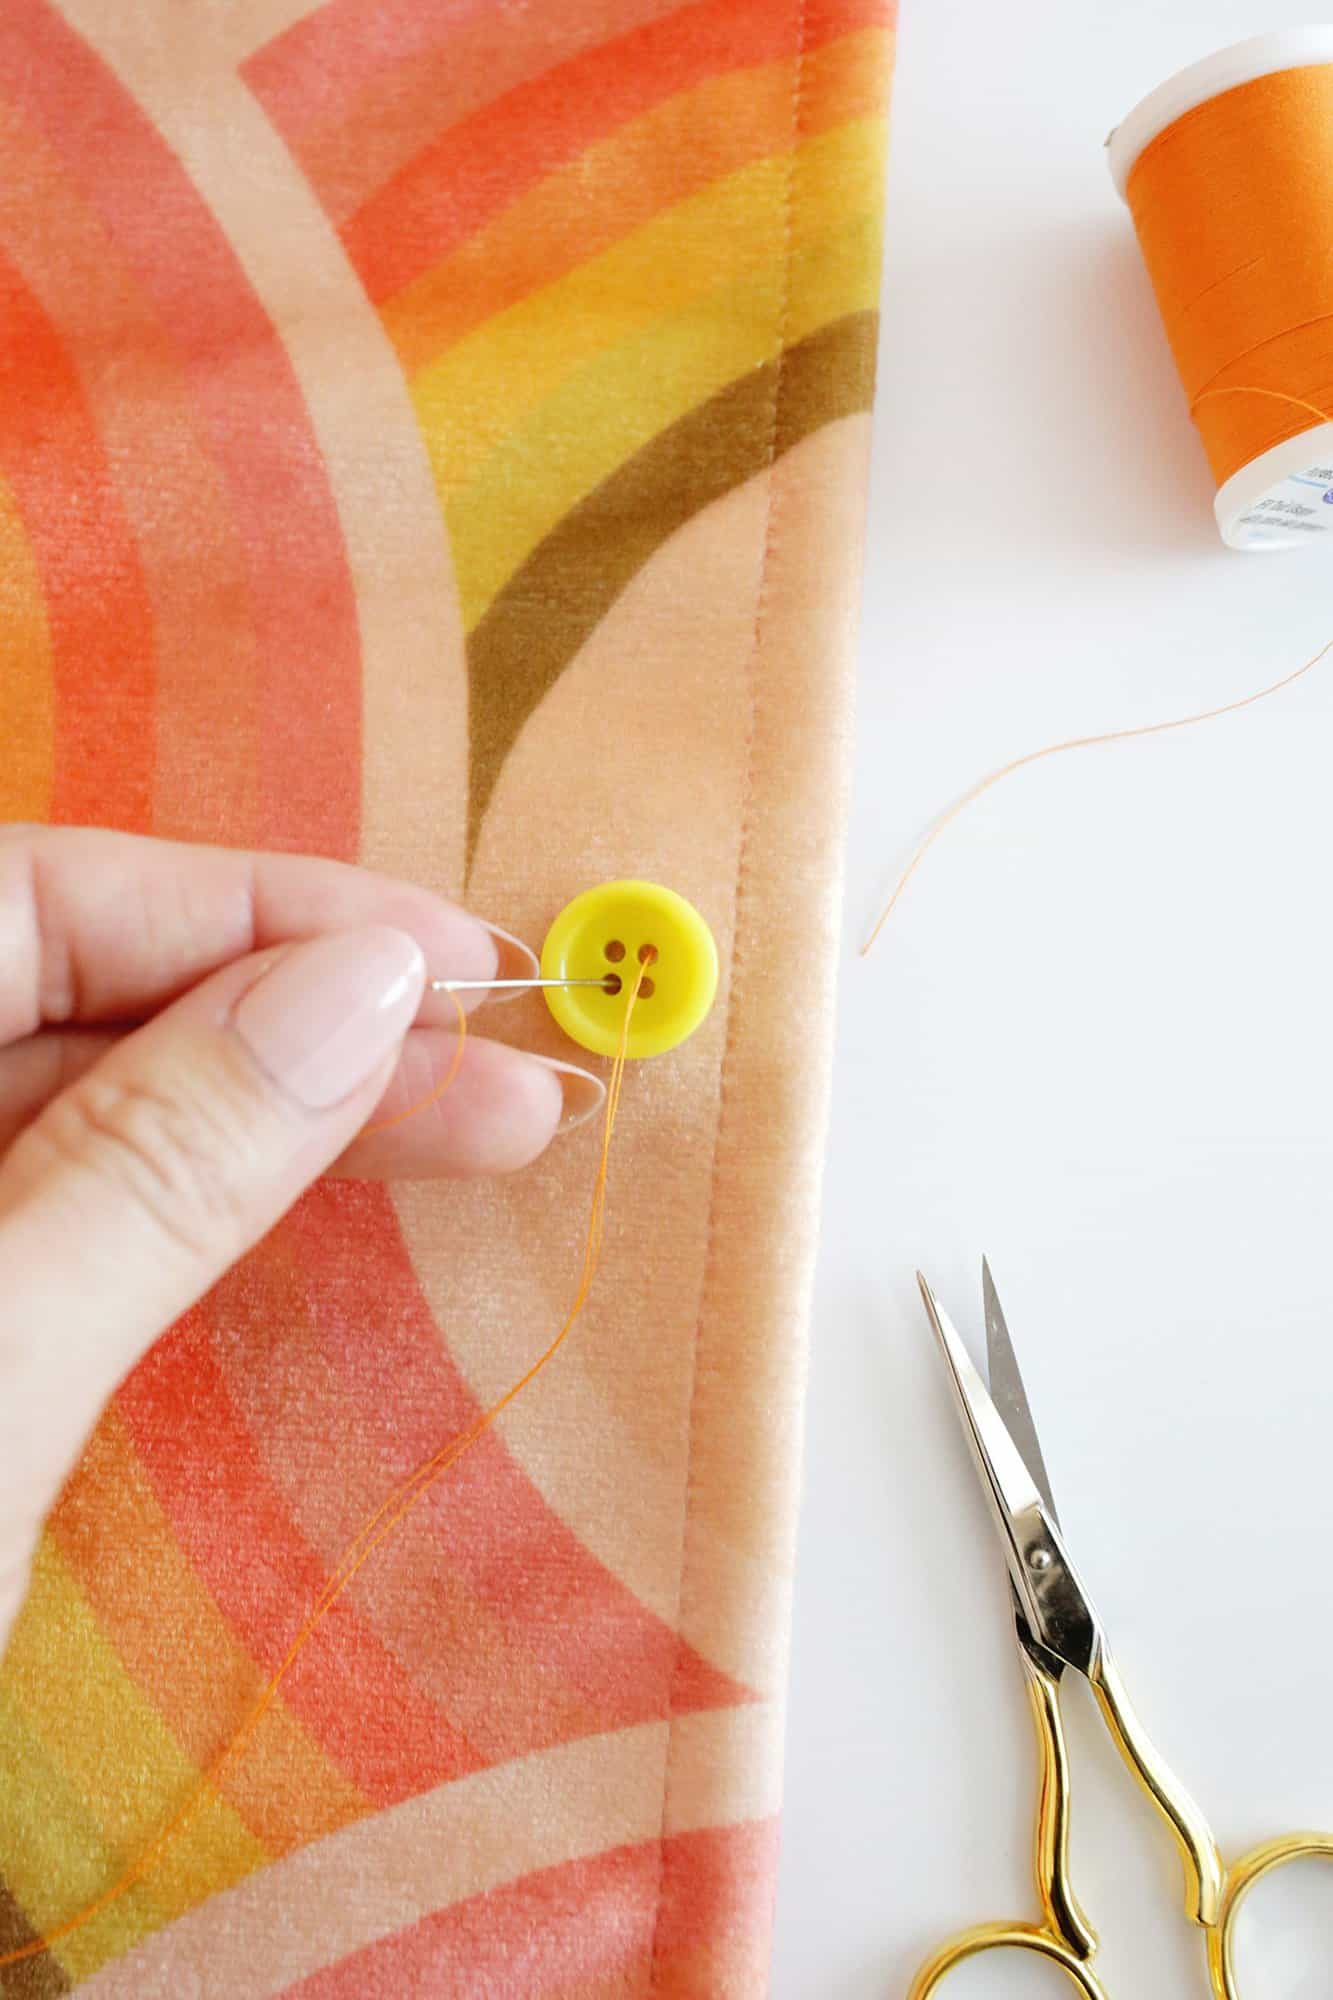
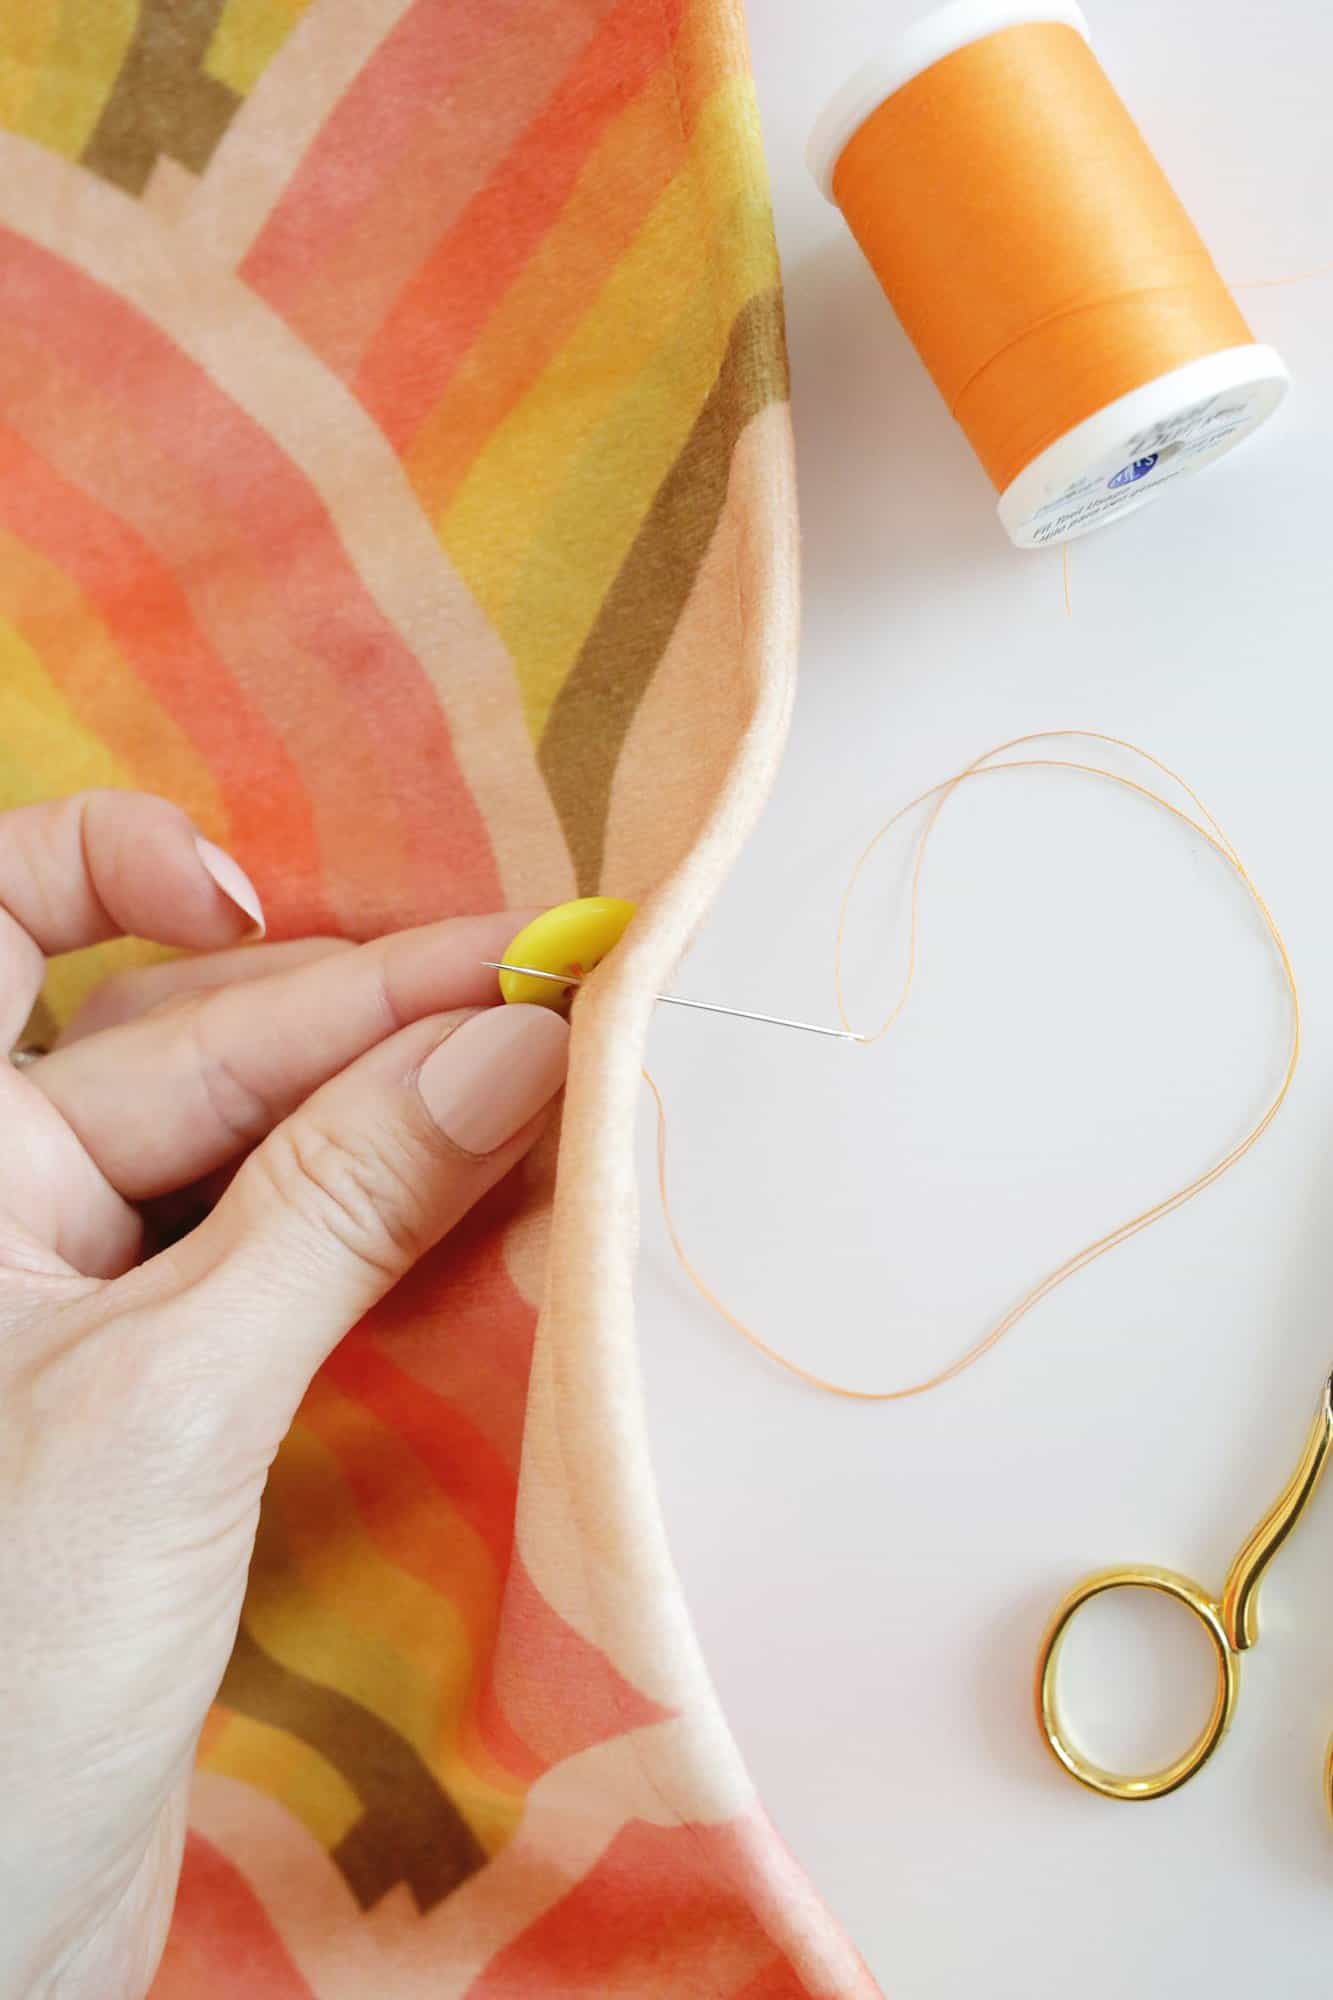
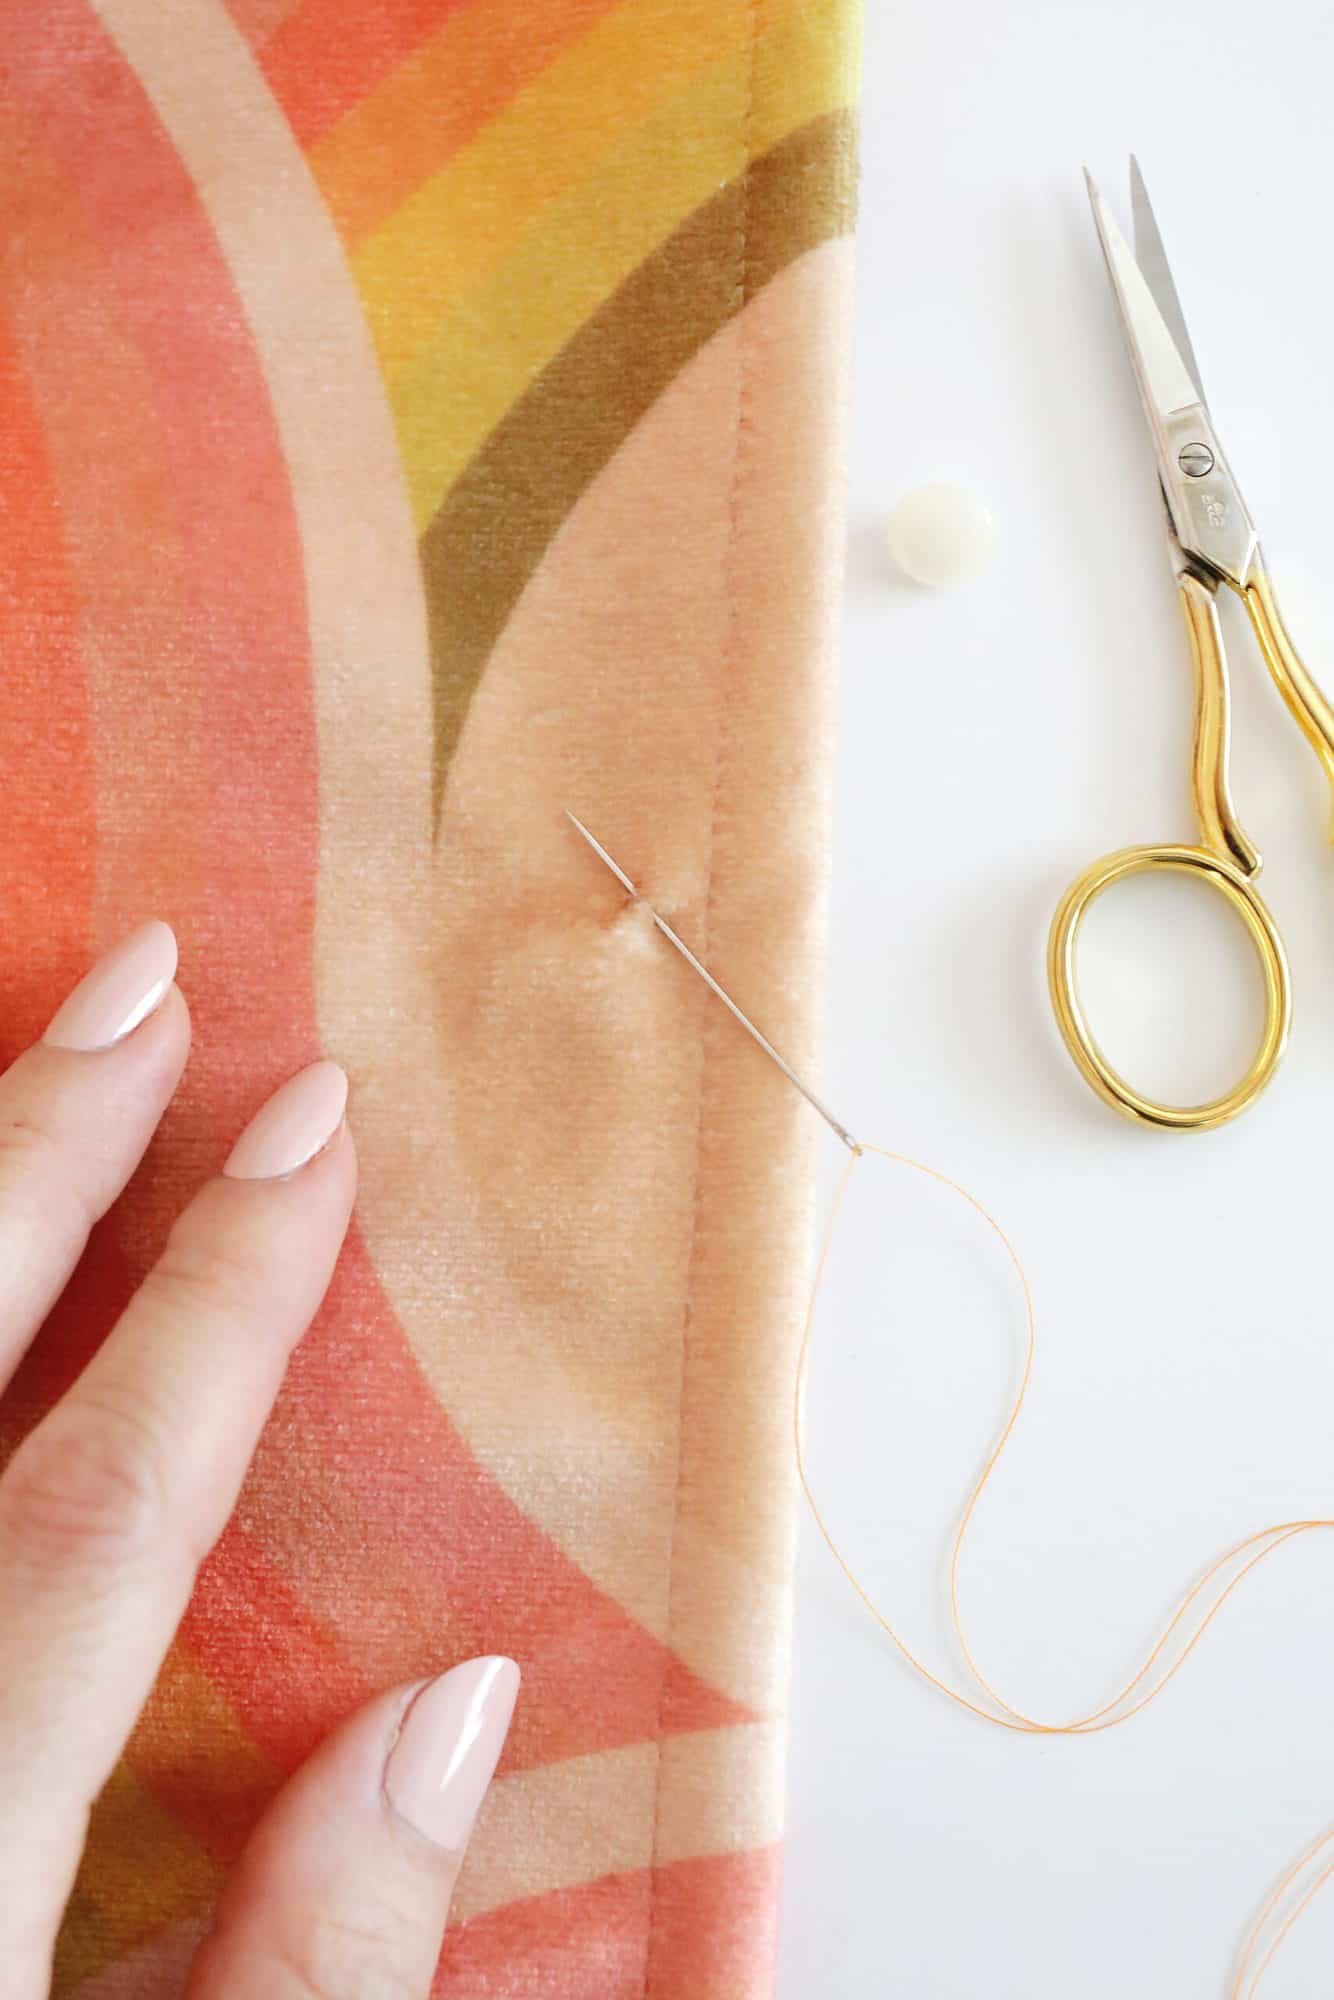
Start your first stitch: Pull your needle up through one of the holes from the underside of the fabric, pulling it all the way through until the knot stops you. Push the needle back down through the second hole and pull the needle all the way through again.
If you have a button with 4 holes instead of just 2, you’ll come up through one hole and cross to the button hole diagonal from that hole rather than straight down so you are creating an “X” as you sew.
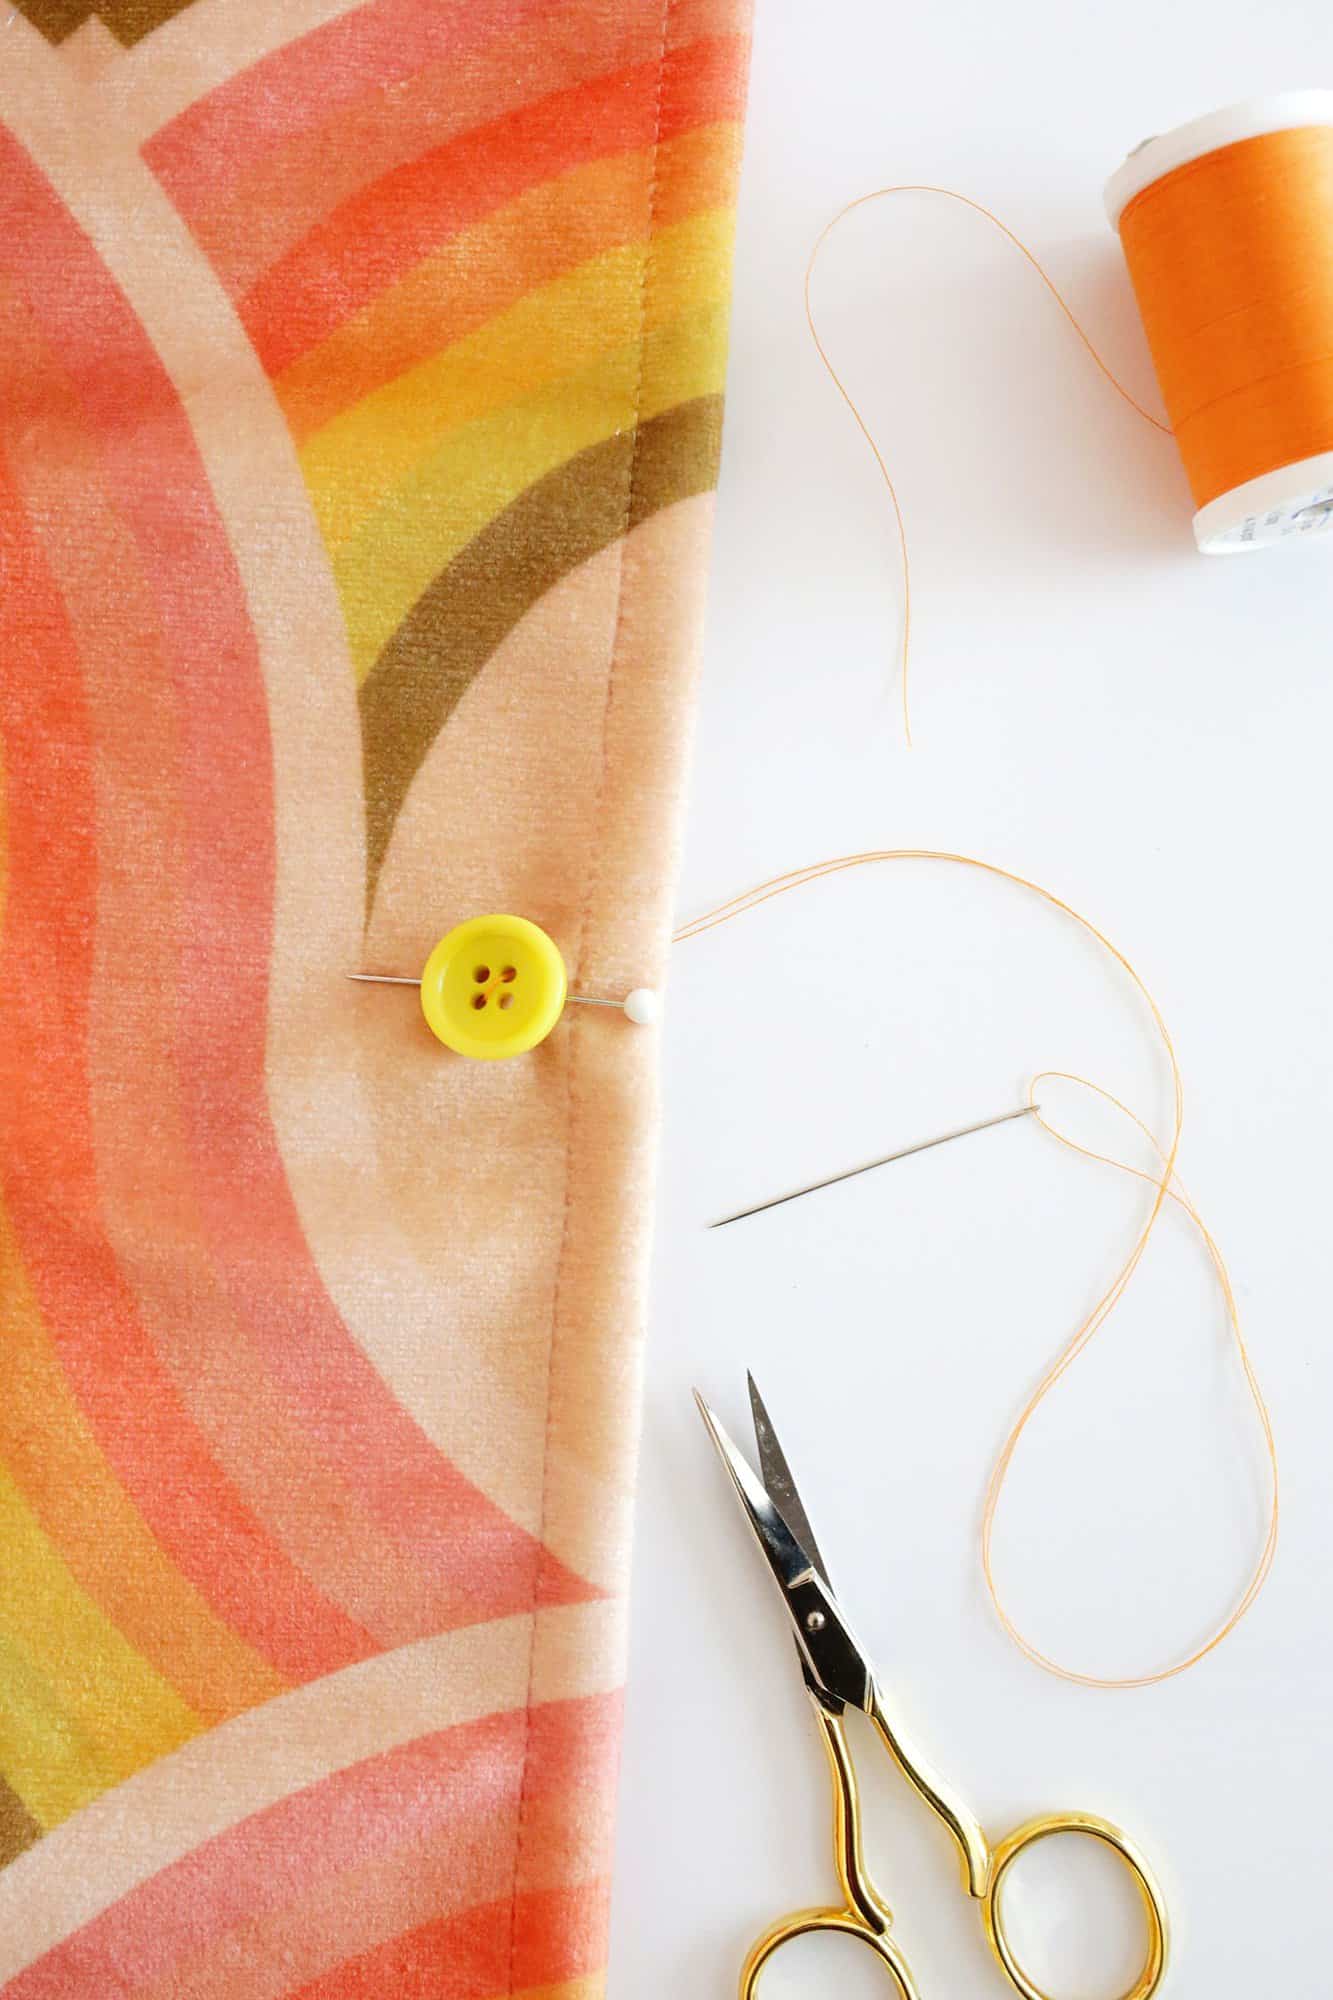
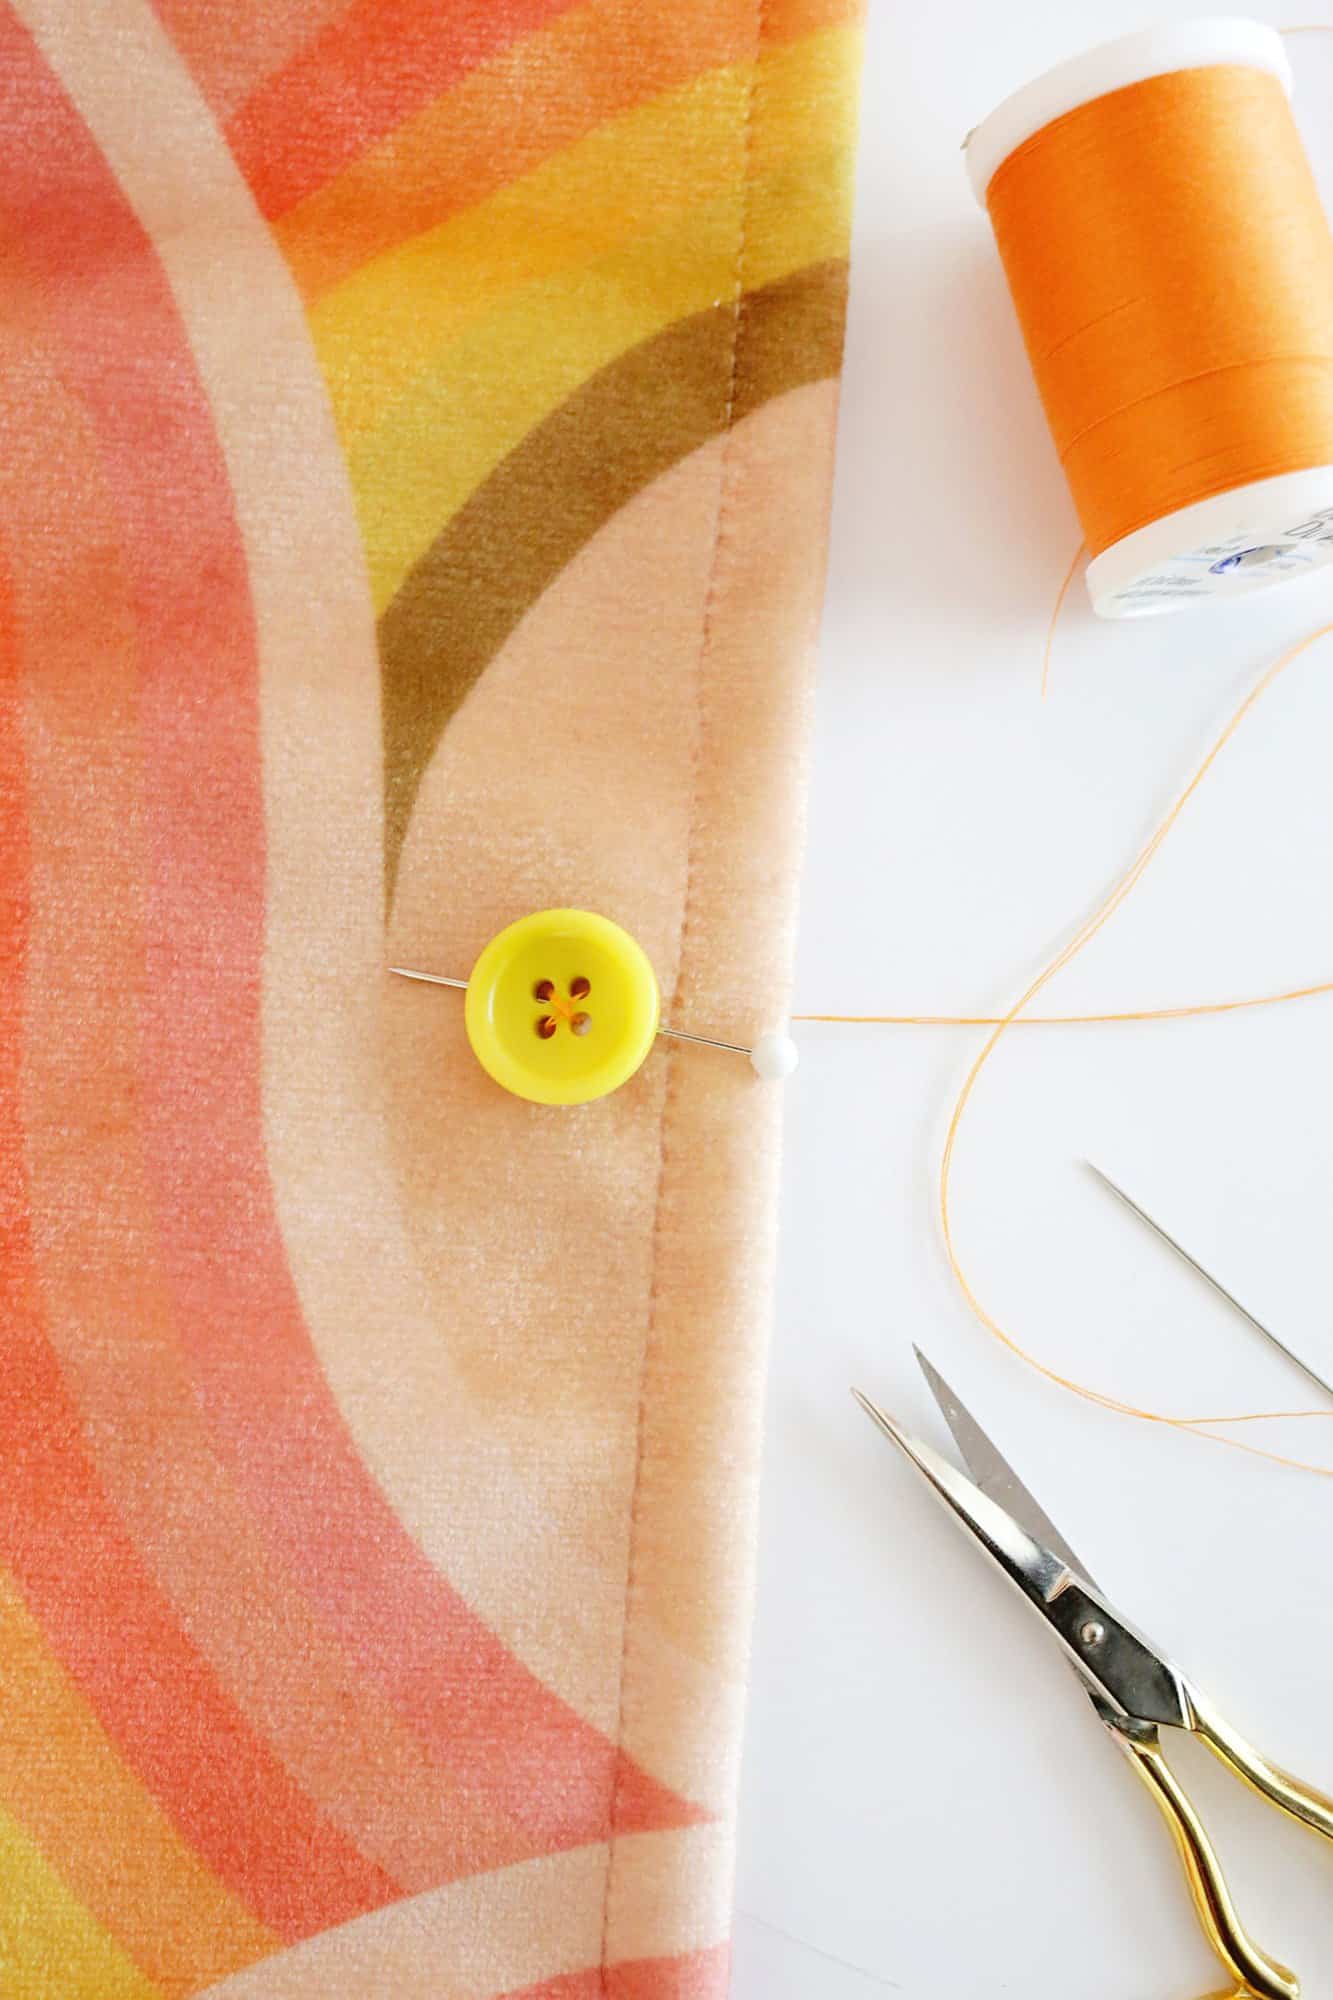
Use a straight pin as a spacer: Place a straight pin under the button between the button and the fabric in the middle of your stitching. Having this pin there gives a little bit of space so the button isn’t sewn too tight.

Continue sewing: Continue sewing your stitches by coming up from the bottom and going down into the next hole several times until the button feels secure when you pull on it.
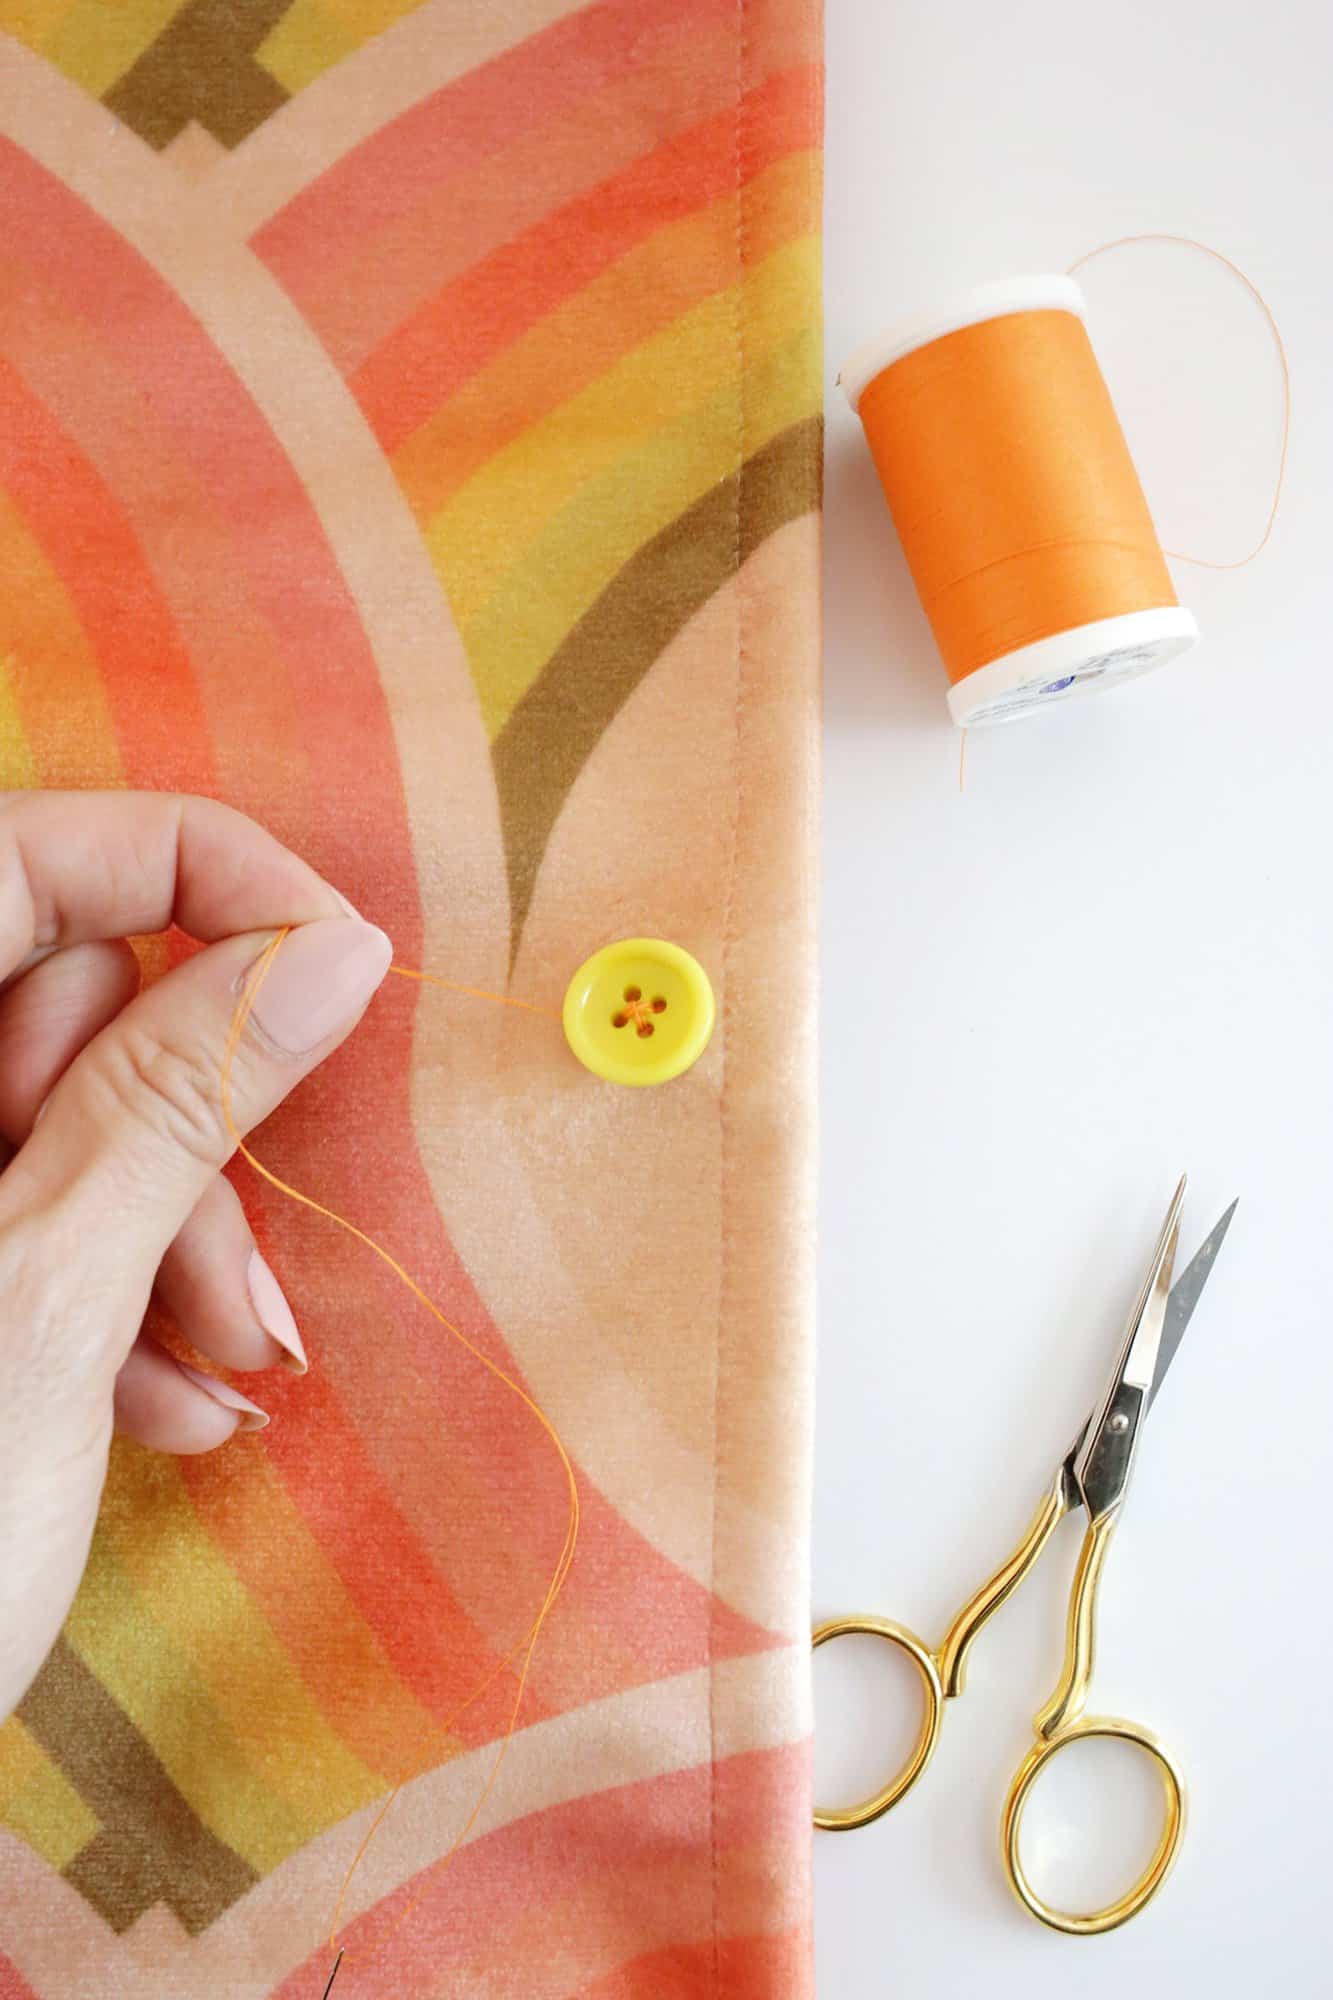
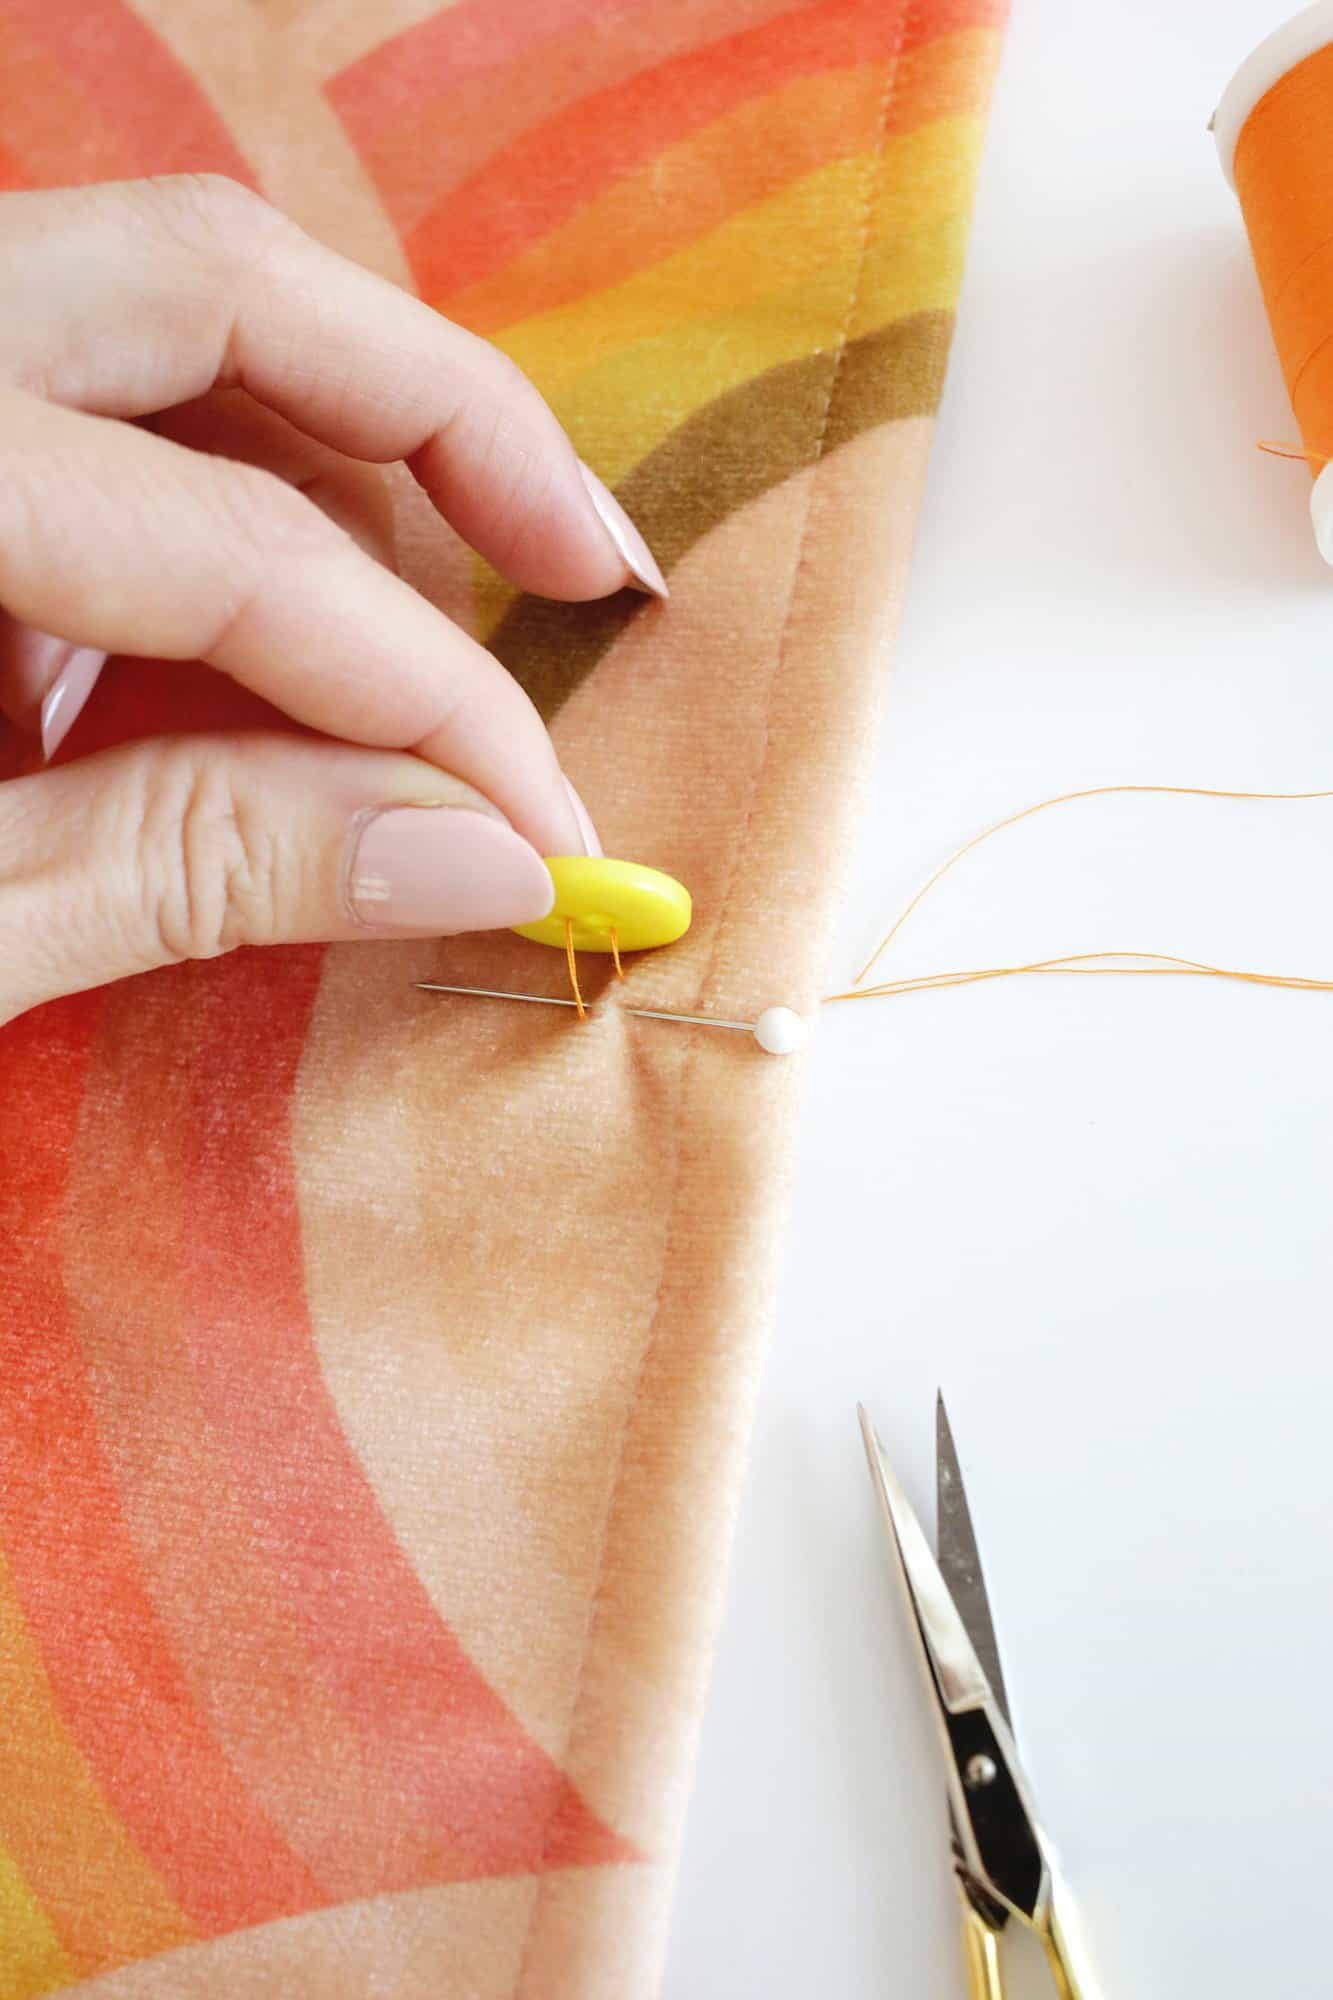
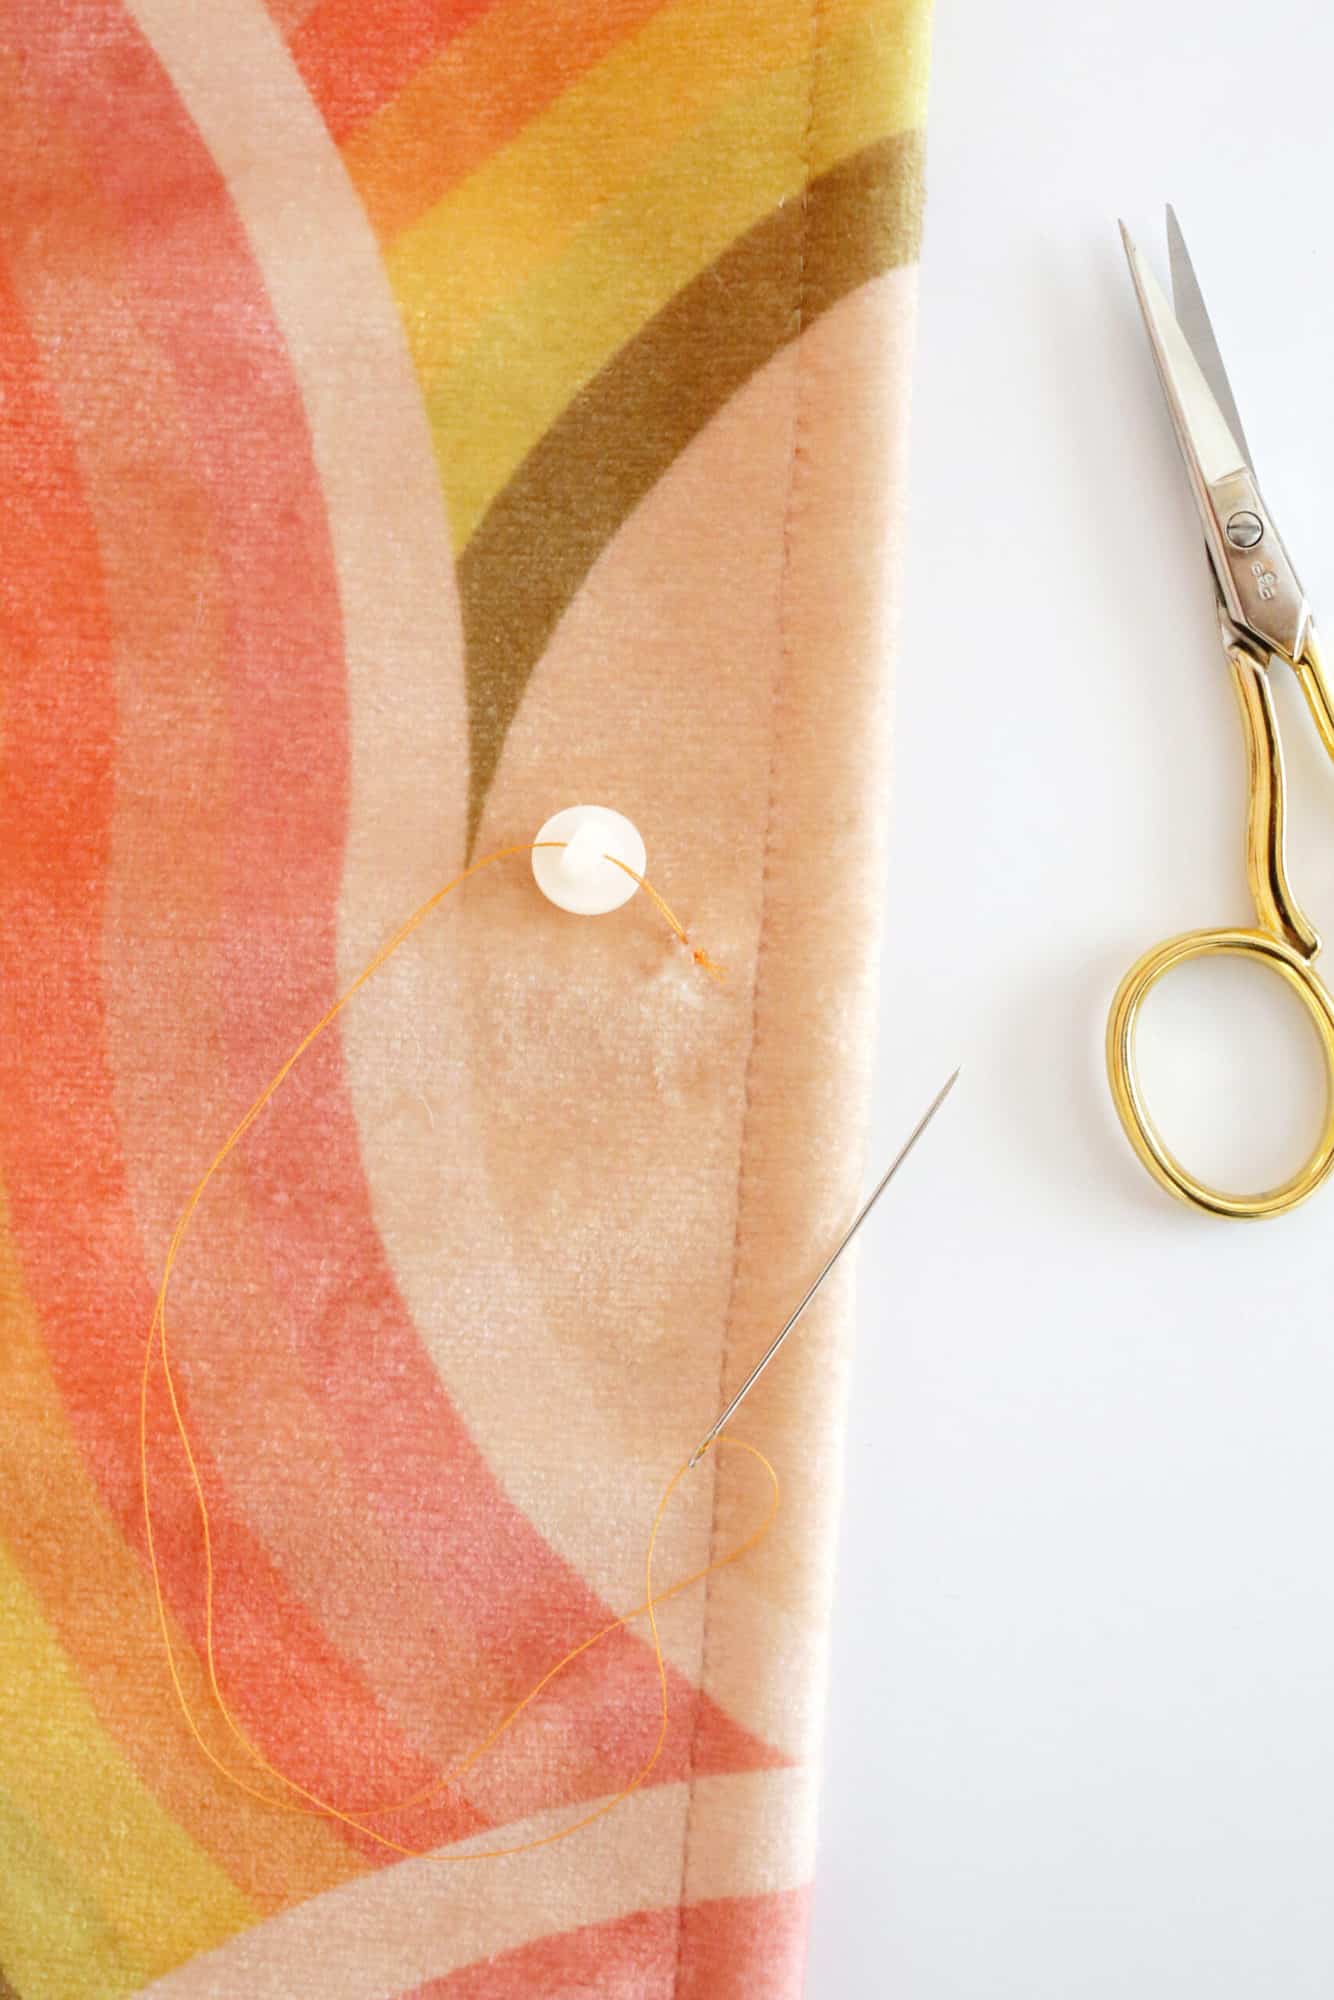
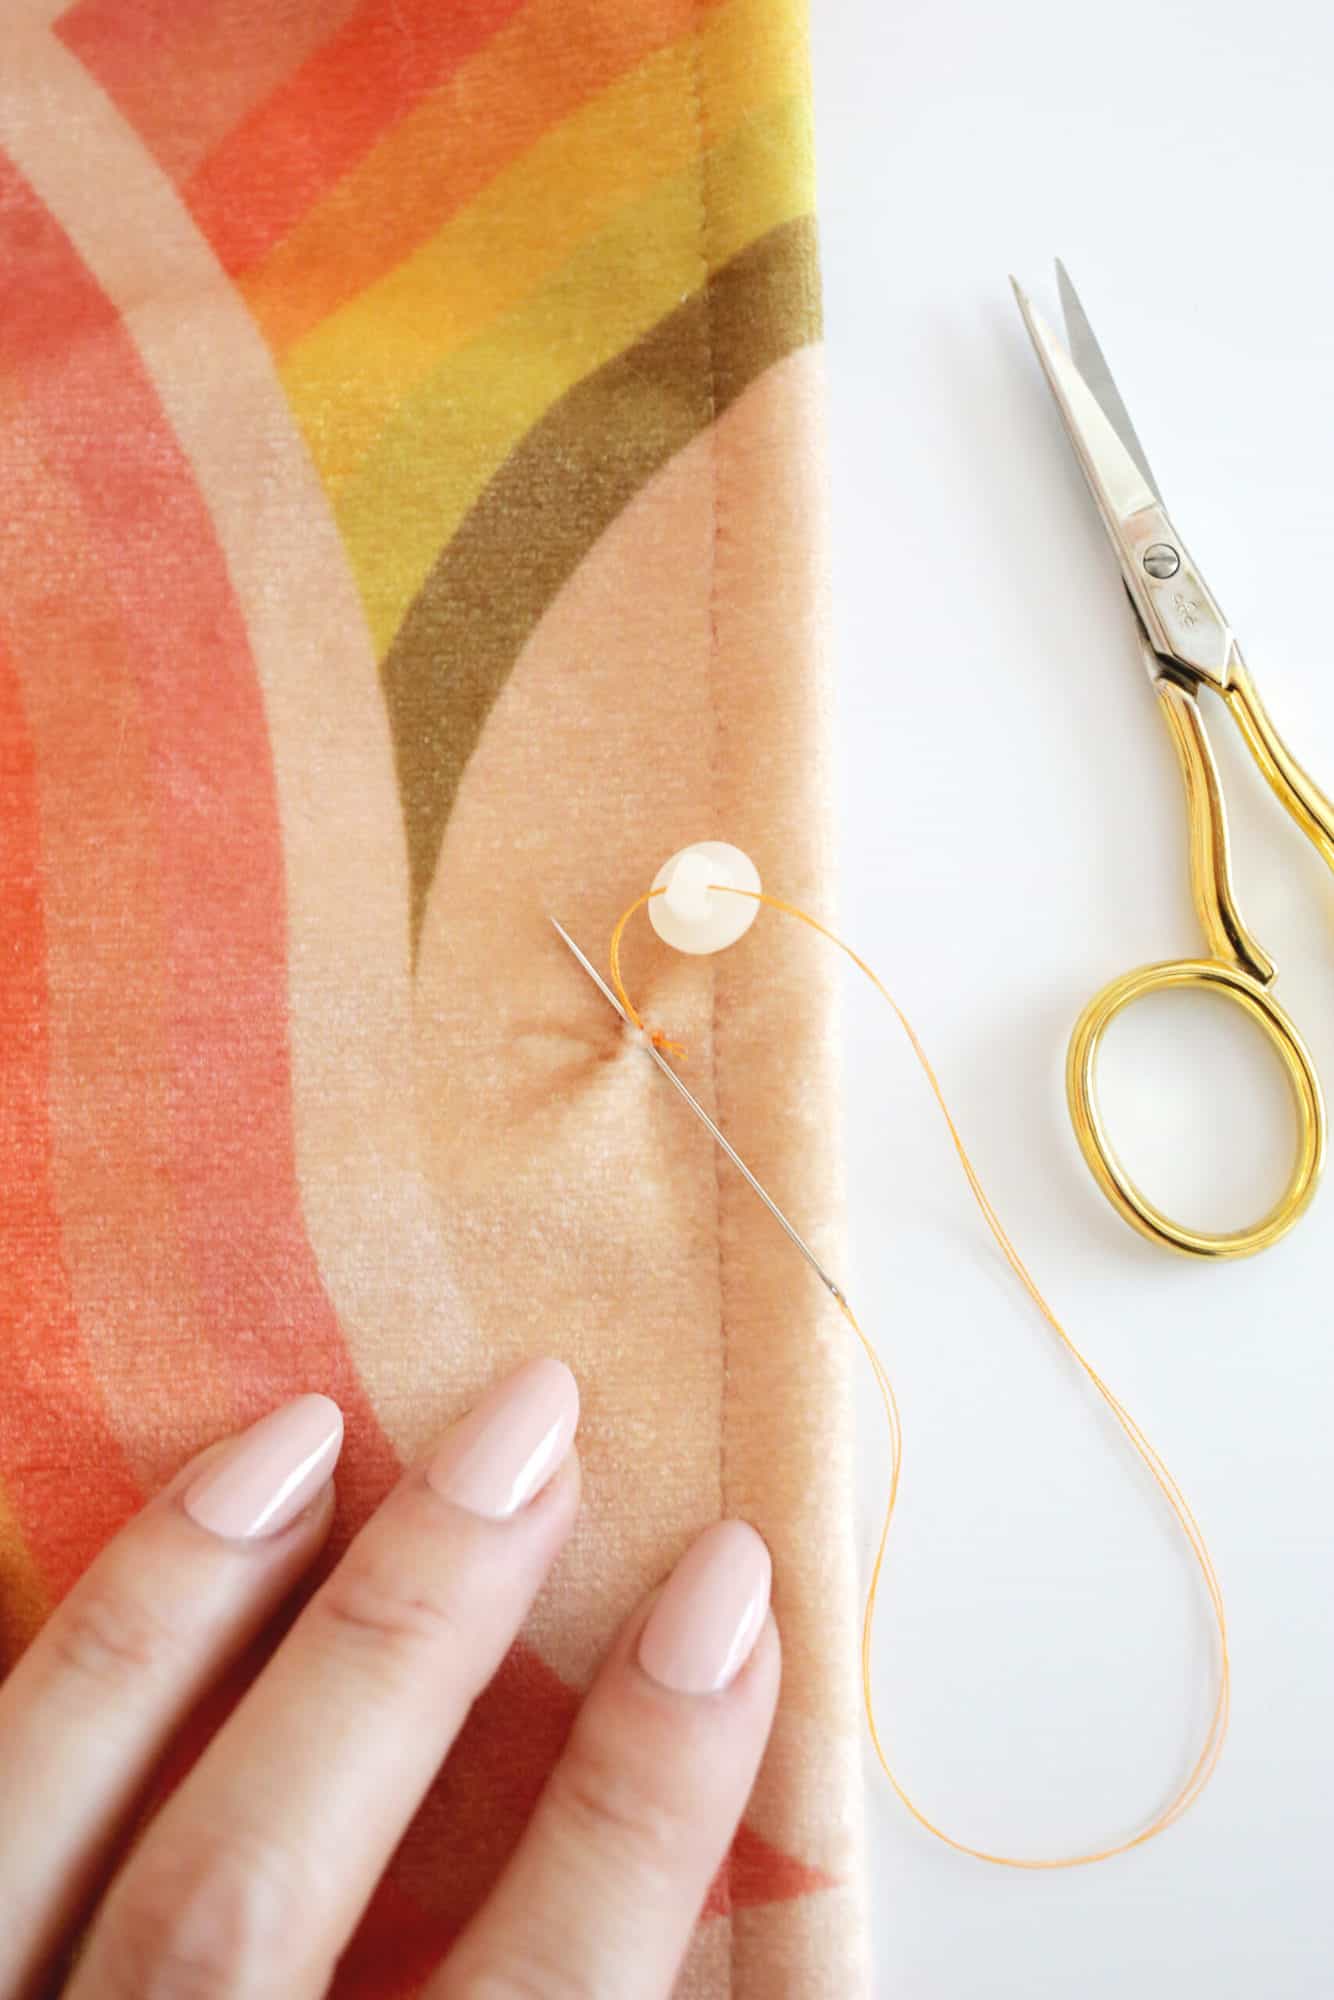
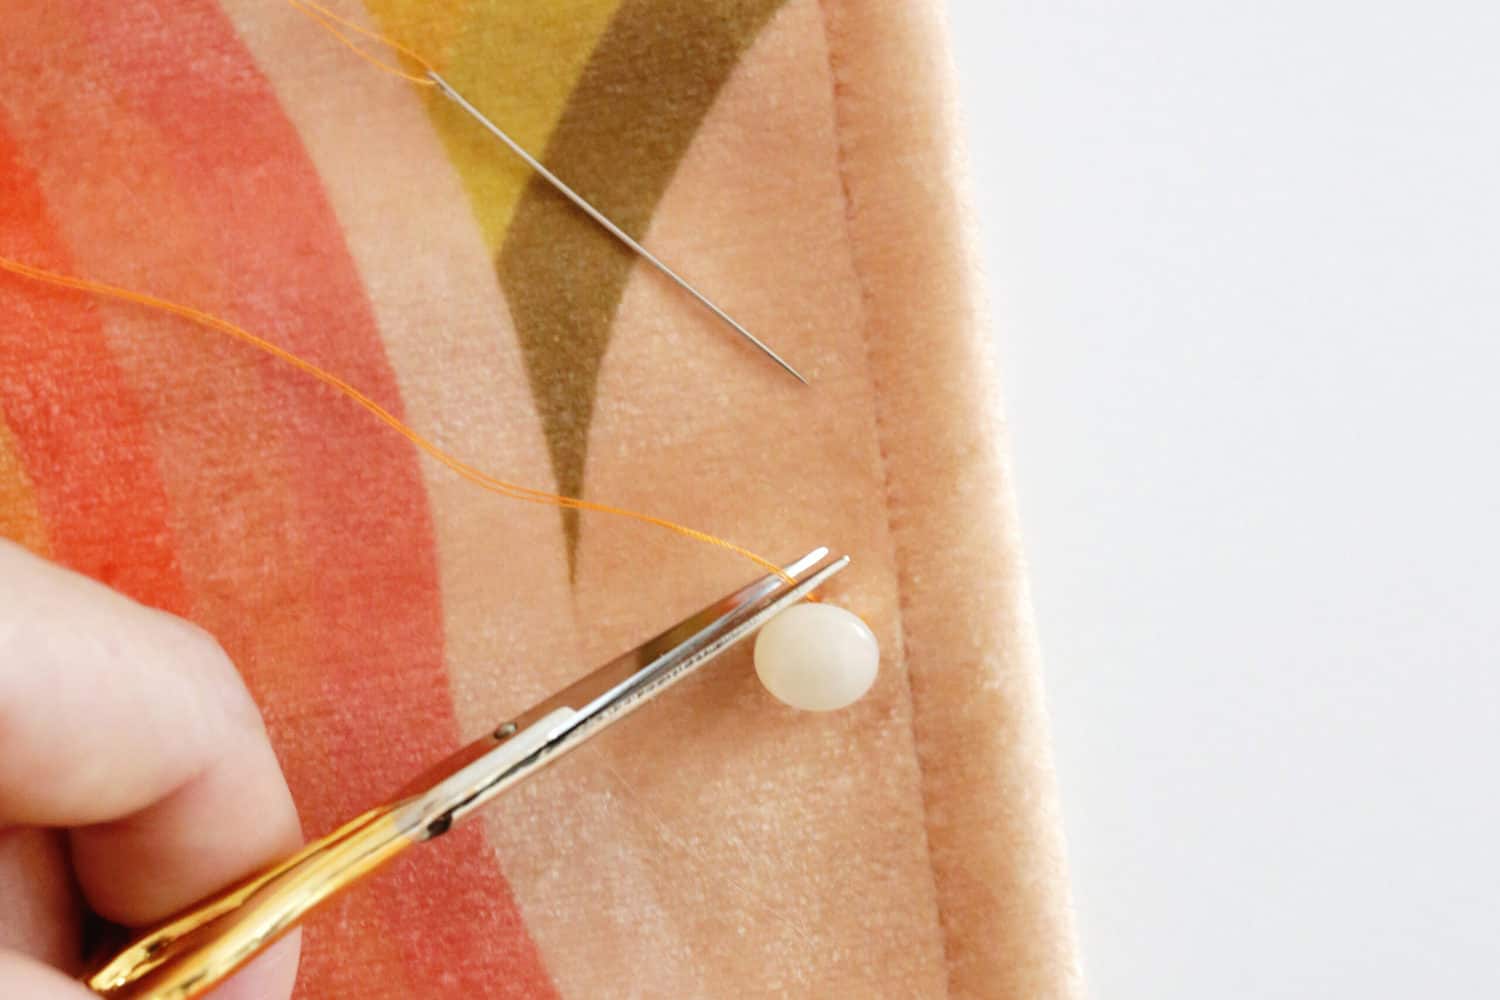
Create a shank (optional): Before you finish your button, come up through the material but come out underneath the button rather than through the button hole again.
Take out the straight pin and wind your thread between the button and fabric to strengthen the button and create a shank. (This gives you some space between the button and the fabric so it can be buttoned comfortably).
*If you are sewing on a decorative button that doesn’t go through a buttonhole, you can skip this step of winding it around to create a shank.
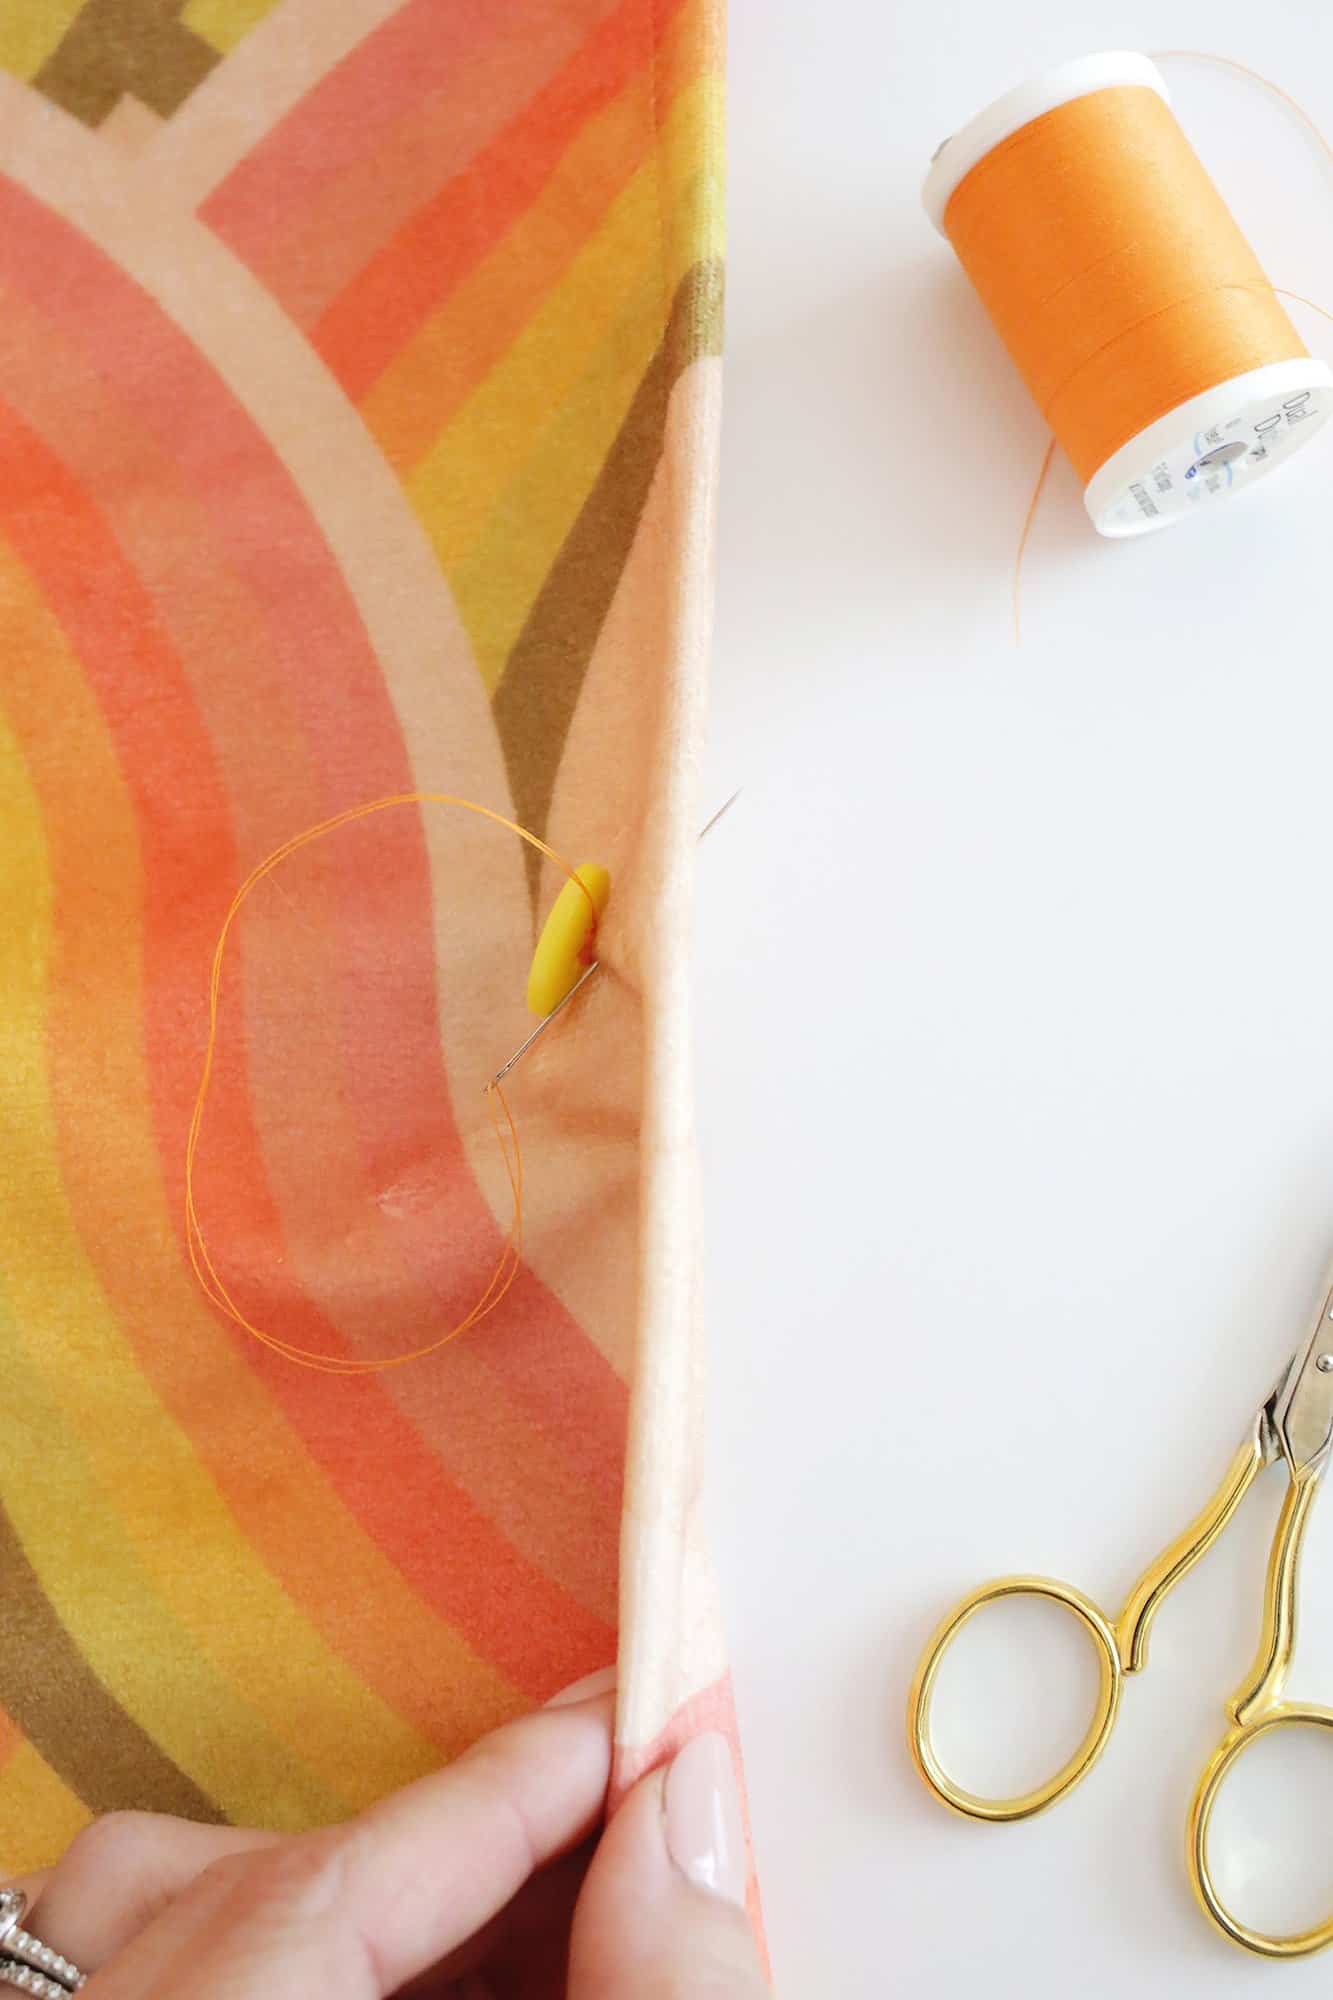
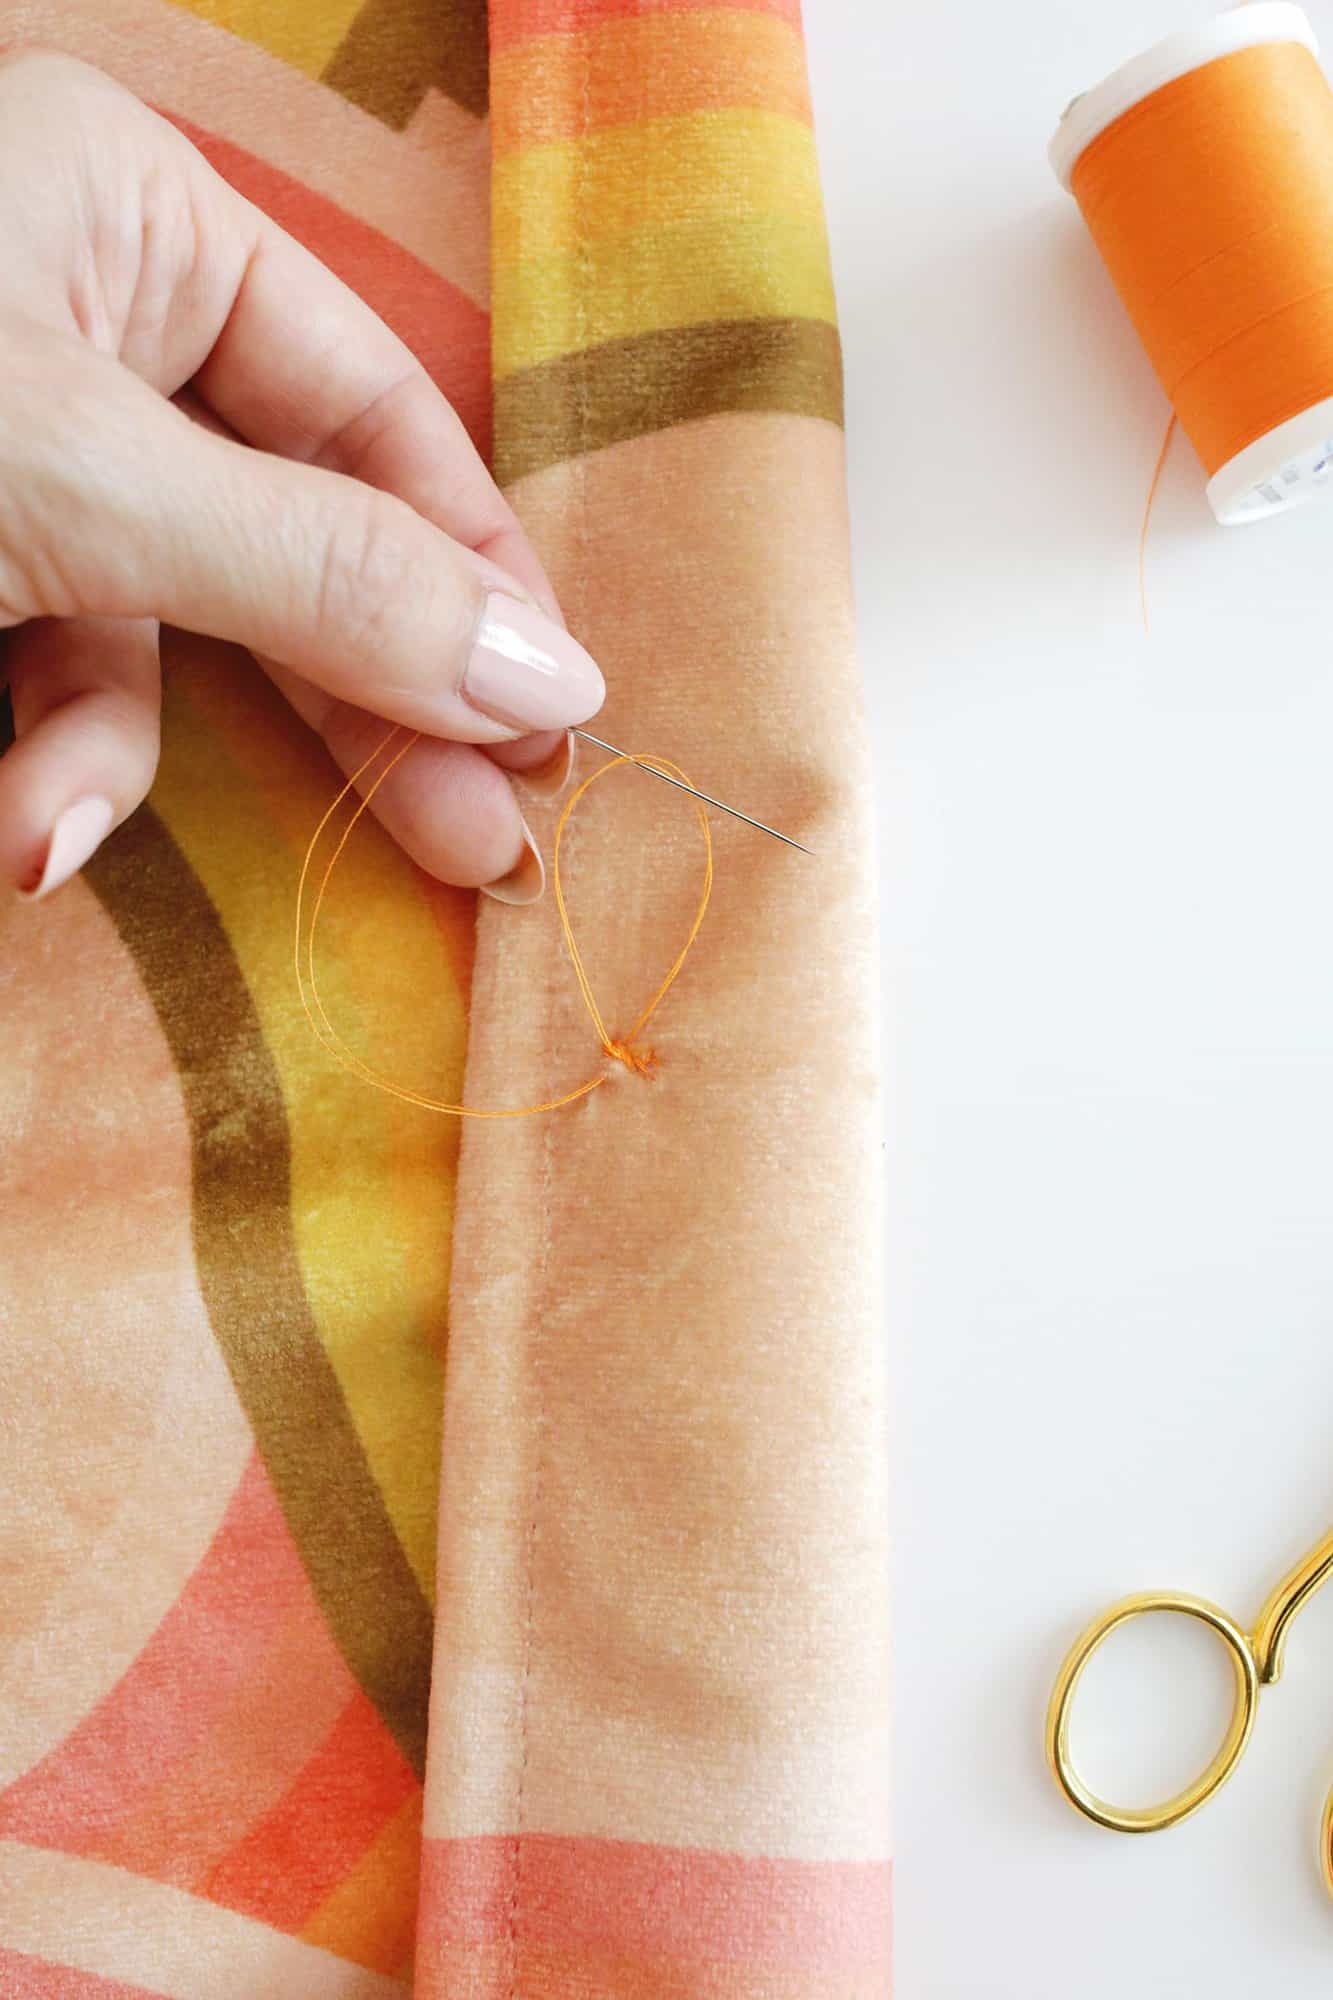
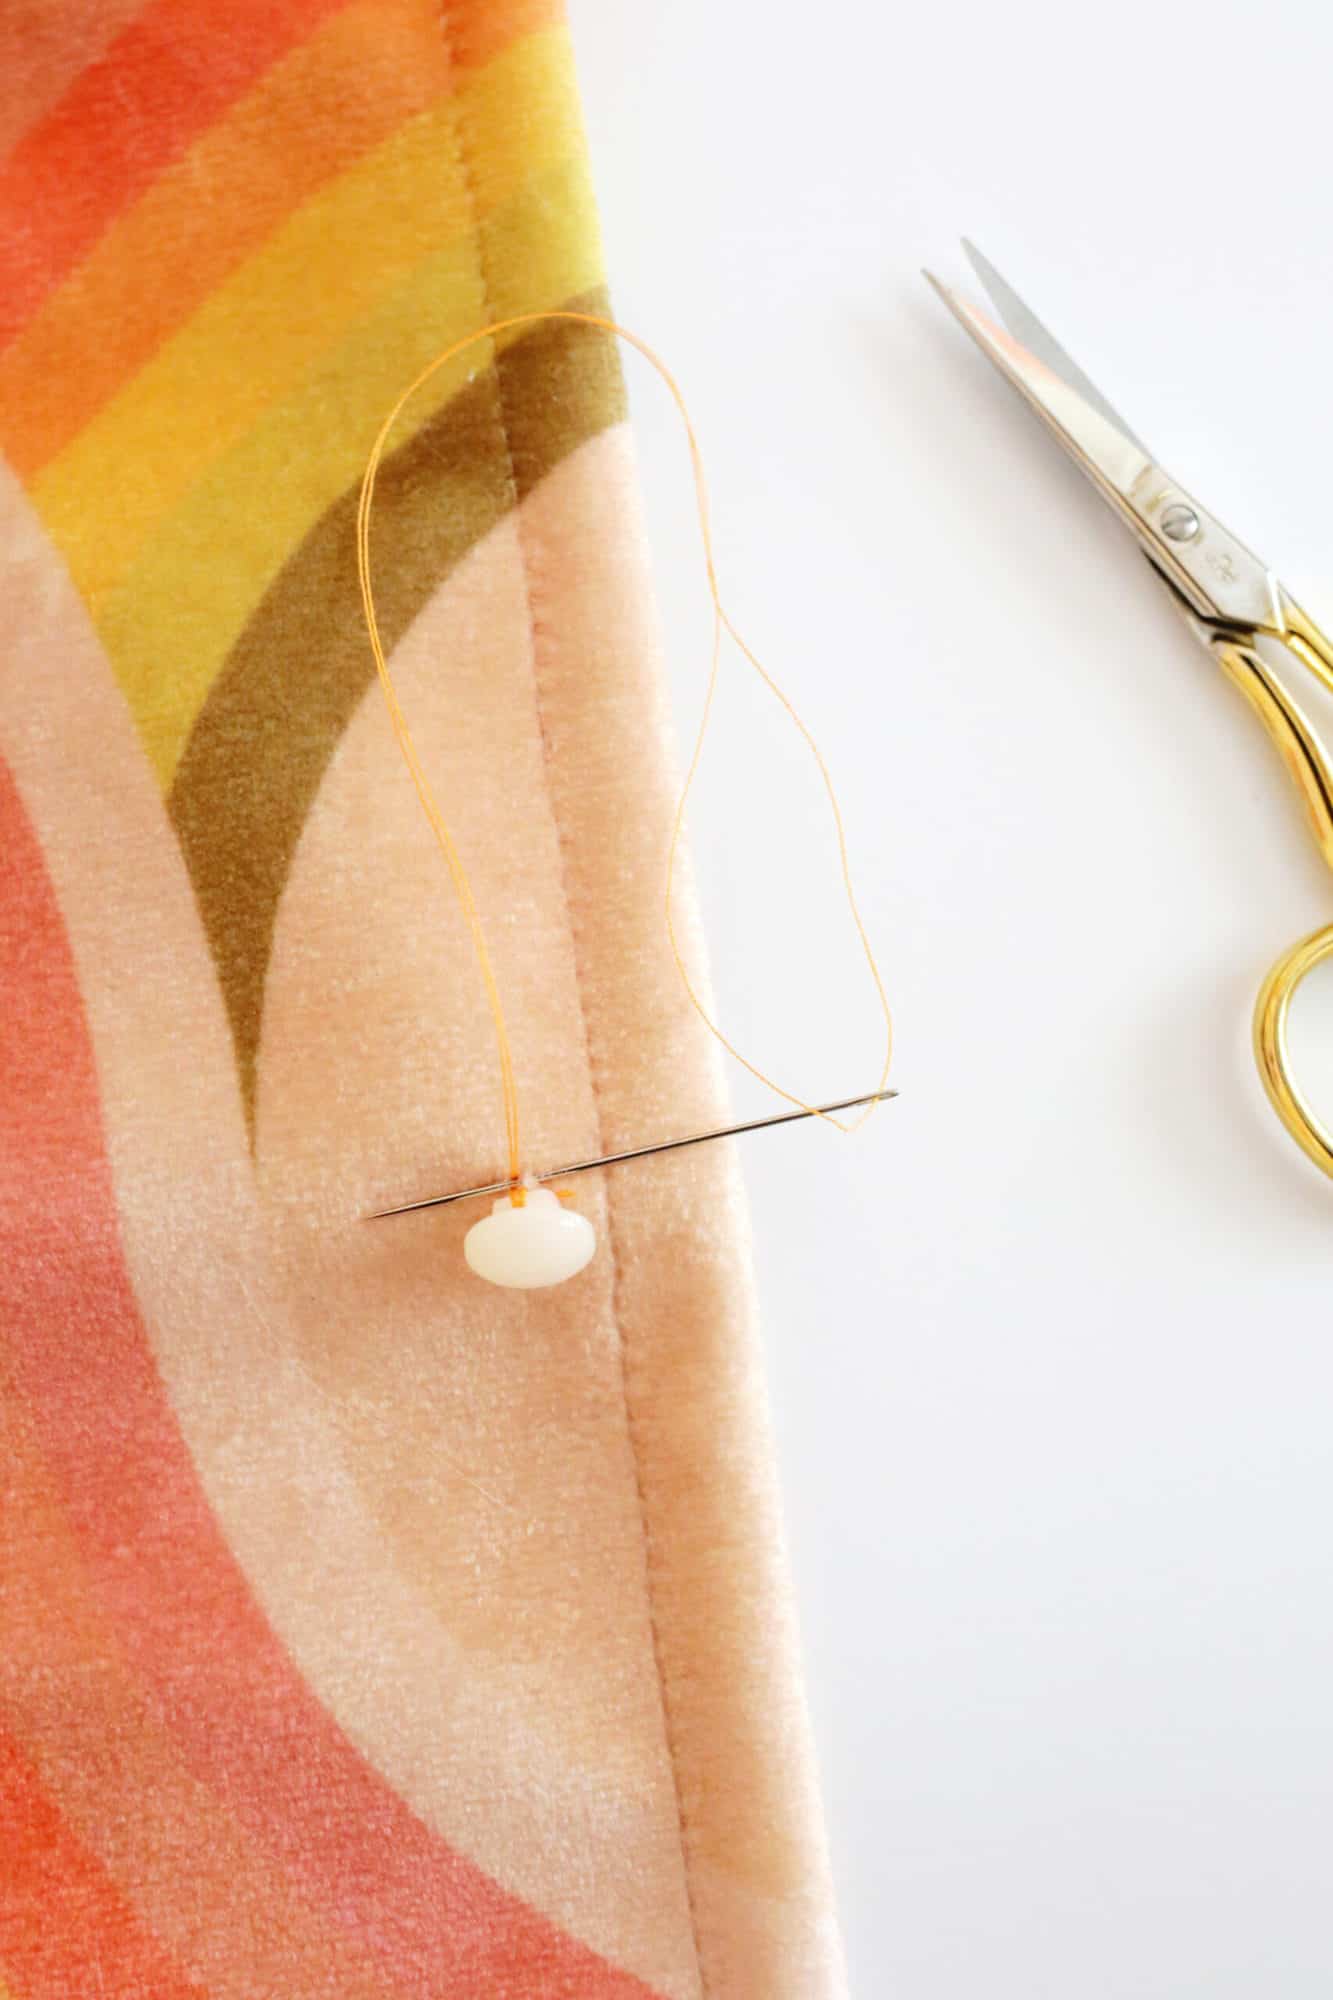
Tie off thread on underside: To finish, push the needle back down through the material, next to the shank, so it’s on the underside of your material.
Catch a little bit of the underside material with your needle and pull it almost all the way through so that you have a small loop of thread.
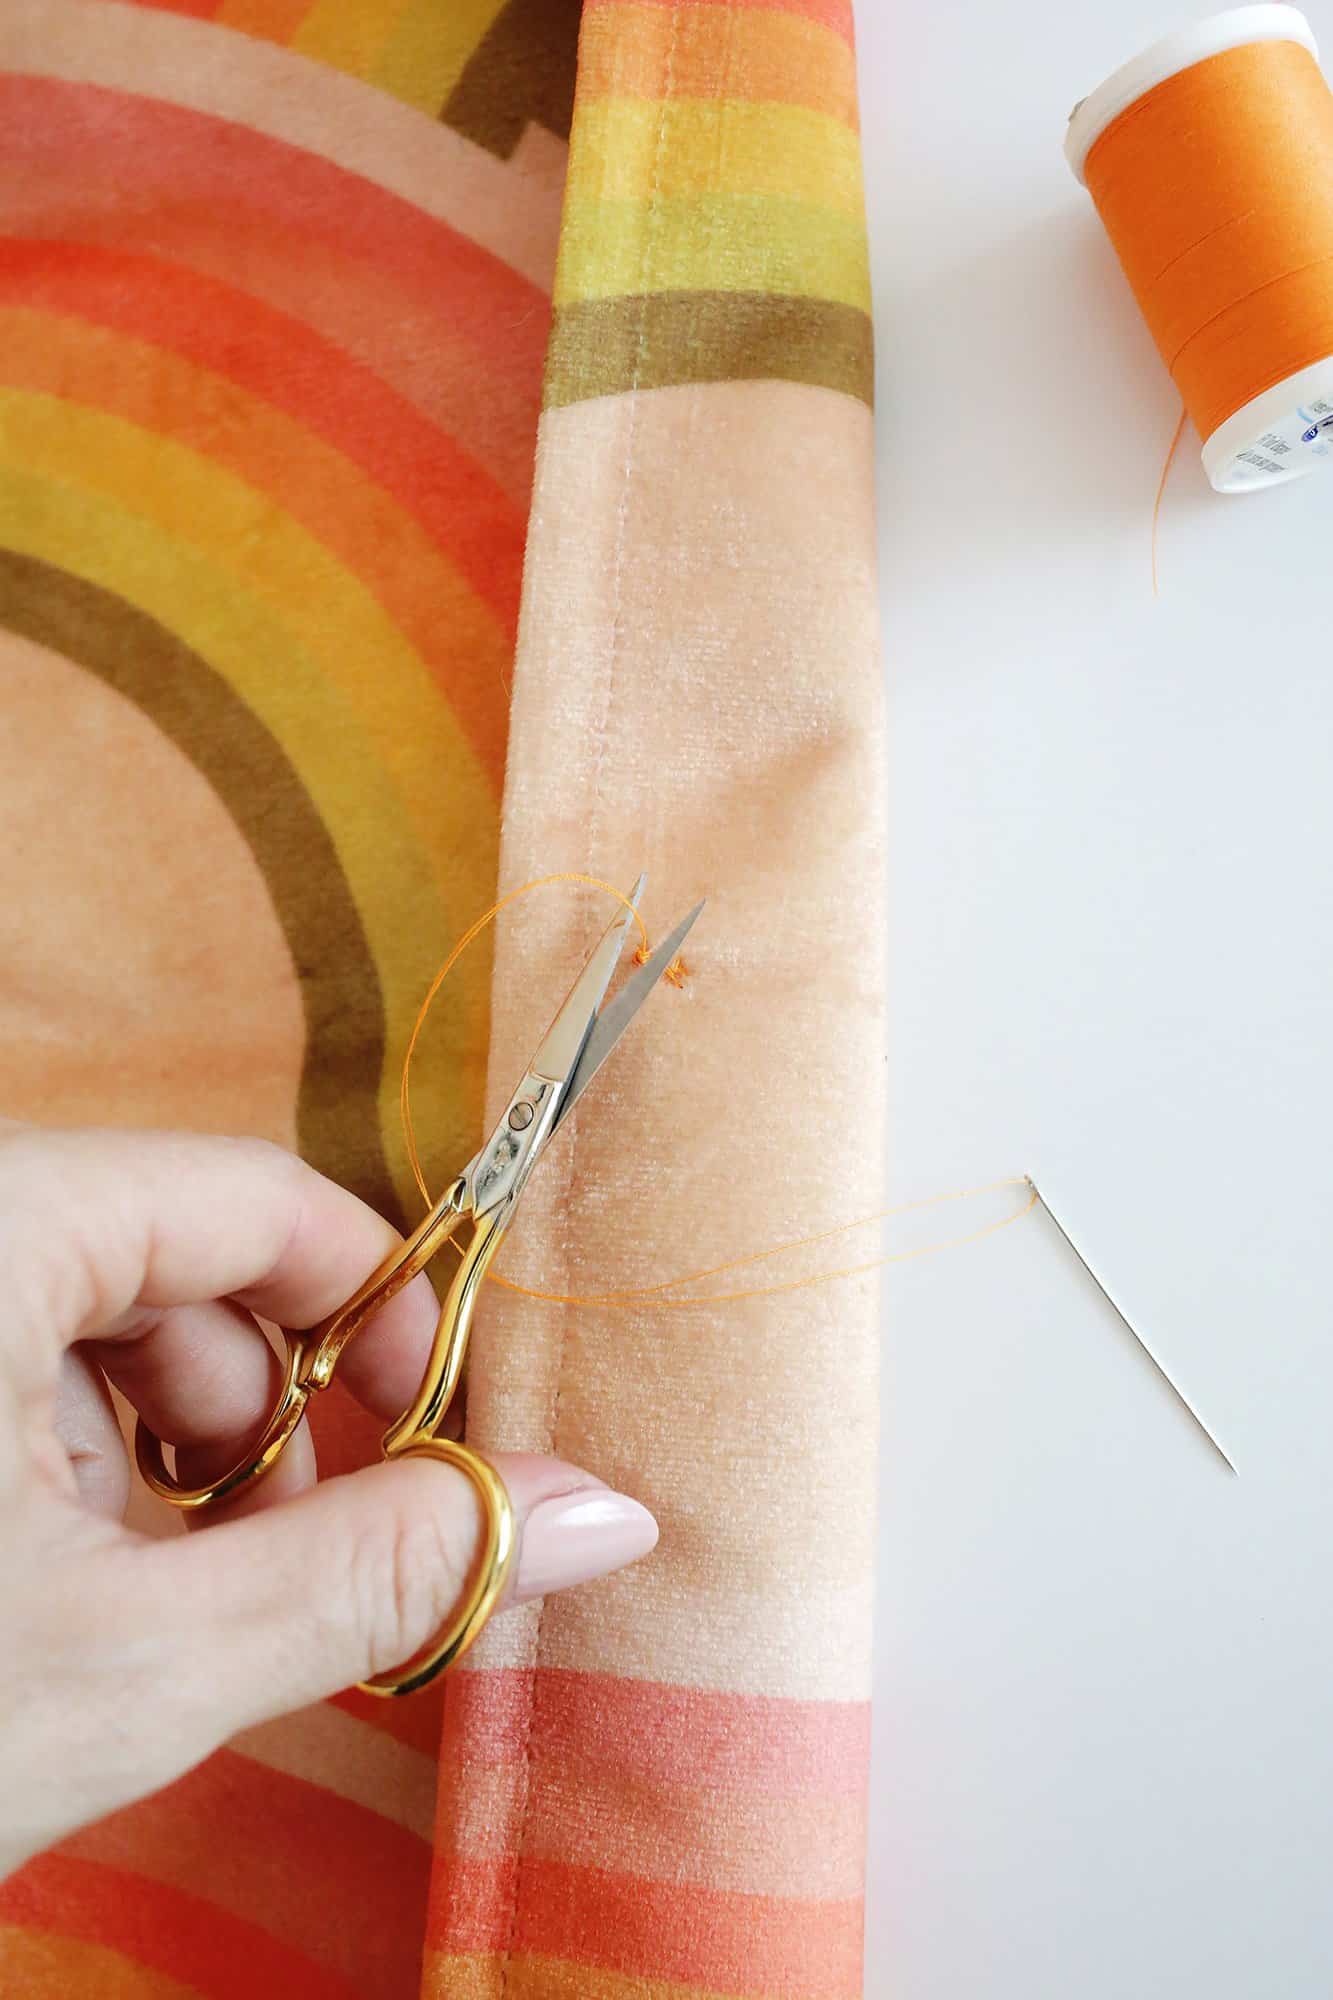
Pass the needle back through the thread and pull it tight to create a knot. Cut the thread close to the knot to finish.
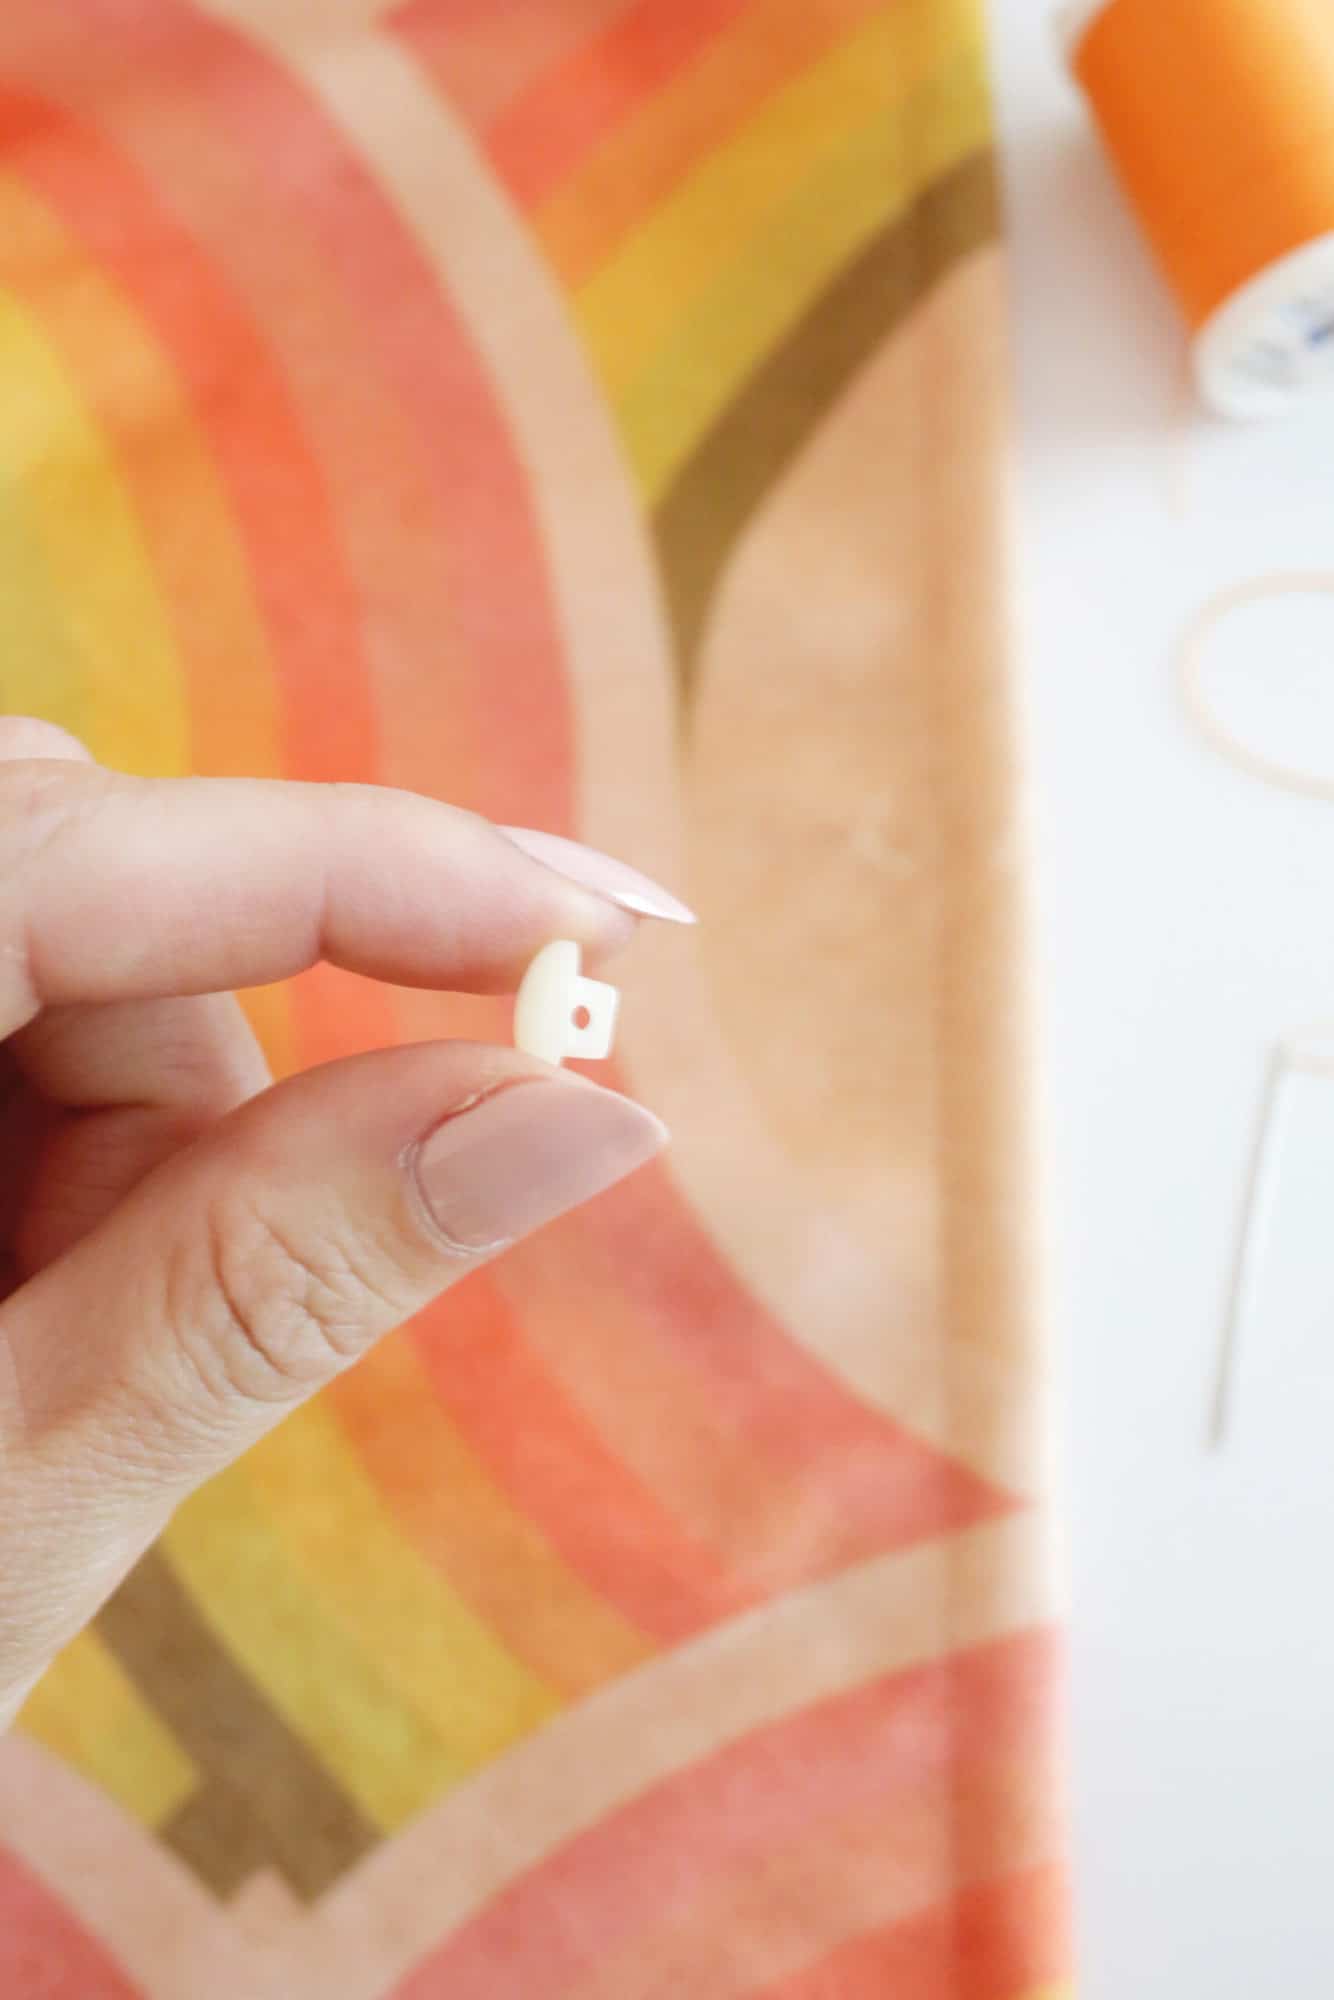
STEPS TO SEW A SHANK BUTTON:
Supplies:
-shank button
-thread (regular weight works for most things but you can do a heavy weight for bigger coats, etc.)
-needle (a multi-pack like this has several options for different thread weights)
-scissors
–disappearing marking pen (optional)

Thread the needle: Cut a piece of thread about 24″ long and thread it through a needle halfway so that both ends are equally as long (you can use a self-threading needle like this for easy threading). Keeping your strands together, tie a knot at the end to tie them together.
Position the button: Position the button where you want it on your garment. Check to see that it is the right spot for the buttonhole if it’s on a coat, shirt, or jacket. You can also use a disappearing marking pen to mark the spot if you wish.

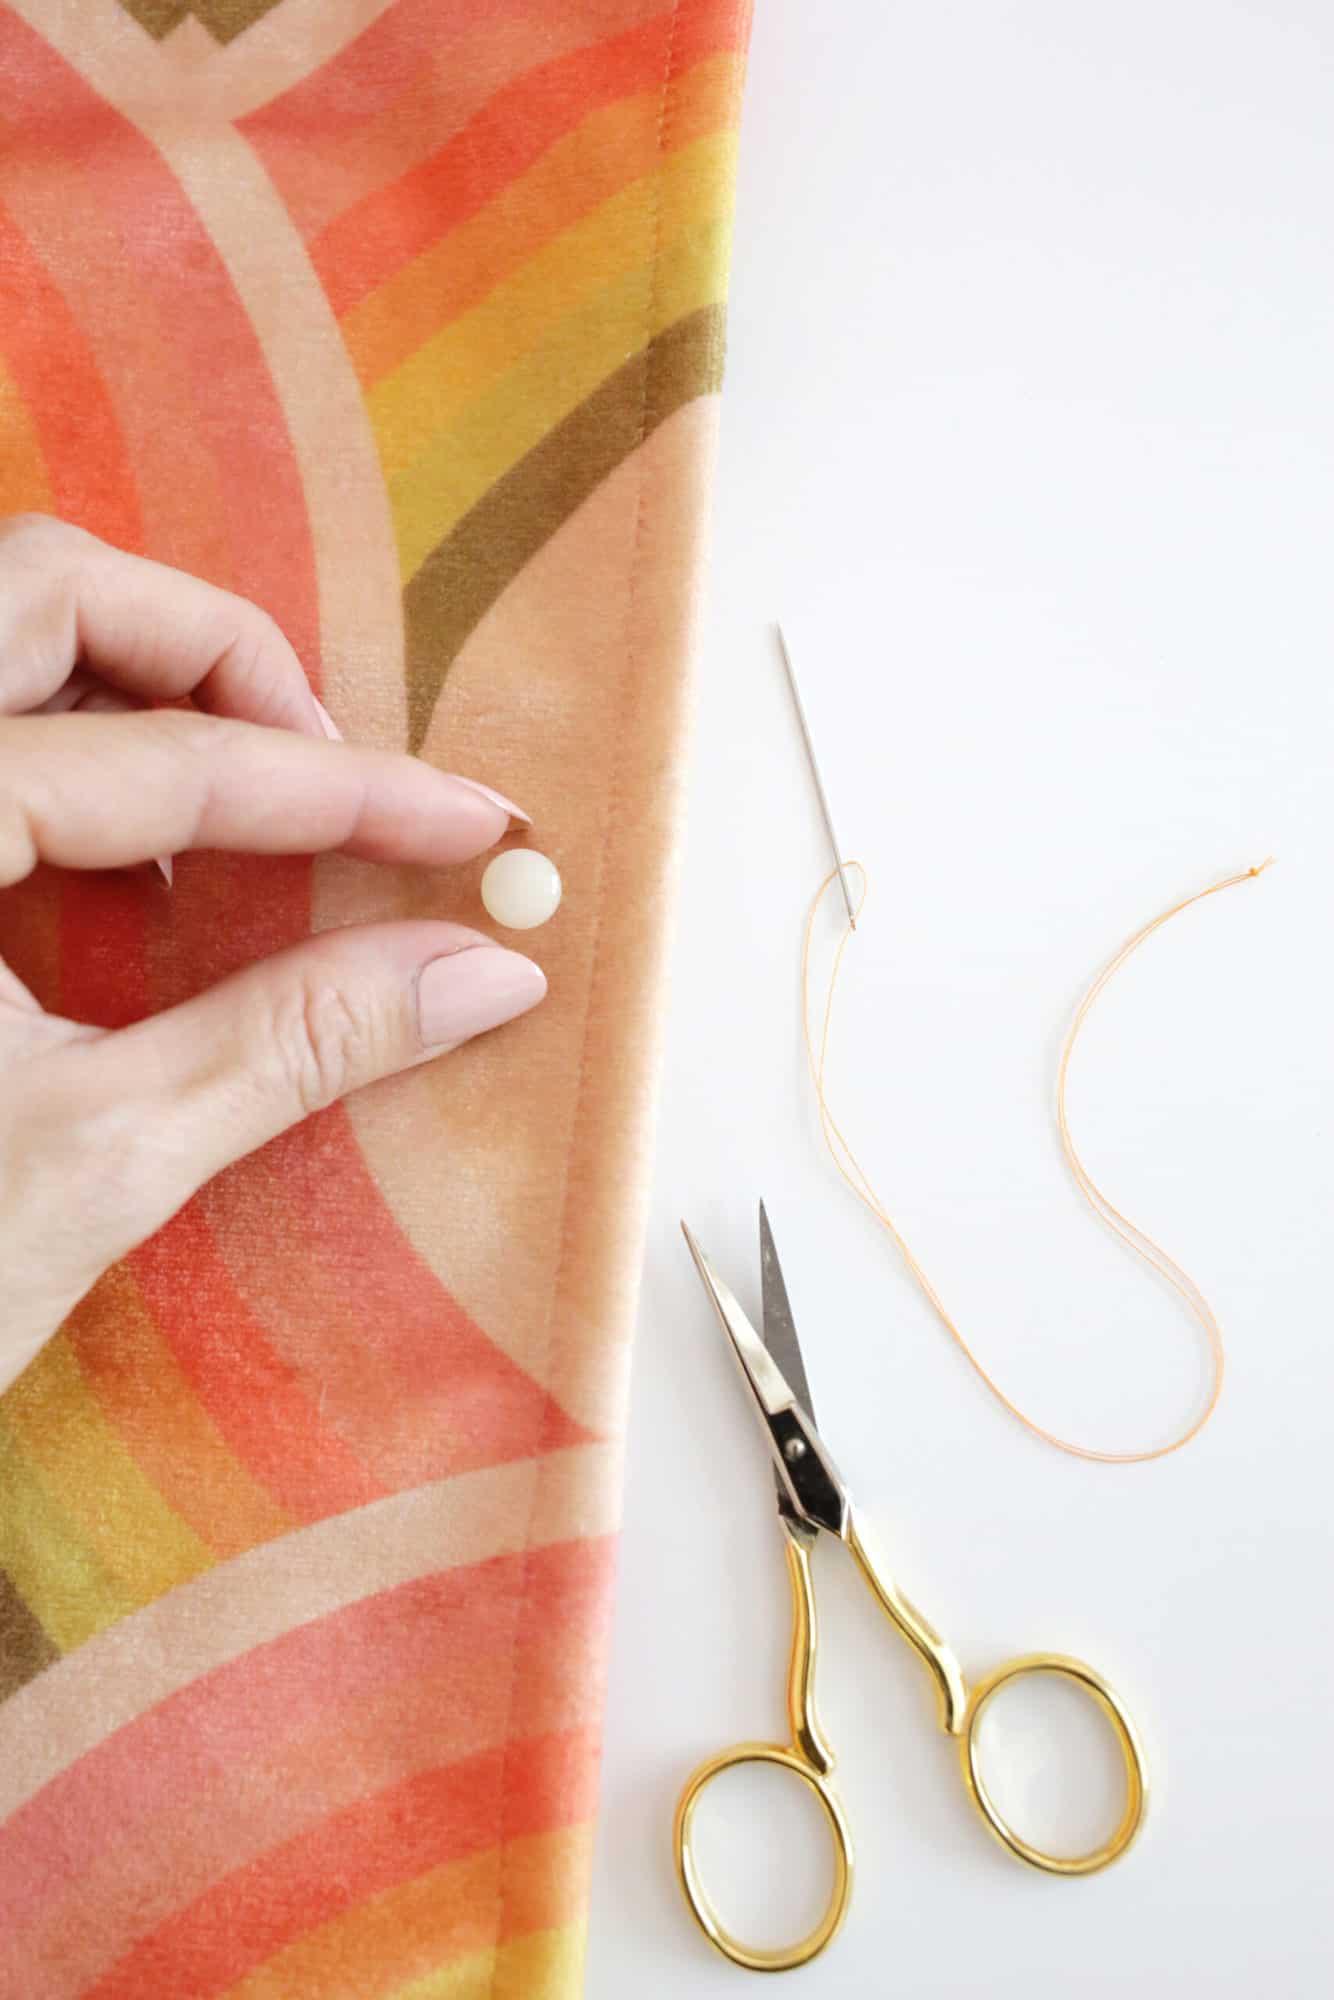
Start your first stitch: Push your needle through a small bit of the material on the spot where you want the button to go. Pull it all the way through.
Thread your button: Thread the needle through the shank of your button.
Attach the button: Thread the needle through a small bit of fabric again like you did earlier and pull tight to attach the button.
Continue to pass the needle through the button shank and then through the small bit of fabric underneath several times until it feels secure when you pull on it.
Tie off the thread: To finish, make another pass through the small bit of material and pull it almost all the way through so that you have a small loop of thread.
Pass the needle back through the thread and pull it tight to create a knot. Cut the thread close to the knot to finish.
There you go! You just learned to sew on a flat or shank button, and now you can be your own tailor and do a quick repair the next time a button falls off. Check out our sewing archives for more projects! xo Laura
Looking for an easy no-sew project? Try these!
- Glitter Star Tree Skirt DIY (No Sew!)
- Baby Headband DIY (3 Ways and No Sew!)
- Easy Square Aprons (No Sew Option!)
- How to Make a Tooth Fairy Pillow (Free Printable with a No-Sew Option!)
- No-Sew Braided Velvet Headband
Love this post? Sign up for our newsletter for more ideas!
Get creative ideas for recipes, crafts, decor, and more in your inbox!
 Get the How-To

Supplies
- thread ((regular weight works for most things but you can do a heavy weight for bigger coats, etc.))
- button (flat or shank style)
- disappearing marking pen (optional)
Instructions
STEPS TO SEW A FLAT BUTTON (TWO OR FOUR HOLE):
- Thread the needle: Cut a piece of thread about 24″ long and thread it through a needle halfway so that both ends are equally as long (you can use a self-threading needle like this for easy threading). Keeping your strands together, tie a knot at the end to tie them together.
- Position the button: Position the button where you want it on your garment (make sure the holes are facing the same direction as the other buttons nearby). Check to see that it is the right spot for the buttonhole if it’s on a coat, shirt, or jacket. You can also use a disappearing marking pen to mark the spot if you wish.
- Start your first stitch: Pull your needle up through one of the holes from the underside of the fabric, pulling it all the way through until the knot stops you. Push the needle back down through the second hole and pull the needle all the way through again.If you have a button with 4 holes instead of just 2, you’ll come up through one hole and cross to the button hole diagonal from that hole rather than straight down so you are creating an “X” rather than an “=” as you sew.
- Use a straight pin as a spacer: Place a straight pin under the button between the button and the fabric in the middle of your stitching. Having this pin there gives a little bit of space so the button isn’t sewn too tight.
- Finish sewing: Continue sewing your stitches by coming up from the bottom and going down into the next hole several times until the button feels secure when you pull on it.
- Create a shank (optional): On your final stitch, come up through the material but come out underneath the button rather than through the button hole again. Take out the straight pin and wind your thread between the button and fabric to strengthen the button and create a shank (this gives you some space between the button and the fabric so it can be buttoned comfortably). Push the needle back down through the material, next to the shank, so it’s on the underside of your material.*If you are sewing on a decorative button that doesn’t go through a buttonhole, you can skip this step of winding it around to create a shank.
- Tie off thread on underside: To finish, catch a little bit of the underside material with your needle and pull it almost all the way through so that you have a small loop of thread. Pass the needle back through the thread and pull it tight to create a knot. Cut the thread close to the knot to finish.
STEPS TO SEW A SHANK BUTTON:
- Thread the needle: Cut a piece of thread about 24″ long and thread it through a needle halfway so that both ends are equally as long (you can use a self-threading needle like this for easy threading). Keeping your strands together, tie a knot at the end to tie them together.
- Position the button: Position the button where you want it on your garment. Check to see that it is the right spot for the buttonhole if it’s on a coat, shirt, or jacket. You can also use a disappearing marking pen to mark the spot if you wish.
- Start your first stitch: Push your needle through a small bit of the material on the spot where you want the button to go. Pull it all the way through.
- Thread your button: Thread the needle through the shank of your button.
- Attach the button: Thread the needle through a small bit of fabric again like you did earlier and pull tight to attach the button.Continue to pass the needle through the button shank and then through the small bit of fabric underneath several times until it feels secure when you pull on it.
- Tie off the thread: To finish, make another pass through the small bit of material and pull it almost all the way through so that you have a small loop of thread. Pass the needle back through the thread and pull it tight to create a knot. Cut the thread close to the knot to finish.


This post could not have come at a better time! I was pulling on a new dress on Saturday night when the button at the back just dropped off- I swear I didn’t even touch it! It was a tiny shank button- (I have only ever sewn the holed type) so your easy to follow directions are so (sew – hah!) appreciated! Thanks so much Laura!
Much appreciated. Using a pin to aid in leaving some room for the buttonhole to sit nicley under the button was new to me. I had only known about using a toothpick for that function. Good to know of options.
Yes, more of these, please! I miss Laura’s sewing posts, too. I also would love more content with Lola and Nova, diy with kids 😉.
Thanks for this DIY! More practical things like this, please! Not in a season of home ownership, no kids, but things like this are incredibly helpful. 🙂
Gosh, I remember my grandmother showing me how to sew buttons on when I was a little girl. It’s a good skill to have!